Every feature of imagic, shown in the real app on a real shoot: 469 RAW files from a week in Sicily. Import, AI culling, culling by hand with the arrow keys and J, K and L, the duplicate cleaner, every slider in the editor, colour grades and effects, crop, masks, the AI tools, export and every setting. Nothing is mocked up: every click, value and result in this video is the app doing it.
Transcript
Read the full transcript
0:00imagic, every feature
This is imagic: a desktop app that culls and edits your RAW photos on your own computer. In this guide we take four hundred and sixty-nine RAWs from a week in Sicily through every step, every editing panel, every setting and every AI tool.
The whole app is five steps down the left: import, analyse, review, edit and export. Home shows your library at a glance, your plan, tips, and what's new.
0:27Import a whole shoot
Point imagic at a folder. Subfolders are scanned too, and it reads every common RAW format, plus JPEG, PNG and TIFF.
Import adds the photos to your library and builds previews. Nothing is moved or changed: your files stay exactly where they are.
0:45The AI scores every frame
Analysis starts by itself. Every frame is scored for sharpness, exposure, faces, subject focus, noise, detail and composition.
Faces are checked eye by eye, so a closed or half-closed eye counts against a shot. Serious blur or a nearly black frame goes straight to the trash.
Then it looks at the shoot as a whole. Near-identical frames taken seconds apart are one moment, and only the best frame of each moment is kept. The rest go to review, never straight to the trash.
Every photo now has a score and a decision: keep, review or trash.
You decide how many it keeps. Best of every moment is the default. Or choose keep only the best, give it a number, and apply: it re-cuts the whole shoot from the stored scores, instantly.
Shooting sport or wildlife? In Settings, switch the subject to action: faces stop counting, and imagic keeps the peak of each movement instead.
1:49Review and cull by hand
Review shows every photo with its score, its decision and a bar for each thing it was scored on. Make the tiles bigger or smaller with the slider, or Control and the mouse wheel.
Keep and trash any photo with one click. Your decisions always win over the AI's, and they are saved as you go.
Filter to the photos that still need a decision, and press N to jump to the next one.
2:15The culling gallery: arrow keys, K, L and J
Double-click any photo for the culling gallery: one big photo at a time, at full quality, with the next ones loaded ahead.
Move with the arrow keys.
Press K to keep.
L to trash.
And J sends a photo back to review.
Keep your right hand on J, K and L and your left on the arrows, and a whole card goes by in minutes. Escape closes the gallery.
2:39The detailed view: why each photo was kept
The detailed culling view lists every photo with its score, its decision, and the reasons behind it. Hover a reason to see the full breakdown.
Filter by decision, change any row with its buttons, or press Adjust to change the keep and trash thresholds in Settings.
2:56The duplicate cleaner
Find Duplicates groups bursts and near-identical frames, best first.
Auto Pick keeps the best of each group. Click any photo to keep it too, or double-click for a full preview.
Apply marks the rest as trash. Nothing is deleted: trash just stays out of your export.
3:16Choose a starting look
Choose Style sets a starting look for the whole library: an edit style per scene, or a colour grade from eight families, previewed on your own photos.
3:30The editor
The editor. Your photo in the middle, the filmstrip below, the histogram and shooting details on the left, and every tool on the right.
Move between photos with the arrow keys or the filmstrip. Backslash shows the before and after.
One and two zoom to a hundred and two hundred percent, F fits the photo back to the screen, and the mouse wheel zooms where you point.
3:54Light and white balance
White balance: auto, or the presets for tungsten, fluorescent, daylight, cloudy and shade.
Temperature warms or cools the whole photo.
Tint moves it between green and magenta.
Exposure is real stops of light: fifty is one stop brighter.
Contrast pushes the tones apart around the middle grey.
Highlights works on the bright areas: drag it down to bring back a sky.
Shadows opens up the dark areas without touching the sky.
Whites sets the very brightest point.
And blacks the deepest one.
4:31Texture, clarity, dehaze and colour
Texture brings out fine detail.
Clarity adds local contrast for punch.
Dehaze cuts through haze, and takes it the other way to soften.
Vibrance lifts the muted colours more than the strong ones.
Saturation moves every colour, all the way down to black and white.
4:51HSL: one colour at a time
HSL changes one colour range at a time: hue, saturation and luminance, for red, orange, yellow, green, aqua, blue, purple and magenta.
Shift the hue of the oranges.
Saturate just the blues.
Or darken the blues, for a deeper sky. Grey areas are protected, so walls and stone don't pick up colour.
5:15Sharpening and noise reduction
Sharpen amount and radius, zoomed in to a hundred percent so you can see them.
Noise reduction for grain keeps the edges.
And colour noise reduction clears the coloured speckle from high ISO shadows.
5:28Colour grading, vignette, grain, tone curve, colour wheels
Colour grading tints the shadows and the highlights separately, with a balance between them.
Vignette darkens the corners, or lightens them the other way, and the midpoint sets how far it reaches.
Grain adds film texture.
The tone curve: click to add a point, drag it, right-click to remove it, for luminance or each colour channel.
And the colour wheels tint shadows, midtones and highlights: drag a wheel's centre for the colour, and the slider below for brightness.
6:0244 grades and 20 experimental effects
The colour grade wall: forty-four looks, from film stocks like Portra and Velvia to cinematic, moody and black and white, each previewed on this photo with your edits.
Intensity blends a grade in, and you can apply it to this photo, to a selection in the filmstrip, or to every photo.
Experimental effects go further: bleach bypass, CineStill night, infrared, cyanotype, duotones and more, with an amount slider.
6:35Crop, AI Crop, straighten and rotate
C starts a crop. Pick a ratio, drag the box or its edges, and straighten with the angle slider. Enter applies it.
AI Crop suggests a composition for you.
The square brackets turn the photo ninety degrees either way.
Lens and geometry: lens corrections from the lens profile, rotation, distortion, and horizontal and vertical perspective.
7:02Masks: AI subject and sky, brush, Select Object
AI Masking selects the subject, the sky, people, or the background for you. Keep the mask, and it becomes a layer with its own tab.
On a layer tab, the sliders only change the masked area. Edge grows or shrinks the mask, and feather softens it.
Add as many layers as you need: here the sky gets its own.
Manual masking paints a mask with a brush or a lasso, and Snap to Object pulls a rough scribble onto the real edges.
Select Object: drag a box around something and imagic finds its outline.
7:39One-click AI tools
Auto-Enhance sets the main sliders for this photo. Press it again for a variation.
Auto White Balance neutralises a colour cast.
Denoise and Smart Sharpen set the detail sliders to what this photo needs.
B and W converts with a tuned black and white grade.
Heal removes a spot or a distraction: paint over it and imagic fills it from around it.
And there is more: lens blur for background bokeh, face detection, super resolution up to four times, enhance details, adaptive presets that detect the scene, portrait polish for skin, chromatic aberration and red-eye removal.
8:23Expert mode
Expert mode adds three more panels.
Advanced tone: highlight and shadow compression, local contrast radius, darkness and lightness for clarity, and a soft glow.
Advanced detail: micro sharpening, threshold and halo control, and defringe for coloured edges.
And the RAW engine: the demosaic method, highlight recovery, the processing version, and the colour space of your exports.
8:52Copy and paste, presets, snapshots, undo, AI Optimize All
Copy an edit and paste it to the next photo, to every photo, or to a batch you pick. Crop and the ninety-degree turns always stay with their own photo.
Save a look as a preset, and it's in the presets menu for every shoot from now on.
Snapshots save named versions of one photo, so you can try something and go back.
Control Z undoes anything, even a heal, and Control Shift Z redoes it.
AI Optimize All edits every photo in one go, and learns from the photos you've edited yourself. Run it again for a different take.
9:31Export
Export: JPEG, PNG or TIFF, the quality, and the long edge if you want them smaller.
Choose the folder, or next to your originals, a subfolder per shoot, and what happens if a file already exists.
Copy originals exports the untouched files, and the Lightroom handoff writes your edits as sidecars for Lightroom.
Add a text or logo watermark, place it, and save the whole setup as a recipe for next time.
Export renders every kept photo at full resolution with every edit, mask and crop.
10:09Every setting
Settings. Processing: the interface size, how many photos are processed at once, and your default export format, quality, size limit and folder.
AI culling: the keep and trash thresholds, the keep limit, people or action, how strict duplicate detection is, the slower and more accurate quality model, and captions for search.
The RAW engine works out of the box. You can point it at darktable or ExifTool if you have them.
And About shows your version, your licence and where your library lives.
10:47Search by meaning and People (Max)
With imagic Max, search your library by meaning: type sunset, or cat, and it finds them, no keywords needed.
And People groups the faces in your library, so you can name someone once and find every photo of them.
11:04Hand the whole job to an AI
Want to hand the whole job over? imagic's agent mode lets Claude or ChatGPT run the whole job, from import to export, like your own editor employee. It comes with imagic Max and the free trial, and there's a separate tutorial for it.
imagic runs on Windows and Mac, with a free trial of five hundred exports. Get it at imagic dot ink.
More tutorials
 4:37
Agent mode (MCP)
4:37
Agent mode (MCP)
By prompt: Claude drives imagic
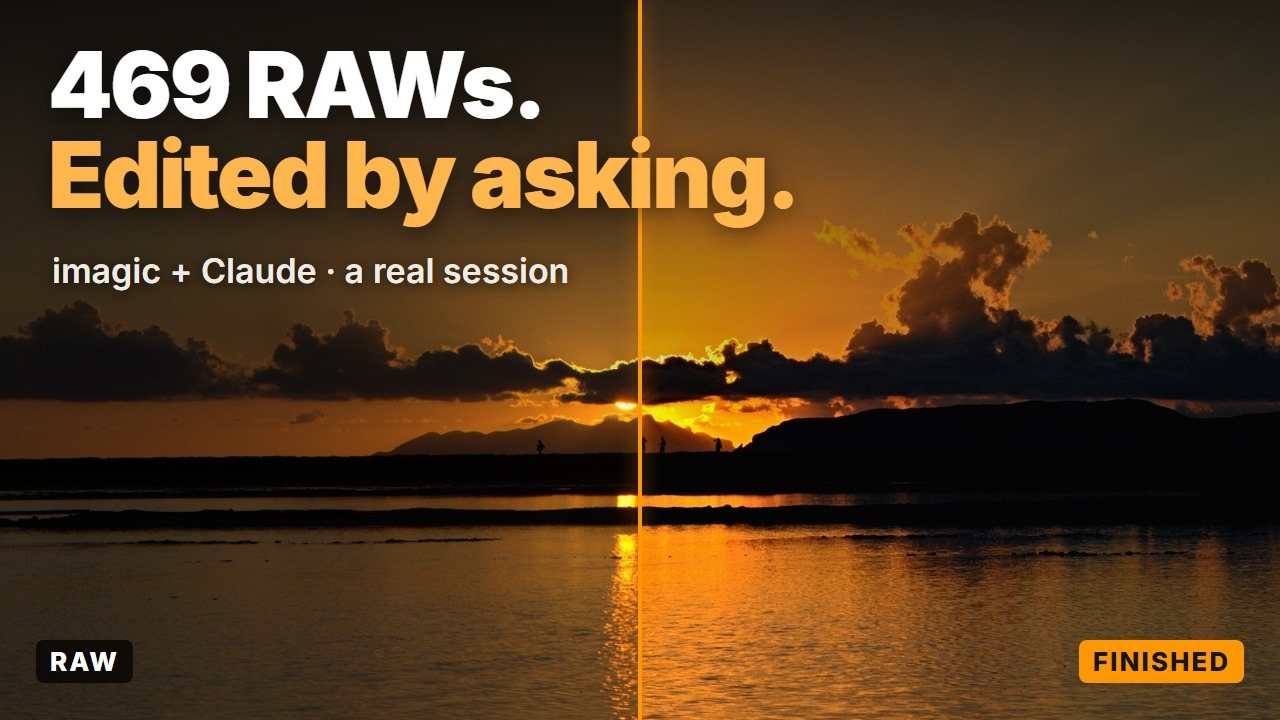
A real session, start to finish: Claude drives imagic through its MCP server on 469 RAW files. Culling, presets, crops, exact sliders, a described look, effects, AI masks and export, all by prompt.
 1:56
Three ways, in 2 minutes
1:56
Three ways, in 2 minutes
Quick start
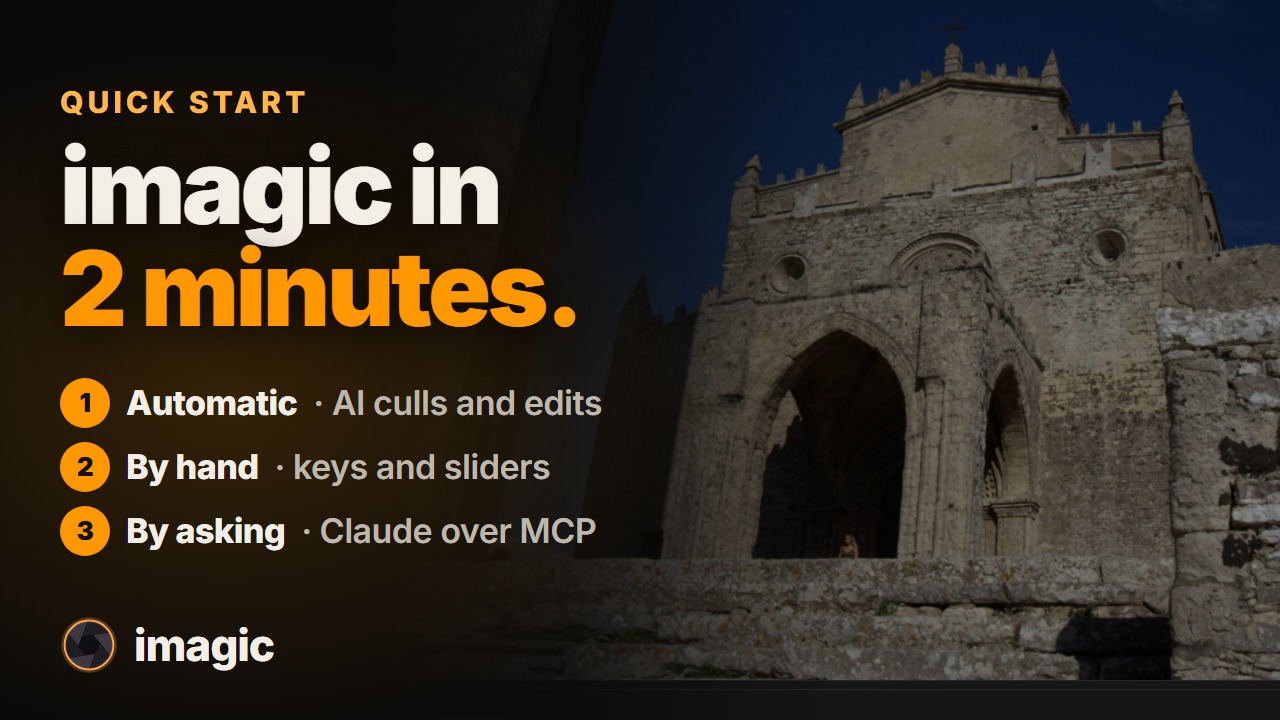
imagic in two minutes, three ways: let the AI cull and edit a whole shoot, do it by hand with the keyboard and real RAW sliders, or ask Claude or ChatGPT to run it for you over MCP.
Try it on your own shoot
Windows and Mac. Runs on your computer, your photos never leave it. Free trial of 500 exports.
Download imagic