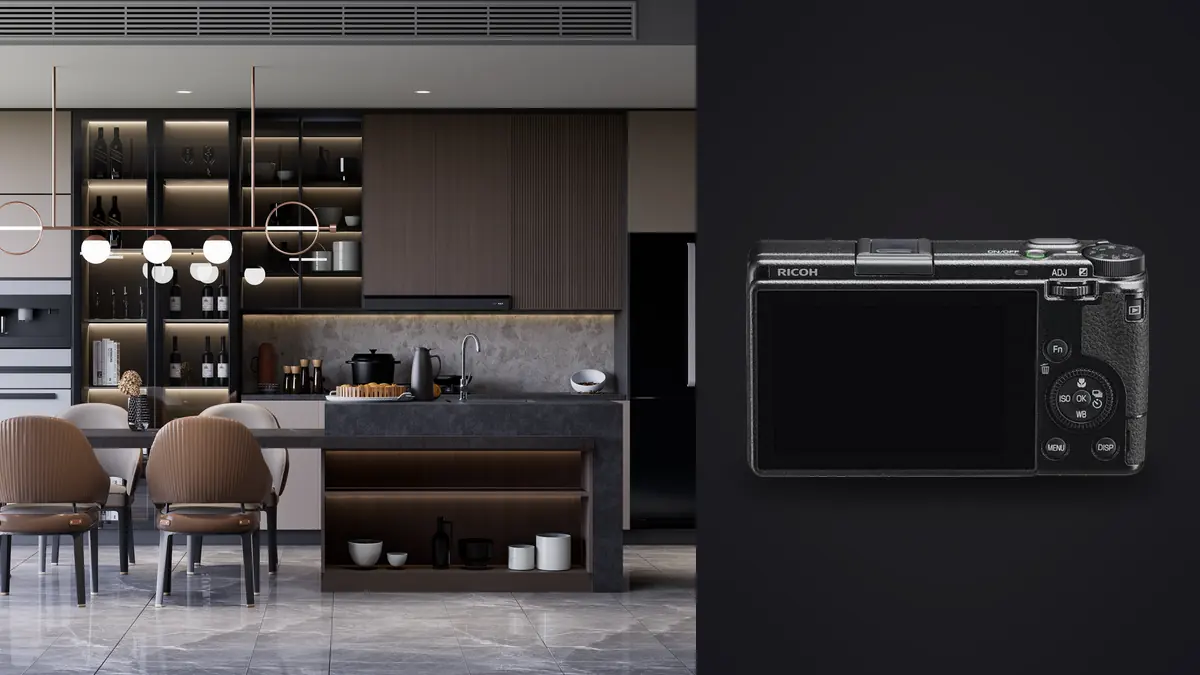
A Ricoh GR IIIx architecture and interiors RAW Workflow is best suited to observed spaces, details, scouting, and compact travel assignments. Its fixed lens gives a roughly normal field of view rather than an ultra-wide architectural view, which encourages selective compositions and honest spatial relationships. It cannot shift perspective optically or change lenses when the room becomes tight.
The camera can record DNG or PEF files, uses an SD card, and provides internal storage. A sound process must reconcile those sources, preserve geometry, group brackets or panorama components, and identify when another camera or specialist editor is needed. Compact size improves access, not the laws of perspective.
Choose a fixed-lens architectural brief
Use the GR IIIx where a normal perspective supports the story: facade details, materials, furniture relationships, doorways, circulation, signage, street context, or intimate room studies. It may also serve as a scouting camera for later production. Do not promise a full small-room view when the position and fixed focal length cannot provide it honestly.
Create a shot list by space and visual purpose. A detail photograph, spatial relationship, elevation, and contextual street frame should have distinct identifiers. Record whether the image is a final candidate, scouting reference, or component for a later panorama. That role guides culling and prevents a reference image from entering polished delivery accidentally.
Confirm property permission, occupant privacy, and restrictions on artwork, security devices, access points, or personal objects. Remove private coordinates and access notes from public derivatives. Small cameras can work discreetly, but discretion does not remove consent requirements.
Select DNG or PEF for compatibility
Both DNG and PEF are included in imagic's supported RAW formats, but the broader editing chain still needs verification. Make sample files with the current camera firmware, then open them in the intended developer, metadata tool, composite editor, and archive. Pick one normal format for the project rather than mixing them without a documented reason.
Keep an in-camera JPEG only when it serves as a reference or immediate proof. Camera rendering can influence the embedded preview, while RAW remains adjustable. Use a restrained preview to assess framing and exposure. A high-contrast look may hide shadow detail or make warm interior light appear more finished than it is.
Preserve original filenames until card and internal-storage ranges are reconciled. If a later rename adds property and set codes, keep it collision-safe and traceable. Never replace a RAW extension or convert a file by renaming it.
Protect geometry at capture
Use the camera level and visible building lines together. Floors and old walls may not be square, so choose the verticals that define the intended view. Keep the sensor plane parallel to important vertical surfaces when possible. Tilting upward introduces convergence that later correction can reduce only by stretching and cropping.
Step back rather than forcing the composition when access permits. The normal lens can preserve proportions well, but a tight viewpoint may exclude context. If a room cannot fit, make a focused image or a carefully planned panorama instead of pretending one frame covers everything.
Stabilization helps handheld details, yet precise interiors benefit from stable support and a delayed release where allowed. Set aperture for depth and edge quality, then inspect near and far features. A small screen can make a slightly missed plane look acceptable.
Group brackets and panorama components clearly
Bracket only when the important window, lamp, and interior range require it. Keep aperture, focus, white balance, and framing stable, changing shutter time for exposure. Mark the beginning and end of each group with a slate, rating, or note that does not disturb the camera.
For a panorama, lock exposure and white balance across panels, provide generous overlap, and rotate from a stable position when possible. Watch nearby objects because parallax becomes obvious when the camera shifts around them. Make a second pass if people, curtains, traffic, or screens move through critical overlap zones.
Record whether components are intended for HDR, exposure blending, panorama stitching, or simply as alternatives. Similar compositions are not duplicates when each has a merge role. Preserve all components until the final master is inspected and rebuildable.
Reconcile SD and internal storage
Check where the camera wrote each file. Internal storage may hold frames made without a card or after a card issue, so it can contain a sequence gap that is easy to overlook. Copy both sources, compare timestamps and names, and build one complete ordered set.
Create a verified working copy and separate backup before formatting the SD card or clearing internal memory. Open samples from each source, including the last file. Keep the originals in an immutable directory and store previews, catalogs, panoramas, and exports elsewhere.
For travel, separate one verified copy physically from the camera as soon as practical. Avoid relying on automatic consumer photo sync when properties or occupants require controlled storage. Local backups still need encryption and access rules appropriate to the assignment.
Cull by viewpoint and component role
First audit the shot list. Confirm that each space, detail, and contextual role is present. For a component set, check complete exposure or panel coverage before ranking individual beauty. A technically weak overlap panel can compromise an otherwise strong panorama.
Then review focus, camera movement, edge quality, reflections, verticals, and changing objects. Inspect mirrors and glass for the photographer, straps, signs, or private items. Compare near-identical handheld details for precise alignment and subject separation.
imagic can locally score supported DNG or PEF files for sharpness, exposure, closed eyes, and composition and can group similar frames. Architecture still needs a human to preserve brackets and panorama panels. Culling changes status rather than deleting originals, so components remain recoverable.
Develop the strongest geometric base
Choose the frame with the best camera position, focus, and movement state before applying strong correction. Use lens correction where appropriate, then adjust verticals and horizon conservatively. Watch furniture, doors, and artwork near the edges because transforms can stretch them.
Set white balance from the actual source mixture. Warm practical light can be intentional, while green fluorescent or colored wall spill may need local correction. A single global balance cannot neutralize every plane in a mixed room. Preserve material color and lighting atmosphere without implying false uniformity.
Control noise and sharpening at delivery size. Fine texture in wood, stone, and textiles should remain natural. Strong clarity can create halos along windows and make surfaces look harsher than the space. Retain enough crop margin for final perspective correction and output ratios.
Merge in an appropriate external editor
imagic provides non-destructive adjustments and JPEG or TIFF export, but it does not merge HDR brackets, stitch panoramas, or provide layers. Prepare coherent component files, then use dedicated software. Keep each merged master linked to its DNG or PEF source IDs.
Inspect seams, repeated objects, window frames, moving people, and parallax. A panorama can look correct centrally while bending lines or duplicating furniture near an edge. An exposure blend can create halos around windows or lamps. Preserve an editable master so masks can be corrected later.
Be transparent about composite changes where the use requires it. Removing temporary equipment may be acceptable, while altering permanent architecture, views, safety features, or room proportions can misrepresent the property. Define the boundary before detailed editing.
Handle handheld detail sequences separately
The GR IIIx is often used without a tripod for materials, signs, handles, furniture, and exterior fragments. Group these files by subject and angle rather than mixing them with locked architectural sets. Compare camera movement, focus, reflection, and edge placement across a short sequence.
Stabilization can help a static detail, but shutter speed still needs to account for the photographer's stance and any moving fabric, foliage, person, or display. Check fine texture at full size. A crisp background beside a soft foreground object often indicates the focus plane, not a lack of resolution.
Keep one wider reference around each detail when context matters. A close crop of a material joint may be visually complete but impossible to place later. The reference can remain an archive component even when it is not delivered.
Track property changes across visits
Renovations, staging, weather, seasonal light, and occupancy can make two visits look similar while depicting different states. Add a visit code and do not synchronize edits across dates merely because the camera position matches. Check whether fixtures, furniture, signage, or views changed.
If a replacement frame enters an older delivery, record which version it supersedes and why. Do not combine components from different dates without disclosure and approval. A window view, lamp state, or exterior condition from another visit can misrepresent the property at the documented time.
Keep a small change log beside the masters. It should identify date, viewpoint, source files, composite method, approval, and delivered derivative. This protects later re-exports from silently mixing the wrong property state or visit. Keep the log with the archive manifest.
Export compact-camera files professionally
Confirm color space, dimensions, compression, sharpening, filename, metadata, and intended crop. JPEG suits many web and portfolio uses; TIFF can support a high-quality handoff. Generate derivatives from the approved master rather than independently processing several copies.
The imagic desktop workflow explains local processing of supported files, and the Camera Hardware section gives wider equipment context. The GR IIIx workflow should state when the fixed-lens source is a final image and when it is a scouting or component file.
Open every export and inspect verticals, edge stretch, gradients, color profile, crop, and private metadata. Compare the delivery against the shot list. Archive originals, component manifests, editable masters, final derivatives, and usage notes according to the property agreement.
Use a GR IIIx architecture RAW checklist
- Brief: assign the fixed lens to details, relationships, context, or scouting.
- Format: select DNG or PEF after verifying the complete software chain.
- Geometry: level the camera and avoid unnecessary upward tilt.
- Components: mark brackets and panorama panels by intended role.
- Sources: reconcile SD and internal storage before clearing either.
- Copies: verify working and separate backup storage.
- Cull: audit viewpoint coverage before ranking individual frames.
- Develop: correct geometry, mixed color, and detail conservatively.
- Merge: use dedicated software and retain source traceability.
- Deliver: inspect output geometry, profile, metadata, and completeness.
Frequently asked questions
Is the GR IIIx wide enough for every interior?
No. Its fixed normal-angle view favors selective compositions and details. Use another camera or a carefully planned panorama when a wider honest view is required.
Can imagic stitch GR IIIx panorama files?
No. It can cull and apply non-destructive adjustments to supported DNG and PEF files, but panorama stitching and HDR merging require dedicated software.
Should internal memory be ignored when an SD card was installed?
No. Confirm where every frame was written and reconcile both sources. A card error or earlier capture can leave important files only in internal storage.