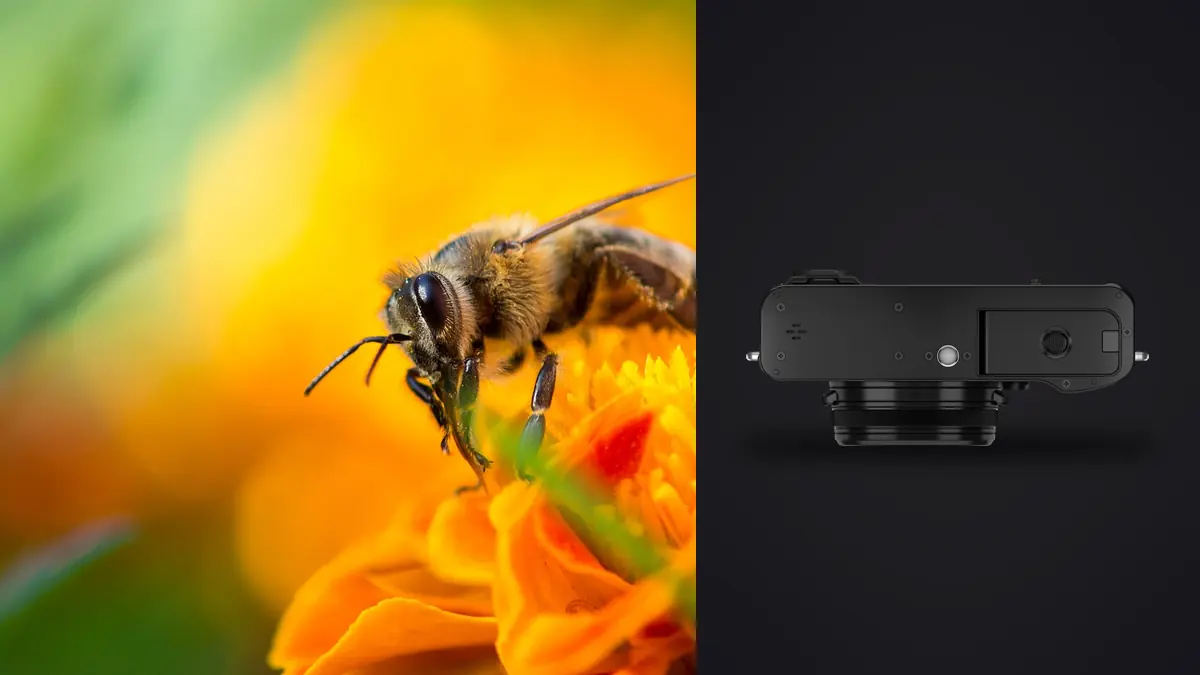
A Fujifilm X100VI macro and insect RAW Workflow begins by accepting what the camera is and is not. Its fixed 23mm f/2 lens gives a wide-normal full-frame equivalent view and includes a close-focus range, but it is not a high-magnification macro lens. The strongest files often show a small subject in habitat rather than trying to imitate the frame filling view of a dedicated macro system.
That environmental approach changes file review. Background shape, working distance, subject stress, focus plane, and crop tolerance matter as much as raw sharpness. The high-resolution RAF file offers room for a considered crop, but a heavy crop cannot restore detail lost to movement, missed focus, or air between the lens and a tiny subject.
Define a realistic close-focus result
Choose whether the image should identify the insect, show behavior, or place it within a plant, garden, wall, or weather condition. Identification benefits from a side or dorsal view and enough detail on diagnostic features. Behavior may demand a looser frame that includes food, web, nest material, or interaction. A portrait can prioritize eye and gesture without claiming scientific completeness.
The fixed lens requires the camera to approach physically. Stop when the subject changes behavior because of the camera, shadow, or body position. Do not damage vegetation, handle an insect unnecessarily, block a nest entrance, or prolong disturbance for a larger image. A longer macro lens is the correct tool when safe working distance is essential.
Use the close-focus mode as specified by the camera and confirm focus across the actual subject distance. At very close range, small changes in camera position alter composition and focus rapidly. Make a test frame of a stationary detail before following a moving insect, then inspect whether the desired scale is possible without an extreme crop.
Capture RAF files for depth rather than only blur
At close distance, depth of field becomes narrow even with a wide-angle lens. Set aperture for the features that must read together, such as the nearer eye and wing base, while watching the background. Stopping down increases depth but may require a slower shutter or higher ISO, and very small apertures can soften fine detail. Balance the complete result rather than pursuing one number.
Align the sensor plane with the important part of a flat subject when possible. A butterfly wing, beetle back, or leaf surface can gain useful coverage from a small angle change. For a three-dimensional insect, choose the near eye and head as the priority. Focus peaking can help with contrast edges, but magnified review remains necessary because the highlighted edge may not be the anatomical feature intended.
In-body stabilization reduces some camera movement, yet it cannot freeze an antenna, leaf, or body moved by wind. Set shutter speed for both subject and photographer movement. If light is poor, support the camera, shield wind without touching habitat, or wait for a pause instead of assuming stabilization will hold every part still.
Use the leaf shutter and built-in ND with purpose
The X100VI leaf shutter can support quiet capture and flexible flash synchronization within its operating limits. Quiet operation is useful around skittish subjects, but the camera still moves air and casts a shadow when brought close. Approach slowly and avoid repeated repositioning once the subject reacts.
The built-in neutral-density filter can help keep a chosen aperture or shutter in bright conditions. It does not create more light for a shaded insect and should not remain enabled by accident when shutter speed is already marginal. Check its state when moving between sun and foliage, and record it in a custom display if the camera allows a clear reminder.
Small flash or diffused light can restore color and freeze motion, but it must be used responsibly. Avoid intense repeated firing at a subject, especially at very close range. Test the light on a neutral object, keep the source soft relative to the insect, and watch reflective wings or shells for featureless highlights.
Make sequences short and interpretable
A feeding insect, grooming behavior, wing opening, or takeoff may justify a short sequence. Begin before the likely action and stop when the phase ends. Long unbroken bursts produce many frames with nearly identical blur and can make it harder to understand the behavior. A slower deliberate series often keeps the event easier to review.
Photograph an environmental frame before moving close. It records habitat and gives the sequence a useful opening even if the subject departs. Add a scale reference only when it can be done without disturbance and when the reference is scientifically or editorially appropriate. Do not place objects beside a living subject merely for visual effect.
Record date, broad location, weather, plant, and observed behavior in a note. Avoid publishing exact locations for sensitive species or nests. If identification is uncertain, label it as uncertain and preserve views that may help an expert, rather than forcing a confident species name from one attractive angle.
Protect RAF and JPEG pairs correctly
If RAW plus JPEG is enabled, treat the pair as two representations of one exposure. Keep base filenames aligned and decide whether the camera JPEG is a reference, proof, or potential delivery. Film simulation and white-balance settings influence that JPEG and the embedded preview, so record any deliberate recipe used during the session.
Copy the card to a stable working directory and make a separate verified backup before formatting. Keep original RAF files unchanged. Because a fixed-lens outing may mix insects, street scenes, and travel photographs, use folder or collection boundaries that prevent unrelated frames from entering the macro cull accidentally.
Check file count, open samples across the session, and confirm that notes correspond to timestamps. If the clock was wrong, apply a documented offset in the catalog or metadata workflow without destroying the original order. Sequence continuity can help identify which frames show one insect and which show a nearby second subject.
Cull by focus plane, behavior, and habitat
On the first pass, separate empty frames, severe movement, and accidental focus from photographs that deserve comparison. On the second, inspect the near eye, head, wing or body feature required by the image. At close distance, a sharp leaf edge behind a soft insect can look impressive at thumbnail size, so magnify the intended anatomy.
Then return to full view. Check whether stems cross the body, bright spots pull attention, and the habitat supports or confuses identification. A slightly less magnified frame may be stronger when it gives the subject space and explains where it lives. Preserve an alternate environmental view even when a tighter crop becomes the hero.
imagic can process supported RAF files locally, score sharpness and exposure, assess composition, and group near-duplicates. Closed-eye scoring is not meaningful for most insects, and a generic composition score cannot judge diagnostic anatomy or ethical context. Treat the automated pass as organization, then make the biological and editorial decision manually.
Develop fine detail without brittle edges
Start with exposure and white balance from the subject light, not from a bright background. Reflective shells, translucent wings, and tiny hairs respond differently to contrast. Recover broad highlight texture where present, but do not flatten natural sheen. Deepening the background should not erase legs or antennae that already sit near shadow.
Apply noise reduction cautiously. Fine scales, hairs, wing veins, and leaf texture can resemble noise to an aggressive algorithm. Sharpen after basic noise work and inspect halos around legs against smooth backgrounds. Judge the final settings at the intended output size as well as at a close view.
Lens corrections and a moderate crop can refine the fixed-lens composition. Keep enough habitat to support the environmental intent. If a crop becomes so tight that interpolation and sharpening carry the subject, the capture did not provide true macro detail. Label the result honestly rather than presenting it as extreme magnification.
Handle focus stacks outside the basic cull
A stationary subject, shed skin, plant detail, or ethically photographed inactive insect may support a manual focus sequence. Lock framing and exposure, move the focus plane in ordered steps, and create a clear separator before and after. Wind, subject movement, and camera movement can make frames impossible to align.
Do not attempt a long stack on an active insect when it prolongs disturbance. Select a single frame with the most useful plane instead. A successful stack should remain traceable to every source RAF and should not combine behavior that occurred at different moments in a misleading way.
imagic does not merge focus stacks or provide layers. It can help identify technical candidates and apply non-destructive baseline adjustments, after which dedicated stacking software is required. Keep component files grouped even if only the merged derivative receives a delivery status.
Export with identification and privacy in mind
Choose JPEG or TIFF according to the next stage, and set dimensions, color space, compression, and sharpening for the actual use. Preserve a stable identifier that links the export to its RAF. Include a species name only when supported, and distinguish an identification suggestion from confirmed expertise.
Remove sensitive coordinates and private property details from public files. A garden photograph may reveal an address through metadata or background objects. Keep full research notes in controlled storage while delivering only what the audience needs.
The imagic desktop workflow explains local culling and export, while AI and Technology discusses automated tools in photographic practice. Open each rendered image to check gradients, small edges, profile, crop, and metadata before publication.
Use a close-focus RAW workflow checklist
- Intent: choose identification, behavior, portrait, or habitat before approaching.
- Distance: respect subject response and the fixed lens working range.
- Depth: align the focus plane and choose aperture for useful anatomy.
- Motion: account for wind and subject movement beyond stabilization.
- Sequence: keep behavior bursts short and add an environmental frame.
- Notes: record observed facts without exposing sensitive locations.
- Copies: verify RAF backups and keep RAW plus JPEG pairs aligned.
- Cull: inspect anatomy, behavior, background, and ethical context.
- Finish: control fine-detail processing and use separate stack software if needed.
Frequently asked questions
Is the X100VI a true macro camera?
Its fixed lens can focus close, but it does not provide the high magnification or long working distance of a dedicated macro lens. It is especially useful for environmental close-ups that include habitat.
Can imagic combine a focus stack?
No. imagic can cull and apply non-destructive adjustments, but it does not merge focus stacks or provide layers. Use dedicated stacking software and retain the source RAF sequence.
How much can a 40-megapixel insect file be cropped?
There is no universal safe percentage. Focus, movement, lens detail, atmosphere, ISO, and final output all matter, so judge the crop at delivery size and keep claims about magnification honest.