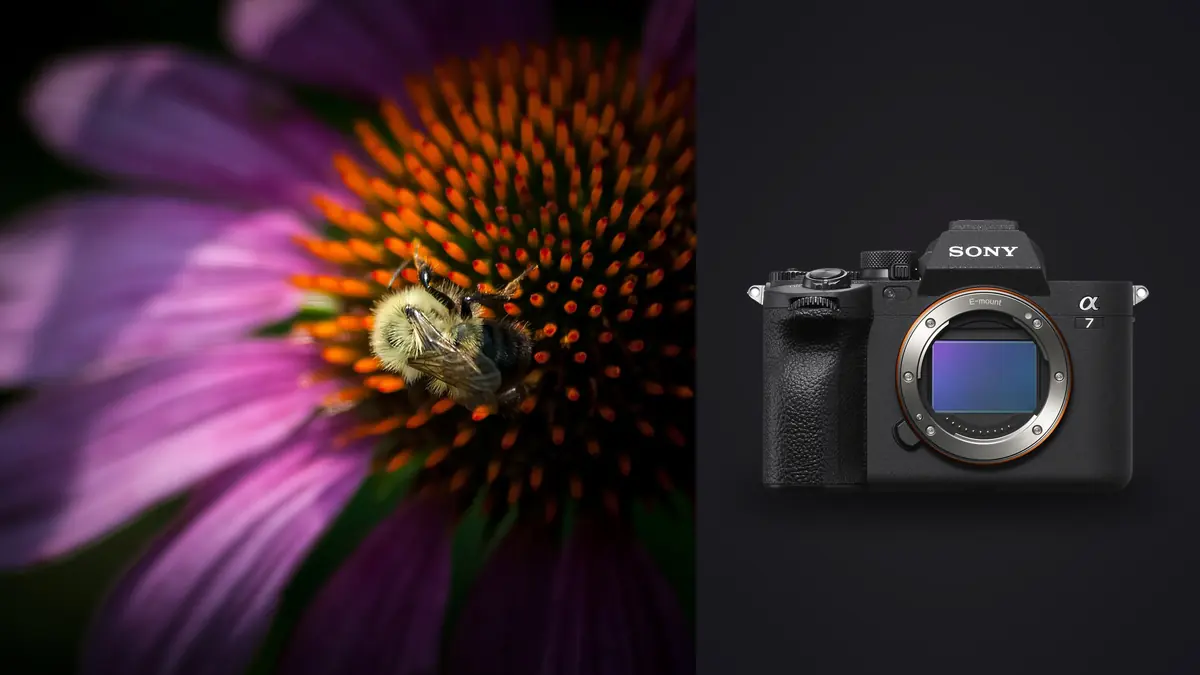
A Sony A7 IV macro and insect photography RAW Workflow must preserve tiny differences in focus plane, movement, and subject behavior. A sequence can contain one frame with a sharp near eye, another with better wing position, and several components intended for a focus stack. Those files are not interchangeable, even when thumbnails look almost identical.
The camera's full-frame ARW files, stabilization, autofocus, and dual media slots support close work, but magnification depends primarily on the lens and working distance. The workflow should protect living subjects, label sequence roles, keep stack components together, and develop fine detail without turning scales, hairs, and leaf texture into noise or sharpening artifacts.
Define the biological and visual purpose
Decide whether the photograph is for identification, behavior, habitat, pattern, or a stylized portrait. Identification may need a dorsal or side view and visible diagnostic features. Behavior often requires room around the subject. A portrait can prioritize the eye and background without claiming to document every anatomical detail.
Set an ethical working distance. Do not damage plants, block a nest entrance, chill or restrain an insect for convenience, or continue when the subject changes behavior because of the camera. Choose a longer macro lens when distance protects the animal. No file quality justifies unnecessary stress.
Record date, broad location, host plant, weather, and observed behavior. Keep exact sites private for sensitive species. Label uncertain identification honestly and retain views that may support later confirmation.
Choose ARW settings for fine-detail work
Verify the selected RAW compression in every application used for development, stacking, and archive. Make sample files with the current firmware and process them through normal noise reduction and export. Preserve native ARW files even when a stacking program needs another intermediate format.
Use a stable white balance and restrained preview. Reflective shells, translucent wings, and saturated flowers can clip a color channel before the overall image looks bright. Check representative RAW data and avoid relying on a vivid preview alone.
Set aperture from the required depth and lens behavior. Very wide apertures can leave the far eye or important body features outside the plane, while very small apertures can soften fine detail. At close range, a tiny position change can matter more than another increment of resolution.
Control the focus plane at capture
For a still insect with a clear eye, begin focus on the nearer eye and evaluate whether the head and key body features fall within depth. A broad autofocus area may choose a high-contrast wing, leg, or leaf. Reduce the area or use manual focus when subject detection does not identify the intended anatomy.
Align the sensor plane with a flat wing or body surface when the composition allows. This increases useful coverage without stopping down as far. For a three-dimensional subject, choose which plane carries the image rather than expecting every feature to be sharp in one exposure.
Stabilization helps camera movement, but wind and subject motion remain. Use support, a motion-appropriate shutter, and patient timing. Check whether blur affects the whole frame or only moving antennae and legs before changing focus settings.
Build short behavior sequences
Begin a short sequence before feeding, wing opening, grooming, or takeoff and stop when the phase ends. Long bursts through unchanged behavior produce many redundant focus misses. A deliberate series is easier to compare and less likely to encourage prolonged disturbance.
Make an environmental frame before moving closer. It can establish habitat and provide useful story context if the subject departs. Avoid placing artificial props or moving the insect solely to simplify composition unless the method is appropriate, authorized, and disclosed.
Use a separator frame or note when the lens, magnification, focus method, or lighting changes. At ingest, those markers prevent a flash test or empty background plate from being mistaken for a final sequence member.
Use flash without losing sequence consistency
A diffused flash can control motion and bring color into shade, but source size and angle matter. Test on a neutral object and inspect reflective body parts for hard featureless spots. Keep the light and support from touching habitat or blocking the subject's path.
Allow the flash to recycle. If later frames become darker, reduce capture rhythm or power demand rather than applying one exposure adjustment across an inconsistent series. Ambient contribution can create a secondary ghost around a flash-frozen subject when the shutter exposure is bright enough to record movement.
Record which frames use flash, natural light, or a combination. They may need different white balance and contrast. Do not synchronize one baseline across lighting methods merely because the subject remains on the same leaf.
Route and verify both card slots
The A7 IV combines a slot that supports CFexpress Type A or SD media with a second SD slot. Configure duplicate ARW, RAW and JPEG separation, or overflow deliberately, then inspect both cards. Different media and file combinations can change operating behavior.
Keep blank, exposed, and copied cards distinct. Create a working copy and separate verified backup before formatting. Open files from each major sequence, including stack endpoints and the last frames on a card. A thumbnail count alone does not confirm that every RAW is readable.
Store original ARW files in an immutable directory and put previews, stack intermediates, masters, and exports elsewhere. Preserve original names or use a collision-safe prefix when several bodies can overlap. Keep field notes linked through time and stable IDs.
Cull for anatomy, behavior, and background
First remove attention from empty frames, complete obstructions, severe camera movement, and focus planes that miss every required feature. Change status rather than deleting the original. Next compare the near eye, head, wing, legs, and diagnostic markings at full size.
Return to the full composition and inspect stems, bright spots, clipped antennae, background insects, and habitat. The most detailed frame may not be the strongest if a leaf cuts through the body or the pose hides behavior. Keep a looser alternate when it explains location or scale.
imagic supports ARW files, works locally, and can score sharpness, exposure, closed eyes, and composition while grouping similar frames. It cannot identify the important anatomy or judge ethical context. Use its technical signals to navigate, then make the final biological and visual choice manually.
Keep focus-stack components as a set
Focus stacking is appropriate for a stationary subject or non-living detail when framing and light can remain stable. Make ordered focus steps with enough overlap, keeping aperture, exposure, and camera position consistent. Mark the beginning and end, and note the direction of focus movement.
Movement between frames can create doubled antennae, broken hairs, or impossible wing edges. Review every component before merging. Do not combine different behavioral moments into one image when that would misrepresent the subject. A single honest frame is preferable to a misleading stack.
imagic does not align or merge focus stacks and has no layers. It can assist with culling and baseline adjustment, after which dedicated stacking software is required. Retain the source ARW IDs with the merged master and keep excluded components until the result is verified.
Develop natural micro-detail
Set exposure and white balance from the subject light. Protect broad reflective areas while retaining natural sheen. Lift shadow detail selectively; aggressive recovery can reveal color noise around legs and fine hairs and can flatten the dimensional effect of the light.
Apply noise reduction carefully because scales, hairs, veins, pollen, and leaf cells resemble noise. Sharpen after noise work and inspect halos against smooth backgrounds. Judge at the intended print or screen dimensions, not only at extreme magnification.
Use lens correction and cropping to refine composition, but do not claim a heavy crop as greater optical magnification. Record the actual lens and any extension or converter. If a specialist local edit is needed, use suitable layer-based software and keep the ARW traceable.
Protect identification and location metadata
Attach tentative or confirmed species information to stable file IDs. Record the basis for a difficult identification and who verified it when relevant. Avoid allowing a generic recognition tool to make the final claim for rare or similar species.
Strip coordinates from public derivatives where disclosure could expose a nest, host plant, or protected population. Keep precise notes in controlled storage for legitimate research or return visits. Background house numbers and private property can also reveal location.
When an image is a stack, disclose the method where context requires it and retain a source manifest. A composite built from several focus planes is not a single untouched exposure, even when all frames were made moments apart.
Calibrate scale and magnification claims
Record the lens, reproduction setting, extension, converter, and meaningful crop for images presented as macro. A close screen view or heavy crop can look highly magnified without recording the same subject detail as greater optical reproduction. Keep captions accurate about the method.
When scale is scientifically useful, include a reference only through an accepted, non-disruptive method. Do not place a ruler beside an active insect or alter habitat merely to prove size. Field notes can record an estimate and the basis for it without changing the photograph.
Compare outputs at a fixed physical or pixel size before claiming one sequence resolved more detail. Focus plane, movement, lighting, diffraction, and processing all affect the result. Preserve the uncropped ARW so later identification does not rely on an aggressively sharpened derivative.
Export for the actual use
Choose JPEG or TIFF, color space, dimensions, compression, sharpening, filename, credit, and safe metadata for the recipient. Identification plates, web portfolios, print pages, and research references may require different crops and labels. Generate derivatives from the approved master.
The imagic desktop page explains local culling and non-destructive export, while AI and Technology provides wider automation context. Stacking, layers, and scientific cataloging remain separate tools and responsibilities.
Open every final and inspect small edges, gradients, profile, crop, caption, and location data. Compare the output with the source at delivery size. Archive ARW originals, field notes, stack manifest, editable master, and derivatives according to the project policy.
Use an A7 IV macro RAW workflow checklist
- Purpose: define identification, behavior, habitat, or portrait intent.
- Ethics: set working distance and stop when the subject reacts.
- Format: verify ARW compatibility through development and stacking.
- Focus: choose the required anatomy and align the plane where possible.
- Light: record natural and flash groups and respect recycling.
- Cards: verify dual-slot routing and both storage copies.
- Cull: inspect anatomy, movement, behavior, and full-frame background.
- Stack: keep ordered components and use dedicated merge software.
- Develop: preserve natural micro-detail and honest magnification.
- Export: audit identity, location privacy, profile, and source traceability.
Frequently asked questions
Can the Sony A7 IV create a finished focus stack in imagic?
No. imagic can cull and adjust supported ARW files, but it does not align or merge focus stacks. Use dedicated software and retain all source components.
Should insect autofocus always target the eye?
The near eye is a strong portrait priority, but identification or behavior may require a different anatomical plane. Verify what the image needs instead of relying on automatic subject choice alone.
Does stabilization freeze a moving insect?
No. Stabilization reduces some camera movement. Shutter speed, flash duration, wind, and subject behavior determine whether moving anatomy is rendered sharply.