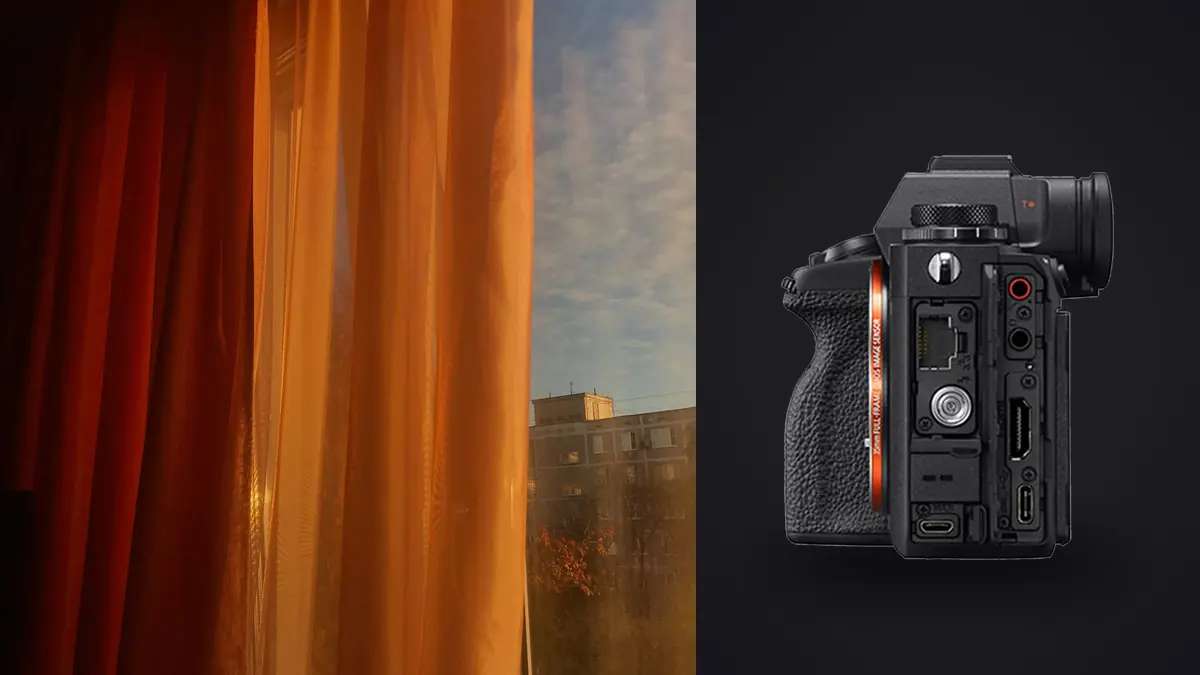
The Sony A1's 50.1-megapixel stacked full-frame sensor and advanced autofocus can make a boudoir focus or exposure failure look surprising. The camera can recognize an eye and still focus on the wrong eye. A frame can be free of camera shake and still show subject motion. An electronic shutter can be fast and still record bands under a pulsed fixture. High resolution makes those distinctions visible; it does not solve them automatically.
A productive diagnosis identifies where detail actually landed, which part moved, which light pulsed, or which color channel clipped. Avoid changing focus area, aperture, shutter type, ISO, and light output at once. Make a controlled non-sensitive test, change one relevant variable, and compare the RAW files before returning to the full sequence.
Start with a symptom map
Open a failed frame and a successful neighboring frame at the same magnification. Find the sharpest edge in each. If hair or an eyebrow is crisp, focus probably landed there. If the background is crisp, target acquisition failed. If no stationary edge is crisp and blur has a direction, camera movement is likely. If the set is sharp but the subject smears, shutter speed did not freeze the pose.
| Symptom | Probable cause | First controlled change |
|---|---|---|
| Far eye sharp | Eye selection changed | Register and use eye switch |
| Eyelash sharp, iris soft | Plane too shallow or forward | Stop down and reduce focus area |
| Hands sharp, face soft | Tracking began on foreground | Start over the intended face |
| Subject blurred, room sharp | Subject motion | Increase shutter or hold endpoint |
| Frame-to-frame bands | Pulsed light and shutter timing | Test flicker control or mechanical shutter |
| Skin loses texture | Channel clipping or hard reflection | Check RGB histogram and light angle |
Record lens, focal length, aperture, shutter, ISO, focus mode, autofocus area, selected subject, shutter type, stabilization, light source, and dimmer level. The list turns a vague problem into a repeatable state that can be tested later if the room is busy.
Fix the camera choosing the wrong eye
Human eye detection needs a target-selection rule when both eyes are visible. Assign an accessible control to switch right and left eye or to cycle the detected target. Use the near eye for most shallow-depth portraits unless the far eye is intentionally dominant. Confirm the indicator before the release rather than assuming proximity decides correctly.
Limit the autofocus area to the relevant face. Wide tracking can jump to a reflected face, another person, wall art, or a strong foreground detail. Start a tracking point or zone over the intended subject, then let recognition refine within that instruction. If a mirror is essential, place the real and reflected faces in separate areas of the frame and use a smaller zone.
For profile poses or an eye behind hair, switch to a flexible spot over the visible iris. Detection is an aid, not a requirement. Reacquire after the subject changes head angle, especially if the camera briefly lost the face.
Fix shallow-depth inconsistency
At f/1.2 or f/1.4, a reclining pose can put two eyes, lips, hands, and clothing details on different planes. The A1 may place focus accurately while the chosen aperture leaves important features outside depth of field. Stop down and repeat before changing autofocus sensitivity or blaming the lens.
Align the camera with the important plane. If the face and near hand should both be clear, changing height or angle may reduce their distance difference. Do not force depth only through a very small aperture if a modest position change produces a cleaner background and better plane.
Test at realistic subject distance. A lens that appears consistent on a nearby object may show different depth and handling at a full-length portrait distance. Use a consenting clothed stand-in or an angled detailed target, focus repeatedly, and compare where the plane falls.
Separate subject blur from camera shake
The A1's stabilization compensates for camera movement, not breathing, swaying, hair, hands, or fabric. If background texture is sharp while the eye trails in one direction, raise shutter speed or ask the subject to settle at a clear endpoint. If every edge moves together, improve stance, support, release technique, or shutter speed.
High pixel density makes small movement obvious at 100 percent. After checking the eye and important edges, evaluate the photograph at final output size. A tiny movement visible only under extreme zoom may not affect a modest print, while a clear double eyelash will. Use delivery criteria rather than perfection detached from use.
For a slow walk or turn, begin AF-C tracking before the final pose, use enough depth for movement along the lens axis, and capture a short sequence. Thirty fps is not a focus repair. A lower rate with good direction and a clear endpoint creates fewer, more meaningful diagnostic frames.
Correct LED bands in silent shutter
The stacked sensor reads quickly, but electronic capture can still interact with LEDs, dimmed practicals, fluorescent fixtures, or displays. Photograph a plain wall and a skin-toned reference under the exact final settings. Make several frames because a single test may land at a favorable point in the light cycle.
Use anti-flicker or variable-shutter tools where appropriate, then repeat. Inspect brightness and color, not only obvious dark bars. If the fixture remains unstable, change its output level, replace it, select another shutter speed, or use the mechanical shutter. Several unrelated fixture frequencies may not have one camera setting that fixes all of them.
Save a verified silent-lighting state and a mechanical fallback. Confirm that switching states does not change file type, focus activation, white balance, or Auto ISO limits. A shutter fix should not introduce a new focus or exposure problem.
Fix clipped skin and reflective fabric
Use the RGB histogram because warm skin, red fabric, and colored light can clip one channel before the combined display seems extreme. Include the palest skin, white sheet, satin, jewelry, or sequins in the opening test. Blink warnings on a tiny reflection may be acceptable; broad texture loss is not.
Change the light geometry before lowering the entire exposure. Feather a large source, raise or move it, turn reflective fabric, or alter the pose so a specular highlight moves away from the camera. If the highlight contains required product or skin texture, reduce flash or source intensity and expose again.
RAW files provide recovery latitude but cannot reconstruct information that every relevant channel clipped. A bright picture-style preview can also conceal how close the RAW data is to the limit. Establish a tested exposure baseline rather than judging only screen appearance.
Resolve mixed light and shifting white balance
Automatic white balance can change as the frame includes more window, warm lamp, dark bedding, or colored wall. Under a stable setup, use a fixed or measured white balance. Capture a neutral reference under the subject light after each meaningful fixture or location change.
If one side of the subject is warm and the other cool, global white balance cannot neutralize both. Decide which source should lead, then turn off, gel, move, or reduce the conflict. Reflected color from curtains, paint, or wood may require a local correction in an editor that offers it.
Keep intentional warmth intentional. Neutralizing every practical lamp can remove the mood, while allowing an uncontrolled green or magenta cast on skin creates difficult matching. Separate aesthetic color from accidental contamination.
Fix flash and ambient inconsistency
Confirm that the chosen shutter mode supports the trigger and flash behavior. The A1's maximum electronic burst and every flash mode do not operate identically. Use a drive rate the flash can recycle through, and inspect a short burst for alternating output or color.
Subject-to-light distance changes exposure. If the subject walks toward a close softbox, flash intensity on the face rises even when camera settings stay fixed. Mark the posing zone, move the source farther away for more even relative distance, or adjust flash deliberately between marks.
When ambient changes through a window, decide whether shutter, ISO, aperture, or flash should compensate. Do not let several automatic systems fight one another. A stable manual flash and camera exposure can work under steady conditions; a changing window may require measured resets between sequences.
Check lens, controls, and firmware methodically
Repeat the focus test with another known lens if available. Remove unnecessary protective filters, verify the mount, and compare at several distances and apertures. A damaged filter, decentered lens, unusual stabilization state, or lens firmware issue can resemble a body autofocus failure.
Check custom buttons and recall states. A hold button may be overriding focus area or eye selection only while pressed. Back-button focus may be active in one state and disabled in another. Power-cycle the camera and reload the intended portrait profile before concluding that behavior is random.
Document camera and lens firmware versions, but do not update immediately before a critical session without time for verification. An update can improve compatibility while also resetting or changing behavior that the workflow depends on.
Use local culling as diagnostic evidence
Copy ARW files into encrypted local storage, verify an independent second copy, and group frames by light, lens, aperture, shutter mode, and pose. Compare successful and failed sequences side by side. A pattern that appears only under one dimmer level or one lens is more informative than an overall keeper rate.
imagic can locally score sharpness, exposure, closed eyes, and composition and group duplicate or burst sequences. Use those signals to locate clusters that deserve inspection, then identify the actual focus plane and histogram behavior manually. If stored scores predate a scorer update, reranking them does not reanalyze the files; check freshness before relying on the old verdict.
Edits remain non-destructive, and approved files can be exported as JPEG or TIFF to a confirmed destination. The desktop workflow explains the local process, while AI and Technology covers related automation boundaries. Sensitive images should remain under the agreed access and retention policy throughout diagnosis.
Troubleshooting sequence
- Locate the sharpest edge or exact clipped region in the failed RAW.
- Record every focus, exposure, lens, shutter, and lighting variable.
- Repeat a non-sensitive controlled frame without recomposing.
- Change one variable tied to the observed symptom.
- Compare full-size detail and final-output appearance.
- Save the verified state and document the cause.
- Return to the session only after the fallback also works.
Frequently asked questions
Why does the Sony A1 focus on the far eye?
Eye selection may be automatic or the tracking start may include both eyes. Register eye switching, limit the autofocus area, and confirm the indicator before capture.
Does 50 megapixels cause focus problems?
No, but it makes small focus-plane and motion errors easier to see. Choose aperture, shutter speed, and inspection scale according to the pose and final output.
Why do electronic-shutter portraits change color between frames?
A pulsed fixture may vary during the readout. Test anti-flicker controls, variable shutter, fixture level, shutter speed, and a mechanical fallback.
Can automated sharpness scoring identify the exact cause?
It can flag likely sharpness differences, but it cannot always distinguish target choice, subject motion, lighting interaction, or creative intent. Inspect the RAW sequence and recorded settings.