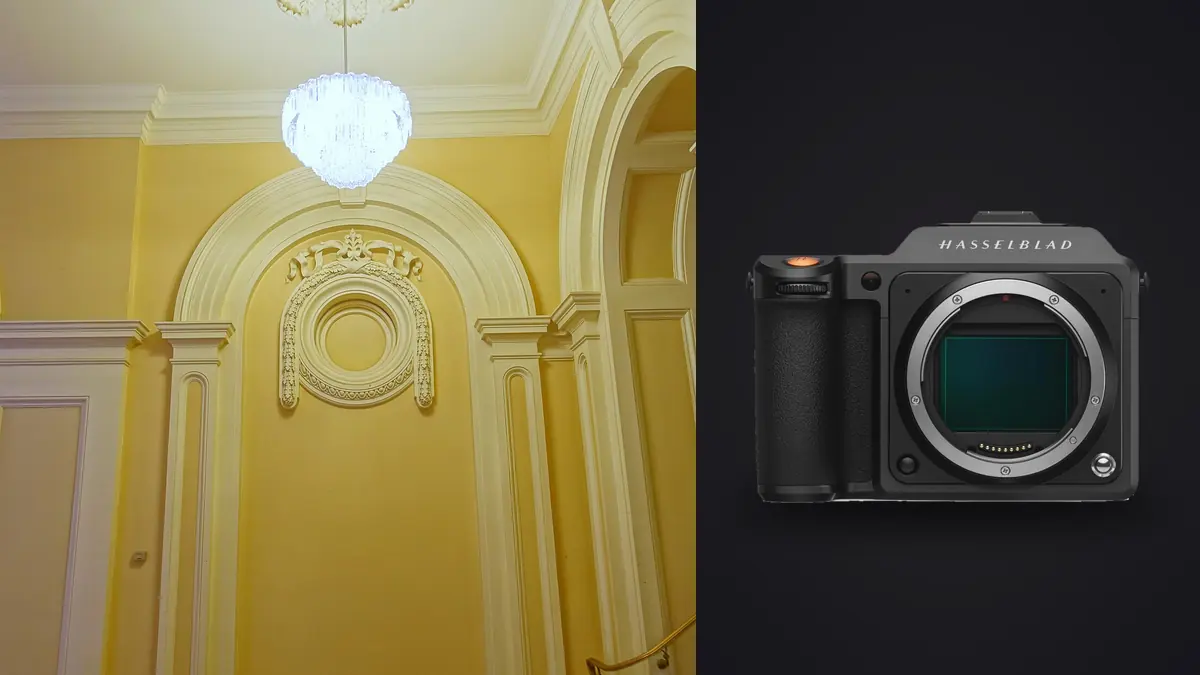
A friend of mine shoots hospitality interiors for a design studio in Lisbon, and when she switched from a Nikon Z7 to a Hasselblad X2D 100C two years ago, the first thing she noticed wasn't the pixel count. It was how much longer she could leave a bright window sitting in a bracket without the highlights collapsing into a flat white wall. Architectural interior work lives and dies on that kind of detail. You're rarely lighting the way a portrait or a wedding shoot is lit. You're stuck with whatever daylight is coming through the glazing plus whatever tungsten or LED fixtures the designer specified, and you need a sensor that can hold both ends of that range without you fighting it for twenty minutes in Lightroom. This is about what actually changes when you bring a 100-megapixel medium format body onto a job site, what doesn't change, and where the workflow gets genuinely harder rather than easier.
What the sensor actually buys you in a client's dining room
The X2D 100C's 43.8 x 32.9mm sensor is the real story here, not the megapixel figure everyone leads with. Base ISO is 64, which for interiors is a genuine advantage: you're almost always on a tripod anyway, so the slower shutter speed that ISO 64 demands costs you nothing, and in exchange you get noticeably cleaner shadow recovery when you pull up the dark side of a room to match a blown-out window. I've pulled interior shadows four stops on this camera and still had usable color, which is not something I'd try on a full-frame body without the file falling apart into blotchy noise.
The bigger, quieter benefit is color. Hasselblad's Natural Colour Solution renders wood tones, stone, and fabric with less of the oversaturated punch that a lot of mirrorless bodies apply by default. For architecture and interiors, where the client is often an architect or designer who picked that specific limestone or that specific walnut veneer for a reason, getting the material color right without hours of correction matters more than most spec sheets suggest. The 16-bit color depth (versus the 14-bit you get from most full-frame cameras) also means there's more room in the file before you see banding when you're doing heavy gradient work on a plain ceiling or a painted wall, which architectural interiors are full of.
The XCD lens kit, and the shift lens you don't get
Here's the part that trips people up if they're coming from a technical camera or a tilt-shift kit: there is no native shift lens in the XCD lineup. Hasselblad simply hasn't built one for the X mount. For interior work that means you're either shooting level and correcting verticals afterward, or you're stepping back and cropping in, which on a 100-megapixel file is a genuinely viable option since you've got plenty of resolution to spare.
The lenses that actually get used for interiors are the XCD 21mm f/4 (roughly a 17mm field of view once you apply the sensor's 0.79x crop factor against full-frame), the XCD 30mm f/3.5 (about 24mm equivalent), and the XCD 38mm f/2.9 (around 30mm equivalent, and my most-used lens on this body by a wide margin). The 21mm is the one people buy for architecture and the one I reach for least, because at genuinely wide angles on a 100MP sensor, edge softness and mild distortion become visible in a way they simply aren't on the 38mm. For a hallway or a tight bathroom, fine, you need the width. For a living room with breathing room, I'd rather back up with the 38mm and keep the corners honest.
One thing worth knowing if you haven't shot leaf-shutter lenses before: every XCD lens has a leaf shutter built into the lens itself, syncing flash at up to 1/2000s on most of them. For interiors where you're bouncing a flash off the ceiling to fill a room while a window blazes away at full daylight, that sync speed means you don't need ND filters or high-speed sync tricks to balance the two. It's a small thing that saves real time on a shoot day.
How it compares against what other architectural photographers actually carry
I get asked fairly often whether the X2D 100C is worth it over a Fuji GFX body or a proper technical camera setup. The honest answer depends entirely on what the job is paying and what the client actually needs delivered.
| System | Sensor / resolution | Native shift lens | Typical raw file size | Rough body price | Best fit |
|---|---|---|---|---|---|
| Hasselblad X2D 100C | 43.8 x 32.9mm, 100MP | None (correct in post) | ~200MB (16-bit 3FR) | ~$8,200 body only | Editorial / boutique jobs where color and file quality outrank speed |
| Fujifilm GFX 100S II | 43.8 x 32.9mm, 102MP | None, older shift adapters awkward | ~120MB (compressed RAF) | ~$5,000 body only | Same sensor class, faster AF, lower cost of entry |
| Phase One XT + IQ4 150MP | 53.4 x 40mm, 150MP | Built-in mechanical shift, up to 12mm | ~300MB+ (IIQ) | $50,000+ as a system | True technical-camera architecture work, no autofocus |
| Full-frame + tilt-shift (e.g. Sony A7R V with an adapted TS lens) | 35.9 x 24mm, 61MP | Native tilt-shift lenses widely available | ~60-80MB (compressed RAW) | ~$4,000-5,000 total kit | Fastest, lightest, cheapest path to in-camera vertical correction |
Notice that the X2D 100C is the only body on that list without any shift option at all, native or adapted. That's a real trade-off, not a footnote. If a client specifically needs perfectly parallel verticals straight out of camera for a print portfolio, a tilt-shift full-frame kit or the Phase One will get there faster than you will correcting a Hasselblad file in Lightroom. What the X2D wins back is color, dynamic range, and file quality per shot, which matters more for magazine spreads and hero images than it does for a volume real estate listing.
A one-room workflow, start to finish
On a typical shoot, plan on twenty to thirty minutes per room once furniture is styled and the layout is settled. Tripod goes down first, leveled with the built-in electronic level rather than a bubble, because at 100MP a half-degree of tilt is visible the moment you crop for verticals later. Then I meter for the window light and shoot a five-frame bracket, typically two stops apart, to cover the gap between the exterior brightness and the interior shadow. If there's a mix of daylight and tungsten in the same frame, which is nearly every interior job, I'll also shoot a version with the practical lights off just to have a clean daylight-only plate for blending, since mixed white balance is one thing raw processing genuinely cannot fix cleanly in a single exposure.
A gray card goes into the first frame of every new lighting setup. It's a five-second step that saves an hour of eyeballing color casts later, especially once you're bouncing between a room lit by afternoon sun and one lit by warm 2700K downlights twenty feet down the hall. I'll usually fire off a second full bracket from a slightly different height, chest-level versus a lower "room-scale" angle some designers prefer for showing floor material, because it is easy to change your mind about which angle works best after seeing both on a laptop.
Add it up and a single room with two angles and a five-frame bracket at each is ten raw files before you've even accounted for retakes, and on a decent-sized project you're doing this across eight to twelve rooms in a day. That's when the file count starts to become the actual bottleneck, not the camera.
Two hundred raw files before lunch
This is the part that doesn't show up in camera reviews. A day of interior shooting on the X2D 100C easily produces 200 to 350 raw files, each one around 200MB. Opening that in Lightroom to check focus and pick the sharpest frame from each bracket is slow, because a 100MP 16-bit file takes a real moment to render even on decent hardware, and doing that render 300 times in an evening is how you lose your whole night to sorting instead of editing.
This is where I've actually changed my workflow. I run the day's card through imagic before touching Lightroom at all. It scores focus and sharpness locally, on my own machine, which matters on interiors more than people expect because a lot of interior projects are under NDA before the property or the design goes public, so uploading raw files of an unreleased renovation to anyone's cloud service is risky. imagic's duplicate and burst clustering also groups each bracket set together automatically instead of making me step through five near-identical exposures one at a time, which on a 300-file day is the difference between an hour of sorting and fifteen minutes. You can read more about how the underlying culling approach works on the how AI photo culling works page if you want the mechanics behind it.
Editing for consistency across a portfolio
The second problem with a 100MP interior workflow is keeping the look consistent once you're actually editing. A hotel lobby shot at 10am with hard daylight and a guest room shot the same afternoon under warm practicals need different corrections to end up looking like they came from the same photographer's eye, and manually rebuilding a develop preset for every lighting condition gets old fast on a multi-room job.
I've started leaning on imagic's apply_my_style feature for this. It's trained on my own past edits rather than a generic preset pack, so when I run a fresh batch through it, the results lean toward how I've actually treated similar light in previous work rather than a one-size grade that ignores whether the room is daylight-balanced or tungsten-heavy. It's not magic, and I still go frame by frame on the hero shots that will actually get published, but for the volume of secondary angles and detail shots that fill out a portfolio, it cuts a lot of repetitive slider-dragging. And because everything runs locally with no subscription tied to it, it's a one-time cost rather than another monthly line item sitting next to an $8,200 camera body, which is the kind of math that matters when you check imagic's pricing page and realize you're not signing up for anything recurring.
What actually annoys me about shooting interiors on this body
None of this is a sales pitch for the camera. There are real friction points. Autofocus is contrast-detection only, and in a dim stairwell or a hallway with no windows it hunts, sometimes for a full second or two, which is mildly infuriating when you're trying to keep a shoot on schedule. I've gone back to manual focus with focus peaking for anything below a certain light level rather than fight the AF.
Battery life is mediocre, which is expected for a body this size, but on an all-day shoot with the rear screen active for reviewing brackets constantly, I go through two batteries without much effort. The body itself is around 895 grams, and the 21mm lens adds close to 475 grams on top of that, so a full day carrying it, a tripod, and a reflector between rooms is real work, not the lightest kit you could bring.
And the file size cuts both ways. Yes, the color and dynamic range are excellent, but a 1TB internal SSD backed by a single SD card slot fills up faster than you'd think across a multi-day shoot, roughly 4,500 to 5,000 raw frames at that file size before you're offloading. On a three-day hotel job with two rooms a day at the bracket count above, you're watching storage the way you'd watch it on a video shoot, which isn't something I ever had to think about with a 24MP full-frame body.
Frequently Asked Questions
Do I need a tilt-shift lens for the X2D 100C to shoot architecture?
Not strictly. Hasselblad doesn't make one for the XCD mount, so the standard approach is to level the camera precisely, shoot slightly wide, and correct verticals in Phocus or Lightroom afterward. The 100MP resolution gives you enough headroom to crop into a corrected file without visibly losing detail, which is the main reason this works as well as it does. If a client demands perfectly parallel lines straight out of camera with zero correction, a technical camera or a native tilt-shift full-frame kit is still the more direct tool.
Is the autofocus fast enough for dim interior spaces like stairwells or windowless bathrooms?
It's the weakest part of the system for this specific use case. The contrast-detection AF hunts in low light, and I switch to manual focus with peaking for anything darker than a moderately lit hallway. It's not a dealbreaker since most interior work is tripod-based and unhurried, but if you're used to a modern phase-detect mirrorless body, expect a step back here.
How many bracketed interior shots can I actually fit before running out of storage on location?
At roughly 200MB per 16-bit raw file, the 1TB internal SSD holds somewhere around 4,500 to 5,000 frames before you need to offload. For a multi-room job with five-frame brackets at two angles per room, that's comfortably several days of shooting, but on a longer multi-day hotel or office job it's worth planning an evening offload rather than assuming the internal storage will carry the whole shoot.
Does the jump to medium format actually show up in a finished interior spread, or is it mostly marketing?
It shows up most clearly in two places: shadow recovery when you're balancing a bright window against a darker interior, and material color, particularly wood, stone, and textiles that a client picked out deliberately. On a screen at normal viewing size the difference from a good full-frame file is subtle. In a large print, or when a designer is scrutinizing whether the limestone reads as the actual limestone they specified, the difference stops being subtle.