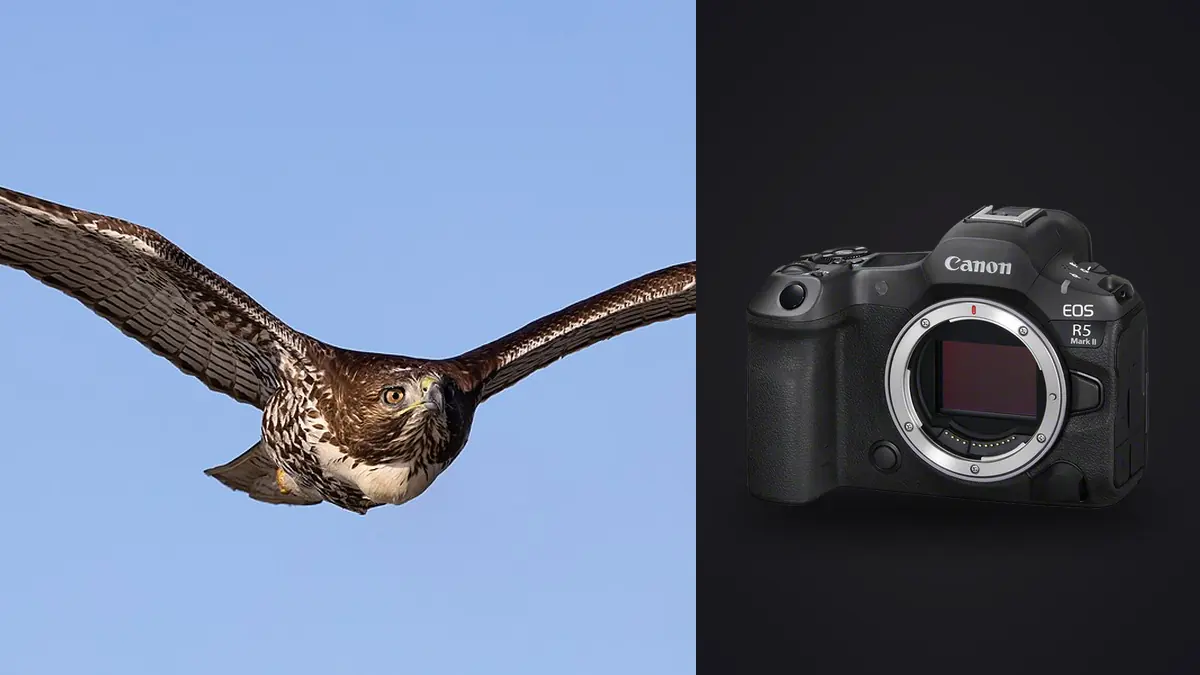
The Canon EOS R5 Mark II combines a 45 megapixel stacked, back-illuminated full-frame sensor with electronic shooting up to 30 fps, subject detection, and pre-continuous capture. A useful bird plan begins earlier, with the species, habitat, ethical viewing distance, sun and wind direction, background, and lens reach available from a legal position.
This Lens and Location Guide connects those field variables to RF lens choice and three visual jobs: perched portraits, birds in flight, and habitat frames. Camera settings support the plan, but they cannot repair a blocked flight path, harsh angle, or viewpoint that disturbs the bird.
Choose habitat and lens reach together
| Location | Lens role | Primary frame |
|---|---|---|
| Public woodland hide | Long zoom with close-focus flexibility | Perched bird with controlled background |
| Open wetland viewpoint | Longest practical reach | Flight, groups, and habitat scale |
| Coastal path | Portable telephoto plus wider backup | Birds against water, cliff, or weather |
| Garden or feeder at ethical distance | Moderate telephoto from fixed cover | Repeatable portraits and behavior |
| Large-bird flight corridor | Hand-holdable zoom | Acquisition through changing distance |
The longest lens is not automatically the best. A very tight field can make nearby flight difficult to acquire, while a heavy prime may restrict movement on a long public trail. Choose enough reach for the ethical distance and enough flexibility for the subject's path. Keep a wider body or zoom position for habitat frames instead of forcing every picture into a tight portrait.
Check minimum focus distance, teleconverter compatibility, lens hood clearance, support, and carrying method. A hide may suit a large lens on a gimbal; a coastal walk may demand a lighter zoom and rain cover. Test the complete kit for the duration and terrain, not only for optical reach.
Use detection and tracking for the planned background
Select the relevant animal or bird-detection behavior available in current firmware, but do not allow the camera to search the whole frame in every situation. Against open sky, broad tracking can acquire a bird quickly. In reeds or branches, a smaller flexible zone around the subject gives the system less competing detail. For a perched bird partly hidden by vegetation, a single point or small area placed on the visible head can be more dependable.
Watch the tracking box rather than merely seeing that a box exists. It should remain on the intended eye or head, not on a foreground twig, another bird, or a high-contrast wing edge. If it jumps, release and reacquire with the fallback area. Trying to drag an incorrect track through a burst often creates an entire sequence focused at the wrong distance.
Set tracking persistence according to obstructions. A bird passing briefly behind a branch benefits from some resistance to switching, while erratic subjects entering a crowded flock may need faster reacquisition. Test on a repeatable local subject and change one parameter at a time. There is no universally best sensitivity value.
Read wind and flight direction before shutter speed
For flight, choose shutter speed by wing motion, direction, distance, and output. A large bird gliding across the frame can tolerate less than a small bird beating rapidly toward you. If you want wing blur with a sharp head, lower the speed intentionally and pan smoothly. Review whether the blur describes motion or simply obscures the subject.
For perched birds, stabilization and lens support can allow slower speeds, but breathing, head turns, and feather movement remain. Use a tripod, monopod, beanbag, or stable stance appropriate to the location. Image stabilization reduces camera and lens movement; it cannot freeze the bird.
Enable Auto ISO limits that you have evaluated at final output size. Avoid a universal ceiling copied from another photographer. Exposure, crop, feather color, and software treatment all affect acceptable noise. A correctly exposed higher-ISO file may edit more naturally than an underexposed file lifted heavily.
Choose drive rate for predictable location events
Use single frame or a low burst for a stationary portrait. A moderate rate is enough for head turns, feeding, or a short behavior. Reserve the highest electronic rate for takeoff, landing, interaction, or fast flight where small phase differences matter. The maximum rate produces dense sequences, fills storage, and extends review time.
Pre-continuous capture can help when a perched bird launches before normal reaction time. It also records frames before full release, so understand how it buffers, which file formats it supports, and what battery or card impact appears under your settings. Practice on a predictable non-sensitive subject. The feature should support anticipation, not justify keeping the camera trained on a stressed bird indefinitely.
- Single frame for composed habitat portraits and resting birds.
- Low burst for grooming, feeding, and subtle expression changes.
- High burst for a defined takeoff, landing, strike, or crossing.
- Pre-continuous capture only when the event start is unpredictable and ethically observed.
Test shutter behavior in the location light
The stacked sensor reduces rolling-shutter distortion and enables fast electronic capture, but rapidly moving wings and artificial lighting still deserve inspection. Photograph a known flight pattern and look for bent lines or unusual wing geometry. At managed hides, aviaries, or indoor events, test lights and screens for banding.
Mechanical shutter may provide a useful fallback under problem lighting or with certain flash arrangements, while electronic shutter offers silence and speed. Electronic-first-curtain behavior can affect out-of-focus rendering at high speeds with wide apertures in some situations. Choose based on the actual scene and current manual guidance, not a belief that one shutter type is always superior.
Silence does not erase the photographer's presence. Birds respond to movement, distance, silhouette, and repeated approach. Use cover responsibly, avoid nests and roosts, and leave if behavior changes. Never use pre-capture or silent operation as a reason to stay too close.
Scout sun, background, and safe camera marks
Visit at the hour the birds are active and the planned light reaches the location. Note whether sun illuminates the face or creates a harsh top angle, where reflective water may clip, and which backgrounds remain distant enough to separate the subject. A step left or a lower camera mark can replace tangled branches with open shade without moving closer to the bird.
Wind often predicts takeoff and landing direction. Position where likely flight remains across or toward the frame, but stay inside legal viewing areas. Do not block a nest approach, feeding route, or escape path. If the bird changes behavior, calls repeatedly, freezes, or leaves because of the photographer, increase distance or depart.
Mark a perched position, a flight position, and a wider habitat position. Each should be reachable without crossing fragile ground or swinging a long lens through other visitors. Use a hide, beanbag, monopod, or tripod only where site rules and shared space allow it.
Assign cards and field logistics deliberately
The R5 Mark II uses one CFexpress Type B slot and one SD UHS-II slot. These media have different performance characteristics. Decide whether you need simultaneous backup, file-type separation, or overflow, then verify which shooting modes remain available in that configuration. The slower path may affect sustained capture.
Use cards listed as compatible for the intended settings and test them before travel. Format in camera only after prior work has two verified copies. Label cards, rotate them predictably, and keep full cards separate from empty ones. A high burst rate can make remaining-shot estimates fall quickly, so check capacity during quiet periods rather than during an approaching subject.
Set file naming and camera clock correctly. If a second body is used, synchronize both. Wildlife stories and scientific collaborations often rely on time order, and a correct timestamp helps connect behavior across cameras without exposing a sensitive public location.
Tune displays and controls for each camera mark
Keep a histogram, level, and uncluttered tracking view available on separate display cycles. Too much information can hide a small bird, while too little removes exposure warnings. Set viewfinder refresh and brightness to a level that supports tracking without misleading exposure judgment or draining power needlessly.
Assign lens or body buttons only to frequent decisions: AF area, eye choice, exposure compensation, or switching between perched and flight modes. Lock controls that are easy to bump under gloves. Practice changing focus area and custom mode while looking through the finder.
Disable beeps and bright review where they disturb wildlife or other observers. Use review breaks to check focus, card status, and lens cleanliness. Constant review after each burst reduces awareness and can cause missed behavior.
Store lens-specific field behavior with care
A long zoom, compact telephoto, and adapted super-telephoto may need different stabilization, focus-limit, and control-ring behavior. Check the lens focus limiter before every session; a limiter set for distant flight can prevent focus on a nearby perch, while full range can slow recovery when only distant subjects matter. Verify whether optical stabilization should remain active on a tripod, gimbal, or beanbag according to that lens's current instructions.
Save exposure and AF logic in the camera custom modes, but keep lens switches as a physical preflight. Feel each switch without removing your eye from the finder. If a lens button duplicates body AF or recall behavior, test that it does not conflict with the fallback area. A well-configured body can still fail when the lens is left in manual focus or an unintended distance range.
For adapted EF lenses, evaluate autofocus, stabilization, teleconverter support, and balance with the exact adapter and firmware. Static testing is not enough; follow a repeatable flying subject and inspect complete sequences. Keep an RF or other known fallback if the adapted combination is central to paid work.
Verify the lens and location plan with a field drill
- Photograph a static textured target at the expected distance and inspect the focus plane.
- Track a common bird or safe moving subject against open sky, then against foliage.
- Compare a short sequence at moderate and high drive rates.
- Check pale highlights, dark backgrounds, and Auto ISO response.
- Test electronic shutter for geometry and local artificial-light artifacts.
- Confirm both cards contain the intended formats and can be read by the workstation.
- Power-cycle the camera and verify custom modes retained the required behavior.
Write down the failures. If tracking loses the bird after an obstruction, change persistence. If the selected zone is too large in branches, reduce it. If a button is hard to reach with the lens supported, remap it. A setup becomes reliable through a drill, not through copying a menu list.
Bring the files into a disciplined local review
Copy and verify cards before formatting. imagic desktop can scan supported CR3 files, analyze them locally, and group related frames while storing reversible culling statuses. Culling does not delete originals. Human review remains essential for wing shape, behavior, rarity, and ecological context.
If a different keeper count is needed, reselecting re-ranks existing scores without reanalysis. Check score freshness when a verdict seems wrong and reanalyze stale photos. A learned style requires a profile based on the photographer's edits. Export renders stored edits into new files, leaving the RAW untouched.
Use the final edit to balance portrait, action, habitat, and behavior rather than delivering every technically sharp burst frame. Protect sensitive location metadata where appropriate. More post-capture guidance is available in Workflow and Editing.
Frequently Asked Questions
Should bird photographers leave the R5 Mark II at 30 fps?
No. Use the highest rate for brief actions where phase matters, and a lower rate or single frame for perched birds and slower behavior. This reduces file volume and simplifies selection.
What AF area is best for birds in branches?
A smaller flexible zone or point around the head often gives the camera less competing detail than whole-frame detection. Keep a broad tracking mode available for open sky and switch according to the background.
Does pre-continuous capture replace anticipation?
No. It can retain moments before full release, but it still requires correct focus, framing, exposure, and ethical distance. Use it for a defined unpredictable start, not as a substitute for observing behavior.