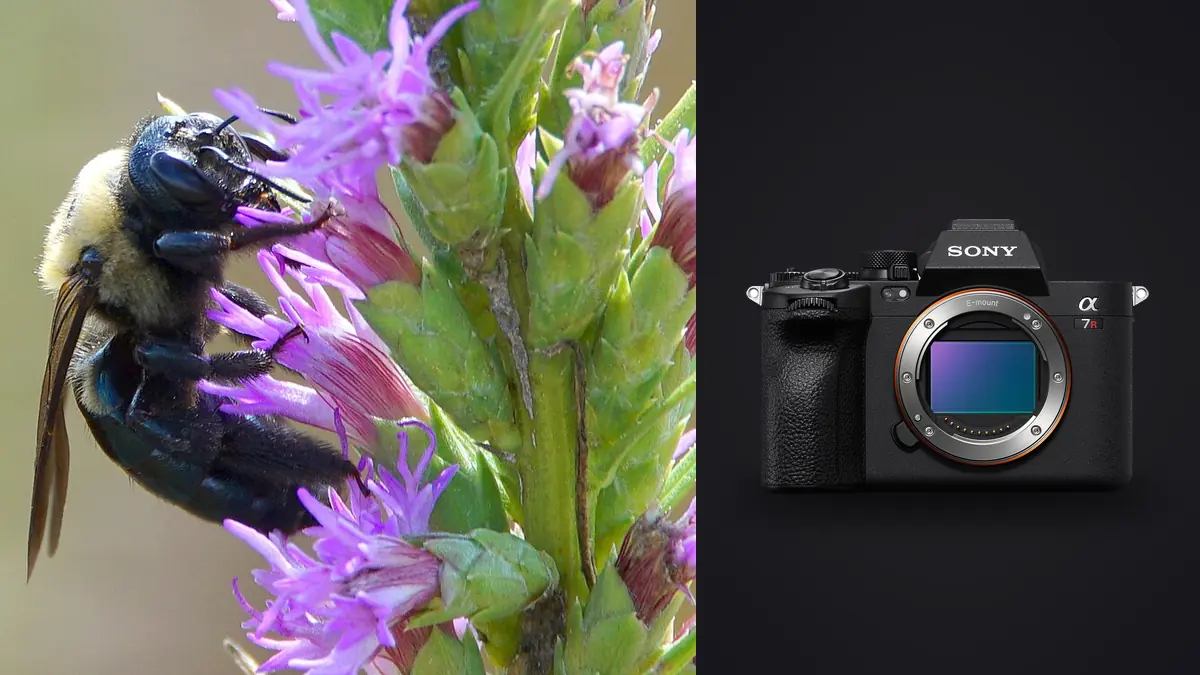
Macro softness is not one problem. A Sony A7R V frame can fail because the focus plane landed behind the eye, the subject moved, the camera rotated, depth was too narrow, diffraction softened fine texture, flash and ambient exposures separated, or the stack contained a gap. Increasing sharpening treats none of those causes.
This Lens and Location Guide starts with working distance, habitat, subject scale, wind, background, and the optical role needed for the picture. Focus diagnostics support those choices, but subject welfare remains the first limit: do not restrain, chill, relocate, or repeatedly flash an animal merely to simplify the photograph.
Choose macro reach from subject tolerance and terrain
A shorter macro lens can make a compact handheld kit for static plants and controlled subjects, but it places the camera and diffuser close to an insect. A longer macro offers more working distance and a narrower background angle, while increasing size, aim difficulty, and sensitivity to wind or support movement. The correct lens follows the encounter.
Consider a close-focusing telephoto for environmental portraits that do not require maximum magnification. It may preserve distance and include habitat more naturally. For diagnostic anatomical detail or very small subjects, a dedicated macro may be the clearer choice. Test the complete lens, hood, diffuser, and support at ground level.
Scout the microhabitat before setting a focus plane
Observe normal movement, feeding, resting, and escape routes before approaching. Note sun direction, bright holes in foliage, reflective leaves, wind channels, and background distance. Choose a lawful position where knees, tripod feet, and bags will not crush plants or block a trail.
Return when light and behavior align instead of moving the animal. Plan a wider fallback from the established path, and protect exact locations for vulnerable species. If the insect repeatedly retreats or changes behavior, increase distance or stop, regardless of the lens selected.
Classify softness before touching autofocus
Magnify the whole subject and nearby texture. If one plane is crisp, the system recorded detail and focus placement or depth is the likely issue. If nothing is crisp and edges stretch in one direction, subject or camera motion is more plausible. A uniformly gentle loss across the frame may come from diffraction, haze, a filter, heavy noise reduction, or poor RAW rendering.
Look at the eye, hairs, wing veins, legs, flower, and background in order of distance. This creates a map of the focus plane. A bright focus box in playback only records what the camera attempted; it does not prove where peak detail landed after subject movement.
Make a baseline with a textured static object at the usual distance. Use stable support, a moderate aperture, a delay or remote release, and neutral processing. If that file is crisp, the field failure is more likely movement, target choice, or technique than a permanently defective camera.
If focus lands on the wrong detail, reduce ambiguity
A wide or automatic area may choose a flower edge, patterned wing, antenna, or foreground stem instead of the eye. Switch to a movable spot that fits the target and place it on a high-contrast boundary. Sony's A7R V help guide describes the available focus-area types and should be checked for the installed firmware.
Subject recognition can assist with larger, clearly presented insects, but it is not a biological understanding system. Tiny subjects, camouflage, occlusion, and compound-eye texture can confuse detection. Watch the indicated target during a rehearsal and retain direct point control.
For a swaying insect, continuous AF may follow small distance changes if the target remains clear. For a still subject at high magnification, manual focus with magnified view may be more predictable. Move the camera or rail through the plane rather than repeatedly turning the ring when magnification and composition are already set.
If only part of the insect is sharp, reshape the plane
A sharp eye and soft wing can mean autofocus succeeded while depth of field did not cover the subject. Rotate the camera so the sensor plane aligns with the important anatomical features. A small angular change can include both eyes and a wing edge without closing the aperture dramatically.
Decide which plane carries the picture. For a head portrait, the near eye and mouthparts may matter more than the abdomen. For identification, several diagnostic features may need clarity. For an abstract wing study, the face may be secondary. The solution follows intent, not a rule that every body part must be sharp.
Increase camera distance or reduce magnification when the whole organism is important. Cropping later sacrifices pixels but can produce more usable depth and easier tracking at capture. Compare that tradeoff at the final output size rather than at maximum screen magnification.
If smaller apertures look softer, test diffraction honestly
Closing the aperture expands geometric depth and eventually reduces fine contrast through diffraction. At macro distances, effective aperture behavior makes copied sweet-spot advice especially unreliable. Photograph the same static subject through an aperture series while focus, support, light, and processing remain fixed.
Compare both peak detail and total useful depth. A slightly softer pixel-level plane may make a stronger final image if more of the insect is legible. Conversely, an aperture that renders the whole subject nominally in depth may erase the microtexture that justified the close-up.
Judge resized output and print proof, not only a highly magnified preview. Keep sharpening neutral during the comparison. If software applies hidden defaults, reset them or use the same profile across every test file.
If no plane is sharp, separate camera and subject movement
Directional smear on static background and subject detail points to camera movement. Improve stance, shorten exposure, use support, engage stabilization appropriately, or let flash dominate. A sharp stem with a blurred insect indicates subject motion. A moving flower can create both at once.
Stabilization reduces some camera motion but does not hold the subject in the focus plane. At high magnification, forward and backward movement is often more damaging than angular shake. Brace the body, control breathing, and release as the intended feature crosses the plane.
On a tripod or focus rail, follow Sony and lens guidance for stabilization. Check loose plates, center-column flex, floor vibration, and shutter-button pressure. Use a delay or remote method, then repeat with stabilization settings changed only if the first controlled result remains inconsistent.
If flash creates a sharp core and blurred edge, inspect ambient
A brief flash-dominant exposure can render the subject sharply while ambient light records movement before or after it, creating a ghost edge. Make a comparison with lower ambient contribution. If the ghost disappears, focus was not the root problem. Adjust shutter time, ambient level, flash balance, or background strategy.
Hard reflections on eyes, shells, and wings come from source position and apparent size. Move or enlarge diffusion, feather the light, and inspect the actual surface. A diffuser label does not guarantee soft results when it is small or far away relative to the subject.
Banding or partial illumination can indicate shutter and flash incompatibility, flickering continuous light, or trigger timing. Simplify to one light, use a supported shutter mode, and test a shutter-time series. Verify current Sony and flash documentation for the exact equipment.
If a focus bracket will not stack, inspect sequence integrity
The A7R V can automatically shift focus for a bracket, as described in Sony's focus-bracket instructions. The feature records source frames; stacking still depends on compatible software and a subject that remains sufficiently stable.
Look for three failures: the nearest and farthest required planes were not covered, step spacing left a soft gap, or something moved between frames. Start slightly before the nearest detail and extend beyond the farthest. Step width is relative and changes with shooting conditions, so test the lens, aperture, and magnification rather than copying a number.
Antennae, legs, hairs, breathing, wind, reflections, and background movement can all confuse alignment or blending. Use a stable tripod, manual exposure, fixed white balance, and consistent light. Keep one well-timed single frame as an alternative, especially with a living subject.
If stack edges look doubled, change capture before software
Focus breathing changes framing as focus moves, while camera movement changes viewpoint and parallax. Stacking software may align the broad subject but leave doubled edges around fine hairs or crossing legs. A rigid rail that moves the camera introduces a different geometry from changing lens focus; neither is universally superior.
Use smaller, coherent stack regions when the subject contains overlapping structures. Inspect every transition at useful magnification and mask only when the result remains honest. Do not clone an invented anatomical edge merely to hide a failed source sequence.
Flattening a stack too early removes the ability to revise masks and reject a moving frame. Preserve source ARW files, the stacking project where applicable, and a layered or otherwise editable intermediate supported by the workflow.
If spots repeat, inspect optics and sensor
Dark spots that remain in the same image position across different subjects often indicate dust on a filter or sensor path. Lens-front dust rarely appears as a sharply defined spot in ordinary images, but fingerprints and condensation can reduce contrast or add flare. Check with a controlled plain-field frame at a smaller aperture.
Use the camera's cleaning function and manufacturer-approved procedures. If physical cleaning is unfamiliar or contamination persists, use qualified service. Do not improvise with household materials around the sensor. Record a fresh test after cleaning.
Macro apertures and smooth backgrounds can reveal spots that were hidden in wider work. Build a sensor check into preparation, not into a stressful live encounter. Batch spot removal can help a consistent defect, but prevention preserves time and avoids copying corrections onto genuine subject marks.
Trace review errors through a local ARW workflow
After verified ingest, imagic can scan Sony ARW files and analyze them locally. It scores technical qualities and groups similar frames. Rejection changes status and leaves the original in place, so a lower-ranked bracket frame or uncommon eye plane can be recovered during human review.
If an automated verdict looks inconsistent, check score freshness. Reselecting only re-ranks stored values, while stale scores require reanalysis. Macro selection still needs a person to judge the intended anatomical plane, ethical context, stack continuity, and whether motion is expressive or destructive.
The desktop page explains local, non-destructive review, and the AI and technology guides discuss automation limits. Export applies stored edits, but stack merging remains a separate specialist process.
Frequently Asked Questions
Does eye recognition guarantee sharp insect eyes?
No. Recognition can identify a target, but movement, magnification, depth, lens behavior, and AF-area placement still determine the recorded plane. Confirm by locating peak detail.
Why does a focus bracket have soft bands?
The step spacing may leave gaps, or subject movement may prevent a clean blend. Test the exact aperture and magnification, cover beyond both focus limits, and inspect source frames.
Can imagic merge an A7R V macro stack?
No. It can assist local review of supported ARW files, while depth compositing requires separate stacking software. Preserve every source and an editable intermediate.