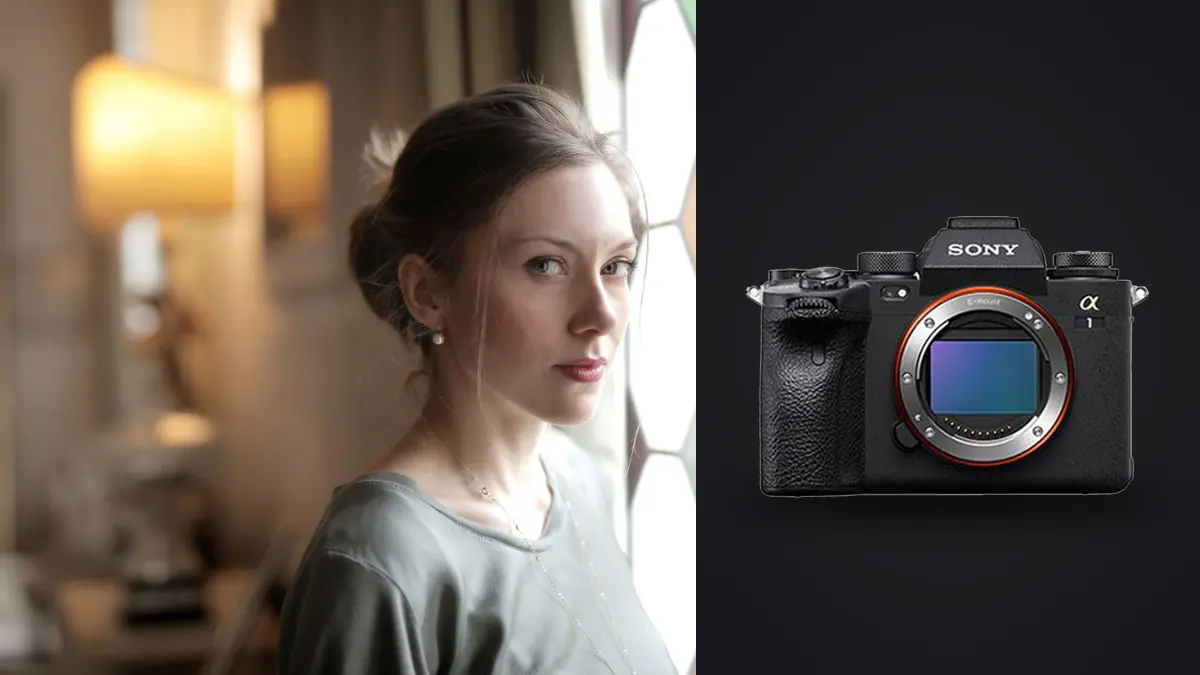
Boudoir lens choice is inseparable from room choice. A longer portrait lens may render body proportions gently but become unusable in a small bedroom, while a wide lens may explain the environment but exaggerate nearby features when the camera is forced close. The Sony A1 provides many E-mount options, yet the location decides which can be used respectfully.
This Lens and Location Guide begins with consent, privacy, and a measured floor plan. It then assigns focal lengths to environmental, full-length, seated, and detail images, and carries those decisions into secure ARW review. No optical advantage justifies crowding the subject, exposing a private set, or exceeding the agreed scope.
Start with consent and a closed-set floor plan
Agree in writing on image types, clothing boundaries, poses, intended use, who may attend, who may review, and how approval or withdrawal will work. Consent continues throughout the session. The subject can decline a pose or stop without pressure, regardless of the planned lens or set.
Measure usable camera distance after accounting for the bed, furniture, backdrop, lights, reflectors, monitor, crew, and a clear exit. Mark a private changing area and routes between sets. A location that requires the subject to pass public windows, unrelated staff, or an open monitor is not ready.
Limit personnel to agreed essential roles and arrange a support person or chaperone according to the subject's preference and professional policy. Confirm where cards, bags, phones, and unreleased files will be secured.
Use wider lenses for environment without invading space
A 24mm or similarly wide view can show architecture, window, bed, and body together, but it makes near-to-far differences pronounced. Keep the camera sufficiently distant, watch limbs near edges, and use the width because the location contributes meaning. Do not move close simply to create drama.
A 35mm lens often balances room context with a natural working distance in modest interiors. It can support standing, seated, and horizontal compositions while leaving some space around the subject. Check edge stretching and background clutter with the actual camera position.
Wide focal lengths reveal more than expected: mirrors, doorways, personal items, neighboring windows, crew, and floor equipment. Scan every edge before capture. A clean frame at the location is safer and more respectful than relying on later removal.
Use 50mm for adaptable full and three-quarter views
A 50mm lens can serve as the central role when the room offers moderate distance. It narrows the background compared with a wide lens while retaining enough field for full-length or seated poses. It can also move between horizontal and vertical framing without a large change in photographer position.
Choose camera height from the pose. Lower placement can lengthen legs but may enlarge a nearby knee or foot; higher placement emphasizes face and shoulders while reducing the lower body. Perspective comes from distance and position, not from a flattering focal-length label.
Mark the camera line and subject zone after an approved test. Repeated distance makes front, side, and movement variations easier to compare. Leave enough room for the subject to breathe and adjust without stepping out of the light.
Reserve 85mm and longer views for genuine room depth
A short telephoto can isolate face, hands, fabric, and body lines with a simpler background. It requires more working distance and can press the camera against a wall, doorway, or public corridor in a small property. Verify the full setup rather than assuming the lens will fit because one test portrait did.
Longer focal lengths can flatten the visible room and make communication feel more distant. Establish clear direction and hearing without raising voices through a private space. If the camera position blocks an exit or places the photographer outside the closed set, choose a shorter lens.
Shallow depth is not automatically flattering. A sharp near eye with soft garment detail may fail the brief. Select aperture, pose plane, and distance according to what must remain legible.
Scout window direction at the session time
Visit or request reliable references for the same time of day. A window that provides broad indirect light in the morning may create a hard stripe later. Neighboring buildings can reflect green, blue, or warm color into skin. Curtains may diffuse, block, or add a cast.
Plan the key direction and the subject's movement relative to it. Mark a zone where exposure and softness remain coherent. Use white bedding, walls, or a reflector as fill only after checking the color they return. Dark furniture and clothing can remove fill and deepen contrast.
Create a fallback using controlled light if weather changes, but ensure stands and modifiers fit without creating hazards. Confirm power and venue rules, and never cover smoke detectors or safety lights for the photograph.
Audit mirrors, windows, and personal surfaces
Look through the camera from every intended position. Mirrors, dark televisions, framed glass, polished metal, and windows can reveal the photographer, lights, doorway, neighboring property, or an unintended body angle. Move the camera or flag the source before asking for a repeated pose.
Remove or cover names, medication, mail, family photographs, school information, and digital screens with permission. Decide which personal objects support the story and which expose information. Do not alter a private room without the owner's and subject's agreement.
A polarizing filter changes some non-metallic reflections but does not erase mirrors and may affect exposure or skin sheen. Test it on the actual surface. Prevention is more reliable than a promise of retouching.
Match lighting equipment to the physical room
A large source can produce a gradual transition, but only if it fits at a useful distance and remains secure. Feathering may control a wall or bed better than moving the light closer. Keep stands weighted and outside the subject's path, and route cables along protected edges.
Small fixtures and practical lamps can create defined pools or warm atmosphere while introducing mixed color and flicker. Make a neutral-surface shutter test under LEDs and decide which sources should remain active. Use a fixed reference when consistent skin and fabric color matter.
Flash can freeze movement when it dominates, but synchronization and ambient contribution must be tested in the selected shutter mode. A faint blurred edge can come from ambient exposure around a sharp flash image. Solve the light rather than assuming autofocus failed.
Plan movement for the lens and set boundaries
Decide whether each scene is a held pose, breathing movement, walk, fabric turn, or transition between furniture. A wider lens can tolerate more lateral motion while showing the room; a telephoto requires a tighter mark and faster reframing. Explain the movement, then allow the subject to adapt it comfortably.
Use short sequences around natural changes rather than holding the shutter throughout. Pause when hair, clothing, support, or consent needs attention. The strongest frame is not worth extending an uncomfortable pose.
Review one representative image at useful magnification, then return to communication. Constant screen inspection can make the session feel evaluative. Schedule checks at set transitions and invite subject review according to the agreed process.
Distinguish studio, hotel, and private-home constraints
A studio offers controllable access, power, backgrounds, and crew circulation, but it may need intentional furnishing to avoid a generic result. A hotel can provide design and privacy while imposing check-in times, public corridors, restrictive furniture, and commercial-use rules. Obtain written permission appropriate to the work rather than assuming a room booking covers photography.
A private home can feel personal and relaxed, yet it contains identifying objects, family information, neighboring sightlines, and uneven working space. Agree what may be moved or shown. Protect floors and furniture, keep equipment paths clear, and restore the room afterward.
Choose the location type from the subject's comfort, visual brief, security needs, and required lens distance. Cost, availability, or appearance alone does not determine suitability. A beautiful room that cannot be closed to unrelated people is a poor intimate set.
Use a lens-to-room matrix during scouting
| Picture | Likely lens role | Room requirement |
|---|---|---|
| Environmental full figure | Wide to moderate wide | Clean edges and controlled perspective |
| Seated three-quarter | Normal lens | Moderate camera distance and light space |
| Close portrait | Short telephoto | Long axis without a public doorway |
| Hands or fabric detail | Close-focusing normal or telephoto | Stable light and comfortable pose |
| Movement through room | Wide or standard zoom | Clear route and consistent exposure zone |
Replace these broad roles with the actual lens and measured distance during the scout. Reject any option that puts the photographer, light, or subject into an unsafe or unapproved area.
Photograph empty-room references from each proposed camera mark and label the focal length. These frames let the subject and producer compare space, privacy, and visual tone before the session, without using an intimate pose as a technical test.
Preserve color and styling references by room
Photograph a neutral reference under each materially different light state. Keep it at the subject position and repeat after changing windows, gels, practicals, or rooms. A reference assists white balance; it does not erase natural skin variation or creative color approved for the set.
Check fabric texture, jewelry, labels, hair, and reflected color between adjacent frames. Separate technical corrections from retouching or reshaping decisions. Document the agreed level and avoid silently changing body or product features.
Export a small proof in the destination color space before applying one treatment to the full session. Screens outside a managed environment may vary, so use an agreed reference and communicate limits rather than forcing extreme compensation.
Keep ARW files inside an approved review path
After verified copies, imagic can scan supported Sony ARW files and analyze them locally. It can group similar frames and score technical qualities; culling changes status and does not delete the original. Local processing reduces transmission but does not replace encryption, access control, consent records, or secure delivery.
Human review must decide approval, dignity, pose, expression, styling, privacy, and whether the image stays within scope. If a stored score looks wrong, check freshness and reanalyze stale files. Reselecting only ranks scores already stored.
The desktop page explains local and non-destructive processing, and the AI and technology section covers responsible automation. A learned style requires an existing personal profile, and exports apply stored edits, so inspect rendered proofs before release.
Frequently Asked Questions
What Sony A1 lens is best for boudoir?
It depends on room depth and the picture. Wider lenses suit environmental frames, 50mm is adaptable, and short telephotos need enough distance to preserve privacy and safe movement.
Can a digital crop change portrait perspective?
No. Perspective is set by camera position and subject distance. A crop removes image area but cannot reproduce the proportions created by moving farther away.
Is local culling sufficient protection for intimate files?
No. It avoids cloud processing, but encrypted storage, limited access, consent records, secure backups, approved review, and controlled delivery remain necessary.