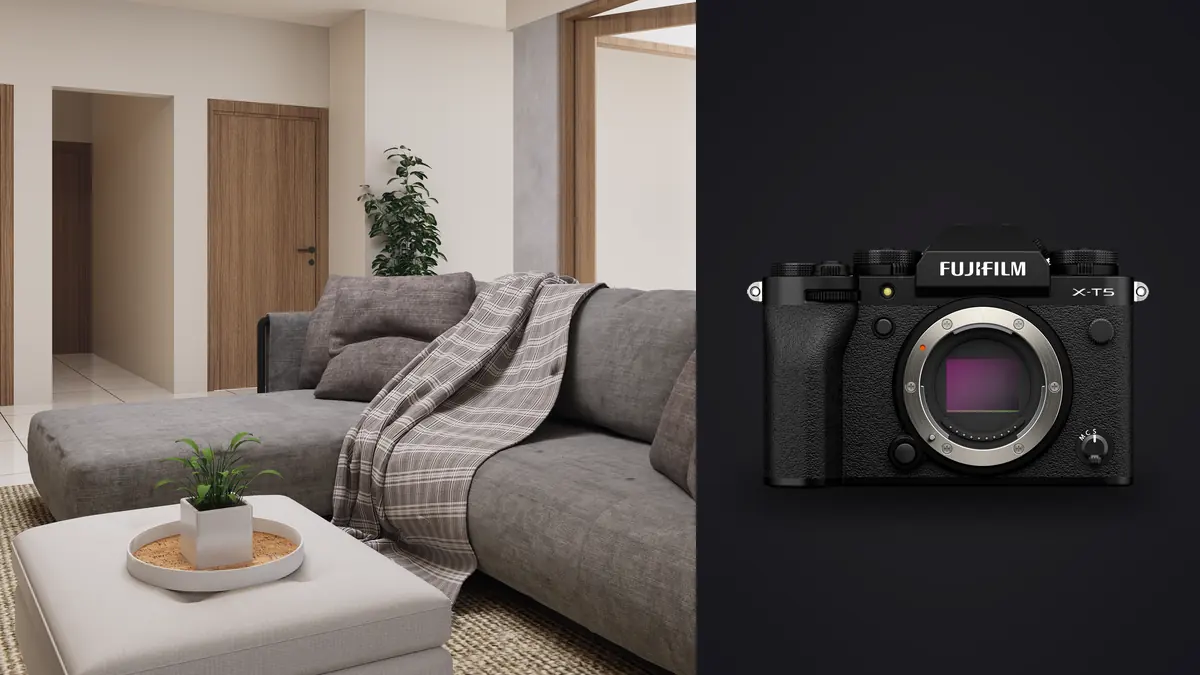
The Fujifilm X-T5 is a practical architectural camera when its 40-megapixel APS-C sensor is paired with careful lenses, a stable support, and disciplined perspective. Its compact body travels easily, the tilting screen suits low and high tripod positions, and in-body stabilization can help where supports are restricted. The system's main limitation is not sensor size. It is the lack of a simple Fujifilm-native tilt-shift path for controlling perspective at capture.
A useful kit therefore starts with the locations and final output. Small interiors, large exteriors, travel documentation, and commercial design work each require different focal lengths and accessories. The following strategy builds outward from those assignments rather than filling a bag with overlapping equipment.
Translate each location into a focal-length need
Begin with room dimensions and access. A compact bathroom photographed from the doorway may require an ultra-wide view, while a living room often looks more natural with a less extreme focal length. A facade across a street may need a normal or short telephoto to control foreground and simplify its surroundings. The widest lens is not automatically the most architectural lens.
Make a list of recurring spaces and note where the camera can stand. A hotel photographer may need a wide zoom because furniture and walls limit movement. A designer documenting details may benefit more from a normal prime and close focusing. An exterior specialist may prioritize corner quality, flare resistance, and filter support over maximum aperture.
APS-C crop factor changes field of view, not perspective by itself. Perspective follows camera position. A very wide lens used close to furniture exaggerates near objects; stepping back and using a longer focal length produces a calmer relationship. When the room prevents stepping back, compose honestly and avoid stretching edges merely to make it look larger.
Choose an ultra-wide lens for confined interiors
An XF 8mm class prime provides a very wide rectilinear view in a compact package. It can solve truly constrained spaces and dramatic exteriors, but edge placement becomes critical. Chairs, lamps, and door frames near the corners can look stretched even when optical distortion is corrected. Use it because the composition needs the coverage, not because it fits more objects.
A 10-24mm class zoom is less extreme at its wide end and offers fast framing changes as room size varies. The constant aperture is not especially important from a tripod, but predictable exposure and familiar handling are useful. Evaluate corner sharpness at the apertures normally used and check how software correction affects final framing.
Whichever option is chosen, create a lens profile note: best practical aperture, distortion correction behavior, focus method, hood compatibility, and whether filters cause corner intrusion. A technically excellent center does not compensate for weak edges when walls, tiles, and cabinetry fill the frame.
Add a standard range for natural relationships
A standard zoom around the 16-55mm range can cover environmental details, room vignettes, facades, and design features without the visual tension of an ultra-wide lens. It is often the better first choice in a generous room. Start longer, move back where possible, and widen only when the composition cannot be made.
Primes can provide lower distortion, compact size, or a rendering the photographer knows well. A normal prime is useful for material details and layered interiors, while a short telephoto isolates architectural rhythm across a street. Fast aperture matters less for static tripod work, although it can support hand-held scouting and dusk details.
A complete kit may need only one wide zoom and one small normal lens. More lenses add changes, sensor exposure, and decision time. Use assignment records to see which focal lengths actually reach the final gallery before buying a third overlapping option.
Understand the missing shift-lens shortcut
Keeping the X-T5 level preserves vertical lines, but it may place too much floor below the frame and not enough structure above it. A shift lens solves that by moving the optical image relative to the sensor. Fujifilm X users do not have the same simple native manufacturer path found in some other systems, so alternatives require care.
Third-party shift lenses and adapted manual lenses can work. Check image-circle coverage, corner performance after shift, mount security, and whether controls remain accessible. A small adapter movement can be visible on a 40-megapixel sensor. Rent or test the exact combination before promising it on a commercial job.
Software perspective correction is practical for moderate convergence. Leave generous edge space, level the camera as much as the composition allows, and inspect the corrected pixel dimensions. Severe correction stretches upper corners and discards part of the frame. If that happens routinely, a shift solution or different camera position has more value than another ordinary wide lens.
Build support around precise adjustment
A stable tripod lets the photographer level the camera, inspect edges, maintain framing through lighting changes, and use lower ISO. Choose legs that fit narrow rooms without blocking paths. A center column that can position the camera laterally may help in tight spaces, but it also changes balance and should be weighted and tested carefully.
A geared head is slower than a ball head but makes small corrections to pitch and roll easier. For architecture, that precision often saves time. A compact ball head remains useful for travel and rapid exterior work if it does not sag after locking. Test with the heaviest intended lens.
An L-bracket keeps the camera centered over the head in vertical orientation. Confirm that it leaves the battery door, card door, ports, and tilting screen usable. Add a remote release or use the self-timer to avoid touching the camera during a long exposure. In-body stabilization can help when hand-held, but its tripod behavior should be checked with real files.
Use filters selectively around glass and water
A polarizing filter can reduce glare on wood, foliage, and some glass, but it does not remove every reflection. Its effect depends on angle, and very wide lenses can show uneven polarization across blue sky. Rotate it while watching the entire frame, not only the brightest window.
Reflections are often part of architecture. Glass may reveal interior and exterior layers that describe the building. Before eliminating them, decide whether they add depth or distraction. Move the camera or change the light angle when a filter creates unnatural patches or hides material sheen.
Neutral-density filters support long exposures for moving people or water, but they can add color casts and invite light leaks. Use a tested holder and cover the viewfinder where appropriate. The X-T5's base capture should remain the reference so the filtered file can be corrected consistently.
Carry tools for color and scene control
A neutral reference or color target helps establish a baseline under mixed light. Capture it where the key subject sits, then remove it from the final composition. It cannot make daylight and warm practical fixtures identical, but it records a known reference for the dominant source.
Small black and white cards can control reflections, lift a cabinet interior, or remove a bright patch. A microfiber cloth is useful for mirrors and glossy surfaces only with permission and appropriate care. Gaffer tape, clamps, and door wedges should never be used on property without approval or in a way that damages finishes.
Bring a small level even though the camera provides electronic guidance. Independent confirmation can reveal a calibration issue, and a physical level works when the camera is awkwardly positioned. A compact flashlight helps inspect dark corners before the final exposure, but should not be left in the scene or aimed toward occupants.
Scout exteriors by sun and access
Visit or map the site before the assignment. Record facade orientation, nearby obstructions, public and private boundaries, parking, construction, and when the sun reaches important surfaces. A beautiful elevation may be inaccessible from the ideal distance or blocked by traffic at the planned hour.
For dawn, dusk, and blue-hour work, arrive while there is enough light to place the tripod safely and correct the frame. Confirm when exterior and interior lights switch on. Obtain permission for private grounds and do not obstruct pavements, entrances, or emergency routes.
Weather changes material appearance. Overcast light can reveal color and detail with low contrast, while direct sun emphasizes relief and shadow geometry. Rain creates reflections but also introduces safety and equipment concerns. Choose conditions from the brief, then carry protection rather than assuming one kind of weather is always superior.
Plan interior access before opening the bag
Ask whether the property is occupied, which rooms are ready, what may be moved, and how long each area is available. Agree on mirror treatment, personal items, artwork, and privacy. Architecture photography often reveals more of a location than intended, so inspect every reflection and window view.
Walk the space with the camera still packed. Identify the lead composition, the lens it needs, and the objects that create foreground clutter. Moving one small item with permission can be more effective than using a wider lens. Return everything accurately after the frame.
Work room by room to reduce gear movement and avoid leaving cases in paths. Save a reference exposure and white balance for each lighting zone. A location plan is an accessory in its own right because it turns a compact X-T5 kit into a controlled production.
Record the lens and camera height used for the lead frame in each room. If furniture is moved or a reshoot is requested, those notes make the original perspective much easier to reproduce.
Finish with a lens-aware review
At ingest, group images by room or exterior elevation and compare related views. Inspect the intended focus plane, corner behavior, vertical lines, reflections, and whether objects moved. A local app such as imagic can score sharpness, exposure, closed eyes, and composition while photos remain on the Windows or macOS workstation. Human review still decides geometry and design accuracy.
Apply lens correction consistently, then make perspective adjustments before fine local edits. Check final dimensions after cropping. Non-destructive editing keeps the original RAF file intact, which is important when a client later requests another ratio.
Export JPEG for common delivery or TIFF when the agreed downstream process needs it. Inspect the export for corner stretching, halos along windows, and color shifts. More equipment planning appears in the camera hardware guides.
Frequently asked questions
Is the Fujifilm X-T5 wide enough for small interiors?
With an appropriate ultra-wide X-mount lens, it can cover very confined spaces. Use extreme width carefully because objects near the edges can appear stretched.
Does Fujifilm make a native X-mount tilt-shift lens?
The system does not offer a straightforward Fujifilm-native tilt-shift path. Third-party or adapted options can work, but they need testing for coverage, alignment, and handling.
Should stabilization stay on when the X-T5 is on a tripod?
Test the camera and lens combination on the actual support. A stable tripod and remote release are the baseline, while stabilization behavior can vary by setup and exposure.