What depth of field actually depends on
Four things, and only four: the focal length of the lens, the aperture you set, how far the subject is from the camera, and how big the sensor is. Everything else people argue about online is one of those four wearing a disguise. The tool above lets you move each one independently, which is the fastest way to build the intuition, because the relationships are not linear and reading about them rarely sticks.
Two of them dominate. Distance is the strongest lever by far: depth of field grows roughly with the square of the subject distance, so stepping back two metres does far more than closing down a stop. Focal length is the second, working the other way and also roughly squared. Aperture is a linear effect, which is why stopping from f/2 to f/2.8 feels underwhelming compared to just taking a step backwards.
The sensor size question, settled
This is the argument that will not die, and both camps are half right. At an identical focal length and aperture, sensor size does not change depth of field at all: a 50mm f/2 lens projects the same image circle regardless of what you put behind it. A smaller sensor just crops into that circle.
But nobody shoots that way. You shoot to a framing, and to hold the same framing on a smaller sensor you either move closer or fit a shorter lens, and both of those deepen depth of field. That is the real, practical effect, and it is worth roughly one stop per stop of crop factor: Micro Four Thirds at f/2.8 gives you about the same depth of field as full frame at f/5.6 for the same shot. Set the format selector to two different sizes and adjust focal length to match the framing, and the numbers show it directly.
Circle of confusion, and why calculators disagree
Depth of field is not a physical boundary. Exactly one plane is ever truly in focus; everything else is blurred by some amount, and "sharp enough" is a judgement call. That judgement is encoded as the circle of confusion: the largest blur spot that still reads as a point. This tool uses the standard sensor diagonal divided by 1500, which gives about 0.029mm on full frame.
That convention assumes a print viewed at a sensible distance. If you routinely inspect files at 100% on a 32-inch monitor, or print two metres wide, your real tolerance is tighter and your real depth of field is thinner than any calculator says. It is worth knowing this before you trust a hyperfocal reading for a landscape you plan to print big: focusing a little further into the scene than the hyperfocal figure suggests is the standard insurance.
Using hyperfocal distance without ruining the shot
Focus at the hyperfocal distance and everything from half of it to infinity falls within the depth of field. It is the classic landscape technique and the tool prints the figure for every setting. Two cautions, though. First, at the hyperfocal distance infinity is only just acceptable, so distant mountains will not be crisp. Second, the whole thing rests on that circle-of-confusion assumption. For a landscape you care about, focus a third of the way past the hyperfocal reading, or bracket focus and blend.
Frequently asked questions
The sensor diagonal divided by 1500, the standard convention: about 0.029mm for full frame, 0.019mm for APS-C, 0.015mm for Micro Four Thirds. If you print very large or inspect at 100%, your real tolerance is tighter and true depth of field is thinner than shown.
At the same focal length and aperture, no. But to hold the same framing on a smaller sensor you move closer or go wider, and that is what deepens it. In practice that is about one stop of extra depth of field per stop of crop factor.
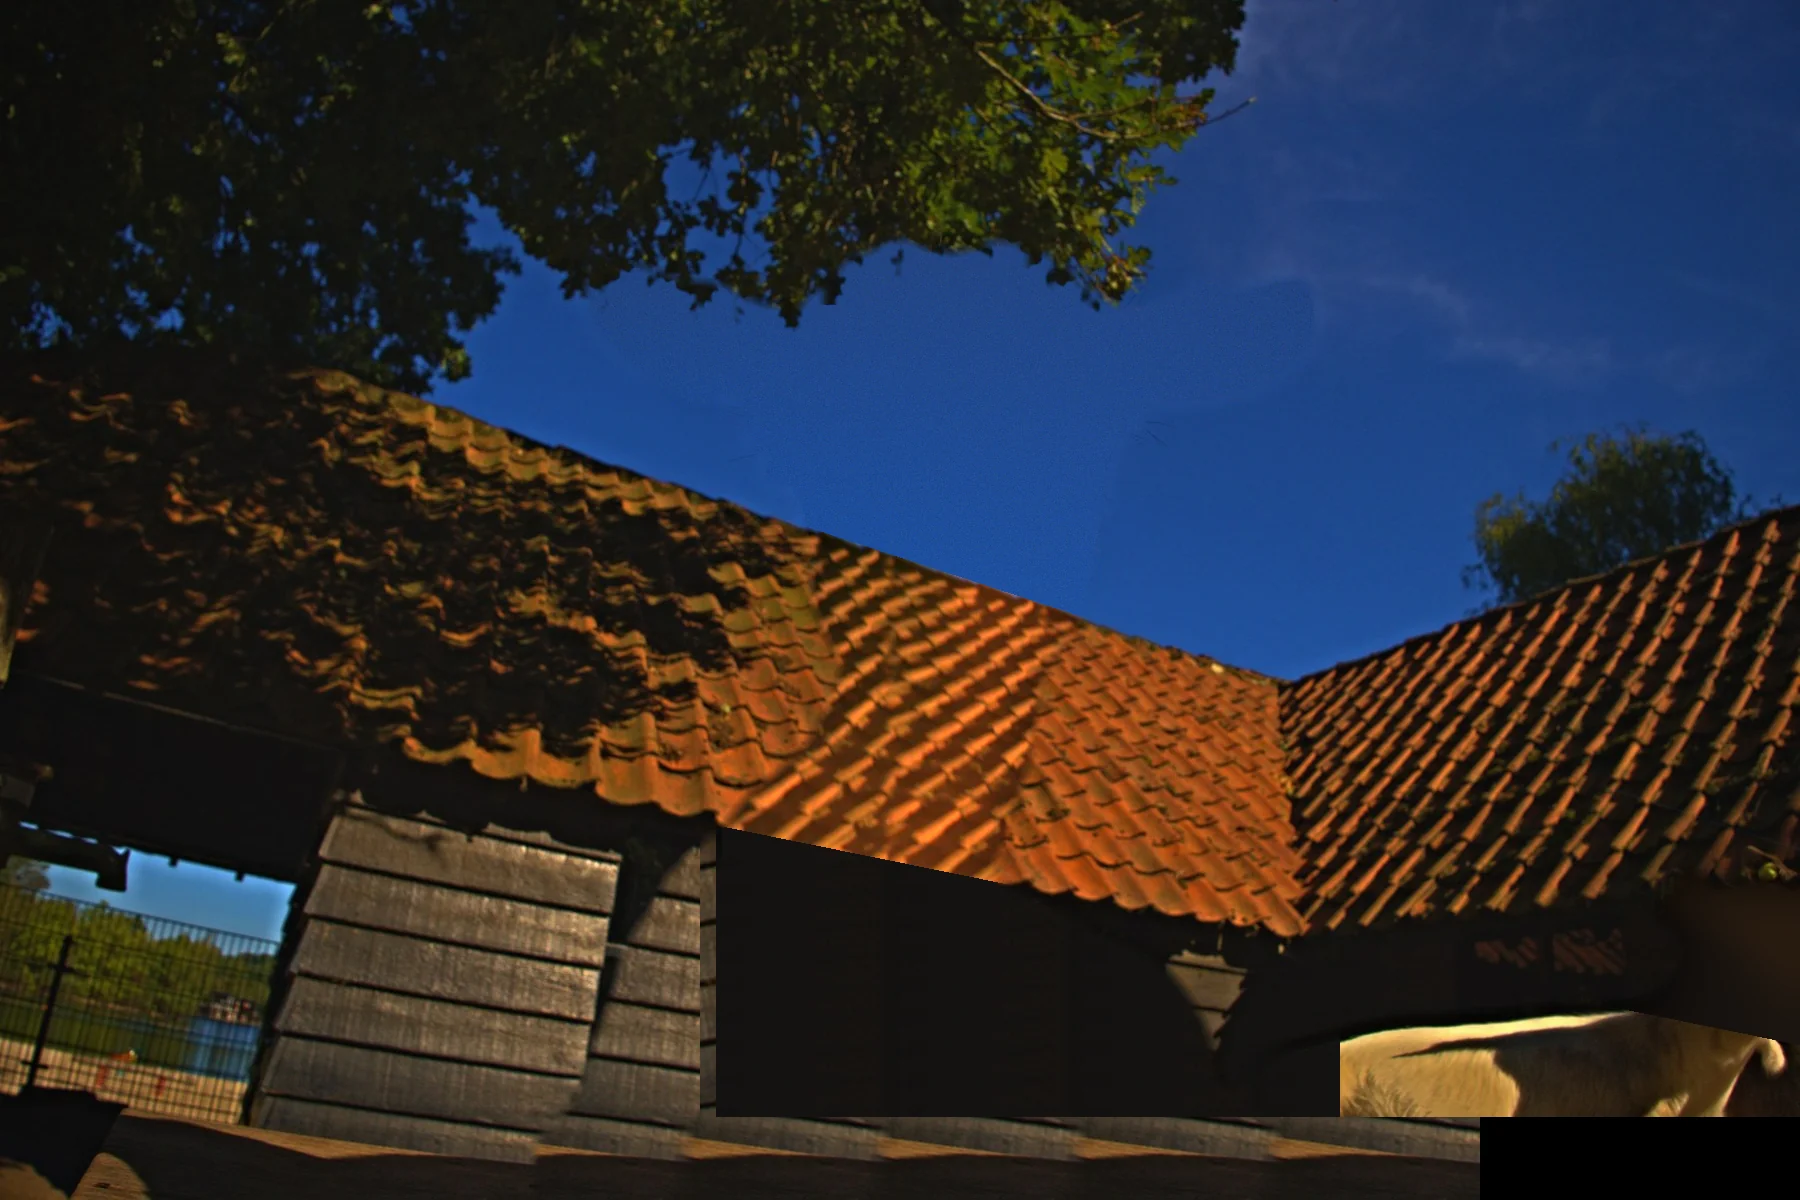
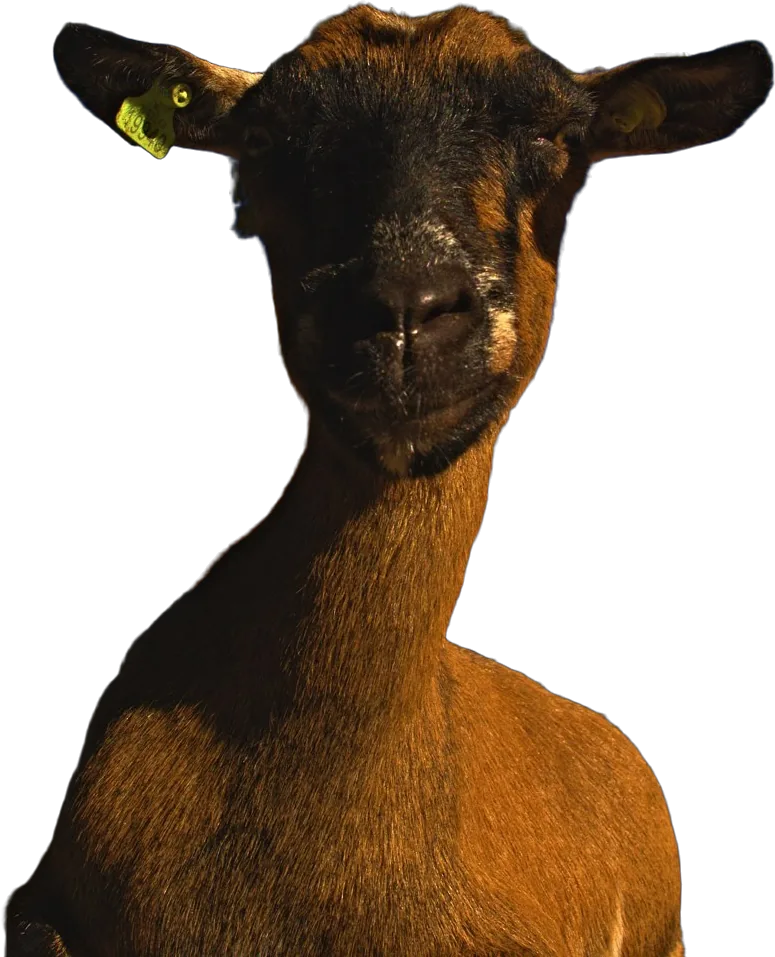
What you are looking at is a real photograph, one of ours, not a drawing of one. The blur circle is computed for your background distance and expressed as a fraction of frame width, and the plate behind the subject is blurred by exactly that amount, so the relative blur is faithful: double the blur figure and the picture goes twice as soft. The subject cutout is scaled from the same calculation, so framing tracks focal length and distance as well, and the background itself is magnified by the focal length, the way a long lens really pulls a distant wall in behind a subject while a wide one pushes it away. It is not an emulation of a specific lens's bokeh rendering, which depends on blade count and optical design, and the highlight bloom is an approximation of how defocus swells bright points rather than a physical simulation.
Marked focal lengths are nominal and many lenses focus-breathe, meaning the true focal length shortens as you focus closer. Macro lenses do this dramatically. Treat the readings as accurate for the marked focal length and expect close-focus work to differ.
Then cull the shoot without opening Lightroom
Once the frames are on the card, imagic scores focus and expression across thousands of RAWs locally, on your machine, nothing uploaded, and hands you the keepers. Free 3-day trial, no card required.