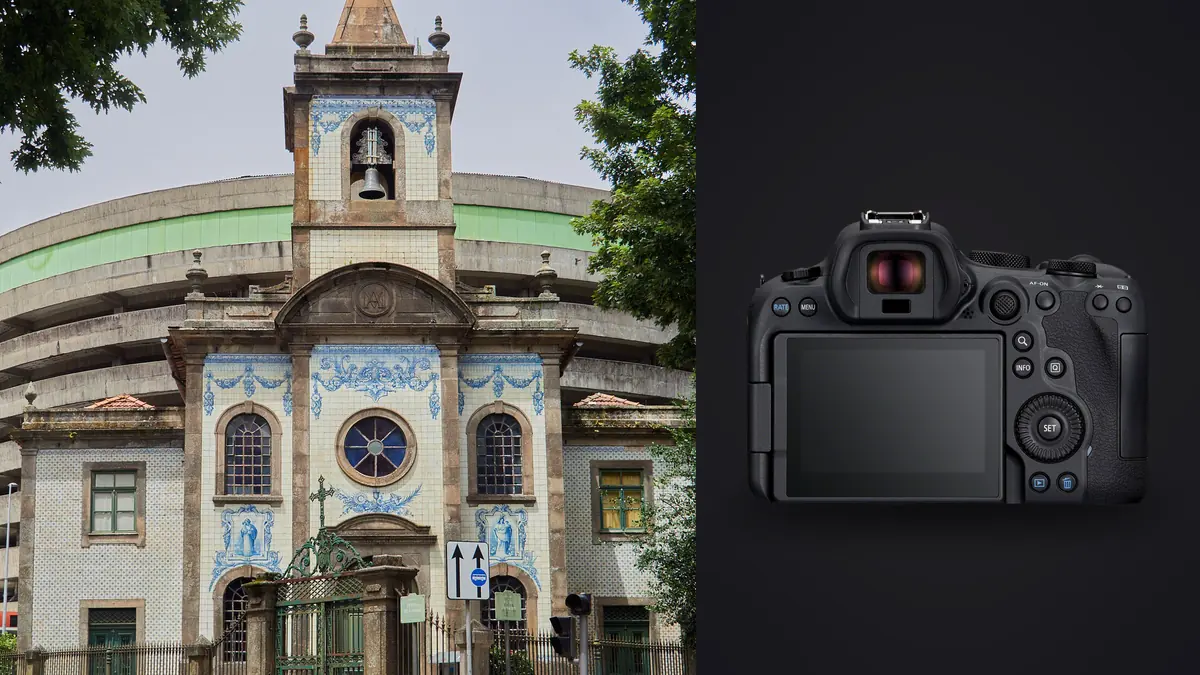
Picture a boutique hotel refurbishment, nine rooms plus a lobby, on a two-day turnaround for a design firm's portfolio site. It's the kind of job that exposes a camera fast: low light, mixed color temperatures, big dynamic range between the window and the room, and a client who wants every corner sharp from the rug to the crown molding. Here is the Canon EOS R6 Mark II measured against that kind of work, less a spec rundown than a set of notes on where it actually helps and where it doesn't, specifically for architecture and interiors rather than portraits or sport.
Handheld in Tight Rooms: Why the Stabilization Matters
A lot of architectural work gets shot on a tripod, and for the hero angles I still use one. But interiors also involve a lot of secondary shots: a detail of a light fixture, a corner nook, a stairwell where there's no room to set legs without blocking the frame. The R6 Mark II's in-body stabilization is rated up to 8 stops with certain RF lenses, and while I don't trust the marketing number literally, dragging the shutter to around a quarter second handheld and getting a usable frame is realistic in practice. That matters in a hallway or a small bathroom where a tripod is more trouble than it's worth, and it means I'm not pushing ISO as hard just to keep a handheld shot sharp under tungsten lighting.
The Window-Pull Problem and How I Bracket for It
Every interior with a window creates the same fight: expose for the room and the window blows out to white, expose for the view outside and the room goes dark and muddy. The R6 Mark II's base ISO of 100 and its dynamic range give me some room to pull shadows on an overcast day without bracketing at all, but on a sunny afternoon with direct light hitting the glass, one frame won't do it.
I use auto exposure bracketing set to 3 frames at 2 stops apart for most rooms, and I'll go to 5 frames at slightly tighter spacing when there's direct sun on one side of the room and deep shadow on the other, like a north-facing kitchen with a single east window. Seven-frame brackets exist on this camera but I rarely need them for interiors; that's more useful for exteriors with a sunset sky in the frame. The brackets get blended in post, either manually with layer masks for the window pane specifically, or with an HDR merge when the whole scene needs it, not just the glass.
How many brackets is actually enough
My rule of thumb: if I can see detail in both the brightest window highlight and the darkest shadow corner on the camera's histogram without either clipping, three frames covers it. If either end is clipping on the outer brackets, I add frames rather than widen the spacing, because wider spacing at only three frames tends to leave a gap in the midtones that shows up as banding once you push the blend.
Focus Stacking a Wide Room Without Stopping Down to f/16
Wide interior shots with something close to the lens (a chair, a coffee table, a doorframe) and something far away (the back wall) put real pressure on depth of field. The old fix was to stop down to f/16 or f/18 and accept the diffraction softening that comes with it. The R6 Mark II's built-in focus bracketing mode lets me shoot a sequence of frames at a wider, sharper aperture, usually f/7.1 or f/8, and step the focus point through the scene, then blend the stack in Photoshop or Helicon Focus afterward.
For a typical living room shot with foreground furniture, I'll set the camera for somewhere between 8 and 15 frames, a moderate focus increment, and let the exposure smoothing option handle the small brightness shifts between frames caused by focus breathing. It takes maybe fifteen extra seconds per angle on set, which is nothing compared to the sharpness gain over a single f/16 frame, especially if the final image is going to run large in a print portfolio or on a design firm's homepage.
Lens Choices: Where the RF Mount Still Sends You to the Adapter
Canon's RF lineup covers wide zooms well, but for architecture specifically, perspective control still means reaching for an adapted EF tilt-shift lens. Here's how the options I've actually used stack up for this kind of work.
| Lens | Mount | Max Aperture | Shift/Tilt | Best For |
|---|---|---|---|---|
| RF 14-35mm F4L IS USM | Native RF | f/4 | No | General room-wide shots, lightest kit, autofocus for detail shots |
| RF 15-35mm F2.8L IS USM | Native RF | f/2.8 | No | Dim rooms, evening shoots, video walkthroughs |
| RF 24-105mm F4L IS USM | Native RF | f/4 | No | Furniture details, tighter compositions, product-style shots |
| EF 17mm TS-E f/4L II | EF via RF adapter | f/4 | Shift + tilt | Correcting converging verticals in-camera on tall spaces |
| EF 24mm TS-E f/3.5L II | EF via RF adapter | f/3.5 | Shift + tilt | Balanced wide interiors where you still want some working distance |
The tilt-shift lenses are manual focus only, which slows things down, and the adapter adds a bit of length and weight to the front of the camera. But shifting the lens to correct verticals in-camera gives you a cleaner file than cropping and stretching a correction in Lightroom, particularly on a tall entryway or a stairwell where you'd otherwise be throwing away a lot of resolution at the edges just to straighten the lines. For most interior work I still reach for the RF 14-35mm first because autofocus and IBIS save more time than the shift correction saves in post, but the TS-E 24mm comes out for anything with strong vertical lines close to the lens, like a bookshelf wall or a stairway.
Keeping Lines Straight on Set, Not Just in Post
The dual-axis electronic level in the viewfinder gets used on every single frame I shoot for architecture work. Getting the camera dead level front-to-back and side-to-side before the shutter fires means less correction needed afterward, and less correction means less quality loss at the edges of the frame. I also keep the grid overlay on so I can line up door frames and wall edges against it while composing. It's a small habit, but on a two-day shoot with forty-plus final images, small habits compound.
The Real Bottleneck Is the Card Full of Brackets
Here's the part that doesn't show up in camera reviews: a hotel shoot like the one I mentioned generates a huge number of frames once you count every bracket set and focus stack. Nine rooms at five angles each, with three-to-five-frame exposure brackets on most of them and the occasional focus stack thrown in, and I'm looking at well over a thousand raw files by the end of day two. Sorting which bracket set goes with which final composition, and which frames in a focus stack are actually sharp where they need to be, used to eat an evening by itself.
This is where I've started leaning on imagic for the culling pass before I touch anything in my editor. It clusters bursts and near-duplicate frames locally on my machine, which is exactly what a bracket set or a focus stack looks like to a culling tool, so instead of scrolling through a thousand thumbnails I'm reviewing a much smaller number of grouped sets and picking the sharp frame or the right exposure from each. If you're curious how that kind of clustering actually works under the hood, I wrote more about it in how AI photo culling works.
Matching a Look Across Forty Rooms
Interior design clients care a lot about consistency. If the kitchen looks warm and the bedroom two doors down looks cool and blue, it reads as sloppy even if each individual shot is technically fine. I built out an edit on the first three or four rooms of a shoot, the white balance approach, the shadow lift, the highlight rolloff on window light, and then use imagic's apply_my_style feature to carry that same treatment across the rest of the set as a starting point, since it's trained on my own prior edits rather than a generic filter. It's not a substitute for individually adjusting a room that has a genuinely different lighting situation (a basement studio versus a sun-drenched conservatory need different starting points), but for the middle-of-the-road rooms it saves real time and keeps the whole gallery feeling like one shoot instead of forty separate ones. For more on building that kind of consistent look, there's a longer piece on color grading a full shoot worth reading alongside this.
On Location: Weather Sealing, Client Files, and Working Offline
A fair number of architectural jobs happen on active renovation sites, dusty, sometimes with plaster in the air, sometimes with a light drizzle coming through an open roof section. The R6 Mark II's sealing has held up fine for me in those conditions, nothing dramatic, just no dead pixels or grit-in-the-mount problems after a dusty commercial build-out shoot.
The other thing that matters on this kind of work, and it doesn't get talked about enough, is client confidentiality. Design firms working on unreleased projects, or a homeowner who doesn't want their address findable, are often uneasy about photos sitting in some cloud service before the final gallery is approved. Running the culling and initial edit pass through imagic keeps the files on my laptop the whole time, no upload step, which makes that conversation a lot easier than it is with a tool that wants everything synced to a server first.
Frequently Asked Questions
Do I need a tilt-shift lens for interior photography with the R6 II, or can I correct perspective in post?
You can correct converging verticals after the fact in Lightroom or Photoshop, and for casual work that's perfectly fine. But post-correction crops and stretches the frame, which costs you resolution and can introduce soft edges on a wide lens that wasn't razor sharp in the corners to begin with. If you're shooting for print or for a client who'll view images at large size, a tilt-shift lens like the adapted EF 24mm TS-E gives you a cleaner result because the correction happens optically before the sensor ever records the frame.
Is 24.2 megapixels enough resolution for large architectural prints?
For most portfolio prints, magazine spreads, and web use, yes. I've had 24-inch prints made from R6 Mark II files with focus stacking applied and they hold up well. Where you'd want more resolution is a specific case: a gallery-scale print several feet wide, or heavy cropping after the fact for a magazine layout that wants a tighter composition than what you shot. For the bulk of architecture and interior design portfolio work, 24 megapixels paired with a sharp lens and a proper focus stack outperforms a higher megapixel count paired with sloppy technique.
What aperture should I actually use for interior shots on the R6 II?
I shoot most interiors between f/7.1 and f/9, which is close to the sharpest point on most RF L-series glass and still gives reasonable depth of field for a mid-distance room. When foreground objects need to stay sharp along with the back wall, I use focus bracketing at that same aperture rather than stopping down further, since diffraction softening becomes noticeable past about f/11 on this sensor.
Does the video capability matter for architecture and interior work?
More than it used to. Design firms increasingly want a short walkthrough clip alongside stills for social posts or a website hero section. The R6 Mark II handles oversampled 4K without the overheating limits that plagued the original R6, so I can grab a slow handheld pan through a finished room right after the stills without swapping gear or worrying about a shutdown mid-clip. It's not the primary reason to choose this camera for architecture work, but it's a real bonus that saves bringing a second body.
None of this makes the R6 Mark II the only camera that can handle architectural and interior work well. But between the focus bracketing, the stabilization for the handheld detail shots, and a sensor that gives enough dynamic range to keep brackets manageable, it's held up through enough hotel, restaurant, and residential shoots that I'd recommend it without much hesitation to anyone building out an interiors portfolio.