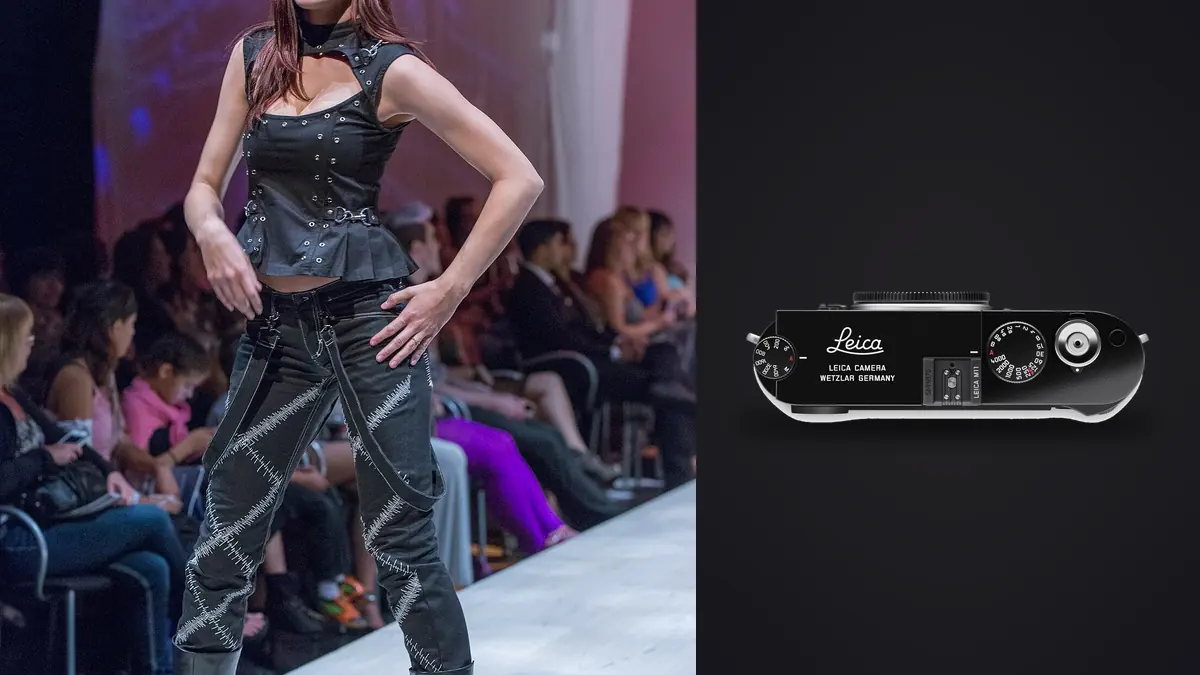
The Leica M11 is a 60.3 megapixel full-frame rangefinder built around manual-focus M lenses. That combination can produce a restrained, deliberate lookbook, but it does not provide subject-detection autofocus or zoom flexibility when garments and people move through a set. Camera marks, model distance, lens choice, and a location with enough retreat therefore become production infrastructure.
This Lens and Location Guide connects 28mm, 35mm, 50mm, 75mm, and 90mm lens roles to studios, daylight interiors, streets, and controlled exteriors. It favors repeatable viewpoints and directed movement, while remaining honest about rangefinder framing, parallax, close-focus limits, and the manual precision a commercial shot list requires.
Decide whether manual focus suits the deliverables
List every required product view, crop, page layout, movement frame, group, and detail. A lookbook built from posed full-length and three-quarter frames can suit a rangefinder well. Continuous runway movement, rapid e-commerce volume, shallow-depth group action, or a brief demanding many exact close details may be more reliable with autofocus or tethered studio tools the M11 does not provide.
Assess the consequence of a missed frame. A creative editorial variation can tolerate selective focus; a mandatory front view of a one-off garment cannot. Use the M11 where its deliberate process supports the visual language, and assign another body when the production needs automation rather than forcing the entire job through one camera.
Make a representative file through the intended crop and delivery pipeline. The sensor offers substantial dimensions, but resolution does not correct a focus miss, clipped fabric channel, or insufficient room for a banner crop. Approve perspective and skin detail at final size.
Give each M lens a defined spatial role
| Focal length | Likely use | Location requirement |
|---|---|---|
| 28mm | Environmental full length and set context | Edge control and enough subject distance |
| 35mm | Full to three-quarter coverage in moderate rooms | Clean surroundings and careful close perspective |
| 50mm | Primary look, seated portrait, and natural proportions | Useful retreat for full-length framing |
| 75mm | Portrait, accessories, and compressed location layers | Precise rangefinder focus and more working distance |
| 90mm | Tight portrait and distant exterior detail | Stable technique, clear rangefinder patch, and long retreat |
Choose one main lens for all mandatory catalog views so model scale and perspective stay consistent. Add a wider lens for an explicitly environmental chapter or a longer lens for approved beauty and accessory frames. Changing focal length for every pose creates visual drift and increases the chance of using the wrong frame lines.
M lenses vary in minimum focus distance, focus-tab feel, hood intrusion, coding, aperture behavior, and optical rendering. Confirm the exact lens on the M11. A close detail may fall inside the rangefinder's coupled focusing limit even if live view can display it, and a hood can cover part of the lower finder without appearing in the final file.
Check the selected frame lines against a captured file at near and far distances. They are an approximation, and parallax changes the recorded boundaries as focus moves closer. Leave more margin for hems, hands, hats, and shoes than a through-the-lens finder might encourage.
Measure the room from the primary 50mm position
Begin the scout with the main lens rather than the widest option. Mark enough camera-to-model distance for the required full-length vertical, then add subject movement, background separation, lights, stylist access, and a safe crew lane. If the 50mm frame cannot fit, decide whether the concept genuinely benefits from 35mm perspective or whether a deeper room is needed.
Record camera height, tripod feet, subject mark, and background distance. Manual focus becomes repeatable when the model returns to a known plane. Tape only with property approval and test removal from delicate surfaces. A laser distance tool can help map space, but the final focus still needs confirmation through the camera.
Check both portrait and landscape crops from the same mark. The M11's rangefinder is held to the eye in either orientation, but body position and finder alignment can change slightly. A tripod or clear floor reference helps maintain horizon, scale, and headroom across a series.
Build movement around focus planes
For a walking frame, mark a short zone rather than asking for a long uncontrolled approach. Pre-focus on the decisive plane, choose enough aperture for the expected stride variation, and direct the model to enter and leave that zone naturally. Make short sequences around the mark, then inspect actual focus before repeating.
Rangefinder focusing aligns a superimposed image in the finder. It can be difficult with low contrast, backlight, repeating fabric, or a subject outside the central patch. Use an edge at the same plane as the eye or garment feature, and avoid focusing on a background object that only appears aligned from one angle.
Rear live view and magnification can confirm a static detail or off-center composition through the taking lens. They are less efficient for continuous movement and may change the interaction on set. Assign live view to controlled checks rather than switching methods unpredictably between every frame.
Focus-bracketing by manually rotating the lens is not a substitute for a well-defined mark. It changes the selection burden and can alter framing. For mandatory sharp views, stabilize the subject, confirm the patch, make the frame, and verify it at high magnification.
Scout daylight interiors for color and privacy
Visit at the planned production hour. Record when sun crosses the set, what neighboring windows reflect, and how curtains change both light and privacy. Daylight can shift from warm direct sun to cool open shade within one product sequence. Schedule the daylight-dependent garments first or prepare a controllable alternative.
Inspect colored walls, wood floors, foliage, and upholstery for reflections onto skin and fabric. Capture a neutral and color reference under every final light arrangement. A manual white balance can stabilize the series, but it cannot remove green light arriving from one side and warm light from another.
Check mirrors, glass, polished metal, and dark screens from every camera mark. The rangefinder view does not show exact taking-lens boundaries, so make a file and inspect it for crew, labels, private rooms, and equipment. Cover or move sensitive objects with permission.
Choose exterior positions for control, not novelty
A street, courtyard, roof, or industrial facade needs a permit and property agreement appropriate to commercial work. Confirm boundaries, public obstruction, lighting, power, wardrobe changes, insurance, weather cancellation, and identifiable bystanders. Public visibility does not create permission to close a walkway.
Scout background geometry at the selected focal length. A 75mm or 90mm position can compress signs and architecture behind the model, but it may put the photographer across a road or outside approved property. Never trade safety or legal standing for a cleaner perspective.
Plan sun and wind together. Backlight may separate fabric, yet wind can turn a long garment into a hazard near traffic, edges, or machinery. Use a spotter, secure every stand, and move the concept indoors if the garment or equipment cannot be controlled safely.
Create a private change area that cannot be seen through windows, mirrors, doors, or behind-the-scenes devices. Separate model consent from location permission and from permission to publish bystanders. Keep the set closed to people who are not named in the production plan.
Use flash and shutter mode with verified limits
The M11 provides mechanical and electronic shutter options, but flash support and synchronization depend on mode, shutter speed, flash, and trigger. Use current Leica and lighting documentation, then test the exact arrangement before the shoot. Electronic shutter is not a universal silent solution under pulsed lights or movement.
For daylight fill, select a position and modifier that remain inside permitted space. A small hard source can suit a defined fashion concept, while a larger soft source needs more distance, ballast, and crew. Do not place a stand where the model, public, or photographer will step during manual focusing.
Installed LEDs and dimmers may band or change color across frames. Test a plain wall at the intended shutter settings. If the location light is unstable, replace or switch it off only with approval, or build the set around a reliable source.
Protect garment detail and series continuity
Review black, white, reflective, and saturated materials in the actual light. Watch individual color channels and retain texture in important highlights. The M11 offers several DNG resolution choices; select one deliberately for output, storage, and processing rather than changing it midway through a look.
Maintain a reference frame for camera height, model scale, background, crop, color target, and garment state. Compare after every lens or set change. Manual controls can support consistency when they are recorded, but they can also drift unnoticed if aperture, exposure, or white balance is adjusted without a slate.
Use the internal storage and SD card according to a tested backup plan. Confirm the destination and remaining capacity before the first look. Separate completed files by product or set only after a verified copy, not through improvised deletion in camera.
Keep DNG review connected to the shot list
Copy internal and card files to two verified locations before clearing either source. Preserve time order and add style codes, lens, set, and required view. Review mandatory product coverage before evaluating creative alternates.
imagic desktop can scan supported DNG folders before local analysis, group related images, and assign reversible culling statuses without deleting originals. Automated sharpness and composition scores cannot confirm garment color, style code, release status, or whether manual focus landed on the required feature.
Reselecting re-ranks stored scores instead of reanalyzing. Check freshness and reanalyze stale photos where necessary. Style application needs a learned profile, and export renders stored adjustments to new files. Keep the approved look consistent without concealing construction details the brief requires. More computational workflows appear in AI and Technology.
The Leica M11 can give a fashion lookbook a deliberate visual rhythm when the location provides depth and the production accepts manual focus. A primary lens, repeatable subject plane, controlled light, and exact shot map are what turn that constraint into consistency. If any of those conditions disappear, revise the coverage plan before adding more lenses or asking for faster movement.
Frequently Asked Questions
Which Leica M lens is best for a fashion lookbook?
A 50mm lens is a practical primary choice when the room has enough depth, while 35mm supports environmental work and 75mm or 90mm handles tighter views. Use one main lens for required coverage.
Can the M11 focus on a walking model reliably?
It can when movement is directed through a known focus zone and aperture allows reasonable tolerance. Unpredictable continuous action may be better assigned to an autofocus body.
Why do M11 frame lines need extra crop margin?
The optical finder gives an approximate boundary and parallax changes with distance. A captured file may include different edges than expected, especially at close focus.