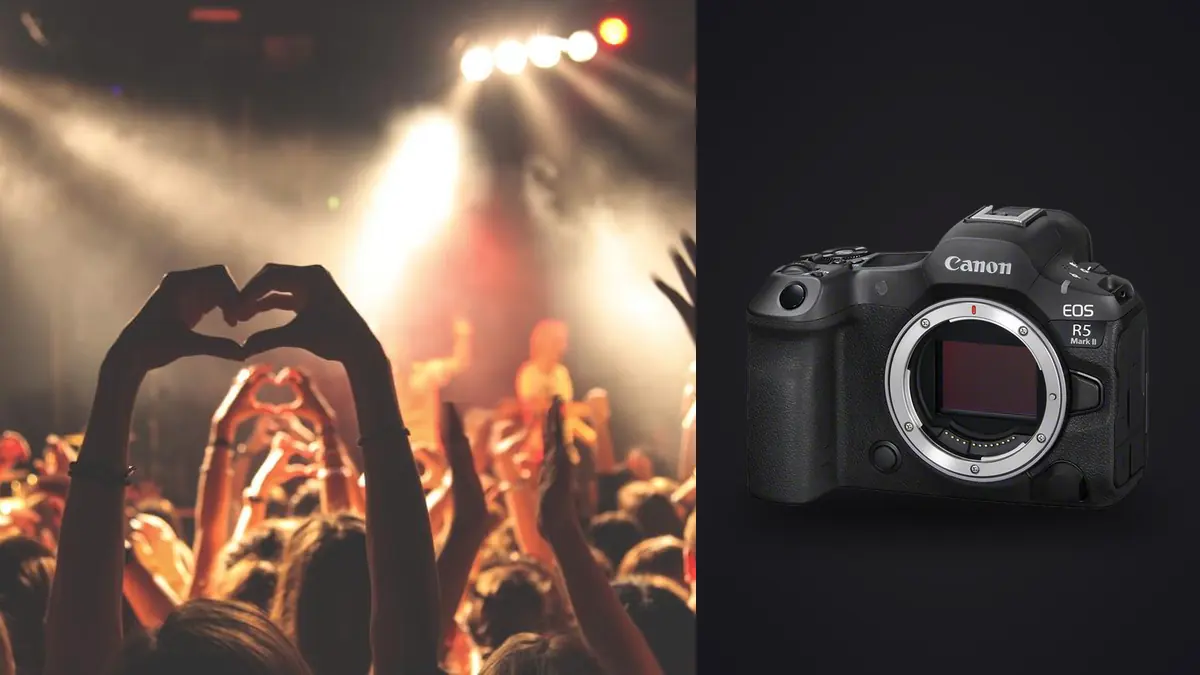
A concert lens is only useful from the place where the credential allows it. A standard zoom in a close pit, a short telephoto at a club barrier, and a long lens from an arena soundboard can each be correct. The Canon EOS R5 Mark II cannot remove a microphone, drum shield, audience hand, or lighting tower from a blocked sightline.
This Lens and Location Guide starts with venue access, stage layout, performer marks, and lighting cues, then assigns RF lens roles and backup coverage. Camera features support that plan, but the photographer still needs safe movement, respectful audience behavior, hearing protection, and a CR3 workflow that keeps sets and captions intact.
Read the credential before packing lenses
Confirm whether access is in a pit, from the audience, at front of house, on a balcony, side-stage, backstage, or during a rehearsal. Ask how many songs or minutes are allowed, whether movement is restricted, and whether silent operation or flash prohibitions apply. Rules can differ between artist, promoter, and venue.
Obtain a stage plot or study current production references without assuming they are exact. Note microphones, monitor wedges, drum risers, shields, keyboards, video walls, lighting towers, and performer marks. Identify the route in and out before house lights dim.
Plan a mandatory frame from the permitted position and a fallback if another photographer, security staff member, or audience hand blocks it. Do not climb seats, cross barriers, or occupy an emergency route to recover an angle.
Plan changeovers and stage transitions
Support acts, set changes, and encore gaps can alter barrier access, house light, haze, and equipment placement. Confirm whether the credential remains valid through each transition. Use approved pauses to change lenses, clean the front element, and update the position note rather than opening the camera during the strongest cue.
A moving riser, added microphone, or security line can invalidate the original frame. Recheck the sightline after every substantial stage change and switch to the documented fallback before the next song begins.
Use wide RF lenses for room and stage context
An ultra-wide or wide zoom can show the venue, stage design, crowd, and several performers from close access. It also makes distant people small and enlarges hands, rails, or speakers near the edge. Use it when the environment carries meaning, not simply because the pit is cramped.
Watch distortion and perspective when tilting sharply upward. A low wide frame can communicate scale while making a nearby boot or monitor dominate. Leave edge space for moving instruments and arms, and keep the lens hood clear of the barrier.
Wide lenses can reveal lighting fixtures, exit signs, empty seats, and crew areas that a tighter frame excludes. Check the full background during soundcheck or the support act. Choose the side of the pit that aligns stage architecture with the performer rather than relying on later cropping.
Use standard zooms for changing close access
A standard zoom can move from an environmental group to a single performer without a lens change. It suits small clubs, close pits, backstage portraits, and rehearsal coverage where distance changes rapidly. Mark the focal lengths that preserve a complete instrument and those that produce a tighter face.
At close distance, perspective changes quickly. Moving nearer for a tighter frame can enlarge a microphone, hand, or guitar head relative to the face. Zooming from a stable position changes framing without the same perspective shift, though background scale and aperture may vary.
Test flare from spotlights and LED walls at several focal lengths. A zoom's internal reflections can change through its range. Remove a protective filter if it creates ghosts and conditions allow, while keeping the front element protected from crowd contact and weather.
Choose telephoto reach from balcony or soundboard distance
A medium telephoto zoom can isolate a vocalist, guitarist, or drummer from farther back while remaining flexible as performers move. A long prime or zoom may be necessary at a soundboard, but it narrows acquisition and magnifies haze, heat, audience movement, and support vibration.
Measure whether the lens can reach the least accessible required performer, not only the lead singer at center stage. Drummers may sit behind shields, keyboard players can be hidden by equipment, and side performers may remain in deep shadow. A second approved position can matter more than additional focal length.
Check minimum focus for backstage or mixed-zone use. A long lens chosen for the stage may not focus or frame an unexpected close portrait. Keep a compact wider role available if the assignment includes both.
Choose a side from performer marks and handedness
Microphones obscure faces differently from left and right. A guitarist's instrument neck, a singer's habitual turn, a drummer's cymbals, and a keyboard position can make one side clearly better. Watch rehearsal or an earlier song and note where faces open toward the light.
Performers often return to monitor wedges or taped marks during choruses and solos. Precompose there, then follow only when movement creates a stronger relationship. Do not chase every crossing and lose the predictable peak.
Plan interactions as well as individual portraits. A diagonal view may align two band members without stacking them, while a side angle can show eye contact. Keep enough depth of field for both when the story depends on their relationship.
Use stage light to rank locations
A position with clean background may receive only backlight, while another offers reliable facial light with more equipment visible. Decide whether the assignment prioritizes identity, atmosphere, stage design, or product detail. Build exposure starting points for the recurring cues rather than averaging the whole show.
LED fixtures and video walls can create bands or color variation with electronic capture. Make a shutter-time series during soundcheck when permitted and inspect complete frames. Use Canon's current guide for anti-flicker behavior, shutter modes, and any restrictions.
Deep red or blue light may provide less usable facial information than it appears to the eye. Protect important channels and wait for a more balanced cue when the set repeats. Monochrome conversion does not restore detail that was never recorded.
Plan support without obstructing the audience
Handholding is usually practical in a crowded pit or aisle. A monopod may help a long lens from a fixed soundboard or balcony if the venue permits it. A tripod or remote camera needs explicit authorization and a protected footprint.
Keep bags, straps, and lens movement within the assigned space. Do not hold a large screen above the audience or remain in one person's sightline through a whole song. Move during applause or between cues when rules permit, and coordinate with other photographers.
Wear appropriate hearing protection and follow instructions around haze, lasers, pyrotechnics, cables, and moving stage equipment. Side-stage access can place the photographer near hazards that are not visible from the audience.
Prepare for outdoor weather and condensation
Outdoor concerts add rain, wind, dust, changing temperature, and open daylight. Use compatible covers that preserve controls and ventilation, secure loose hoods and straps, and keep lens cloths accessible. A water drop near a spotlight can soften a long sequence.
Moving cold equipment into a warm, humid venue can create condensation. Let the kit acclimatize in a closed bag and inspect optical surfaces before access begins. Do not rush a lens change while moisture is forming.
Wind moves stage banners, rain covers, and long lenses. Stabilize the camera without attaching to venue infrastructure. Keep an approved shorter-lens fallback if the distant position becomes unusable.
Adapt the lens plan to venue scale
A small club may provide close access but little room to step sideways or backward. A wide or standard zoom is often more useful than a long lens, and fast primes can help only if their fixed framing matches the barrier. Check low ceilings, pillars, mirrors, and audience sightlines before choosing a side.
A theater or seated hall may restrict photographers to rear aisles, balconies, or designated side positions. Medium and long telephotos become more relevant, while quiet movement and unobstructed audience views are essential. Confirm whether photographing from a seat is allowed and whether support can touch the floor safely.
An arena can place the soundboard far from the stage and add haze, video screens, and long atmospheric paths. Reach matters, but a wide venue frame can be more honest than an excessively cropped performer. Outdoor festivals add multiple stages and travel time, so build separate position plans instead of one oversized lens list.
Use a venue-position matrix
| Venue position | Lens role | Planning risk |
|---|---|---|
| Small-club floor | Wide or standard lens | Limited retreat and audience obstruction |
| Close pit | Wide plus standard zoom | Fast distance changes and stage monitors |
| Theater aisle | Medium telephoto | Audience sightlines and movement limits |
| Balcony | Medium to long telephoto | Rail, angle, vibration, and support rules |
| Arena soundboard | Long lens plus wide context option | Haze, heads, screens, and atmospheric distance |
Populate the matrix from current access information. It should reveal which required picture lacks a viable lens or position before the crew reaches the venue.
Carry the matrix as a short phone note rather than an elaborate shot script in the dark. Record the approved movement window, nearest useful focus distance, and one fallback lens for each position. Add the stage side, expected lighting cue, and nearest safe exit. If security changes access, remove the unavailable view from the promise or renegotiate coverage instead of improvising in a restricted area.
Build coverage beyond the central singer
Allocate time for every required musician, instrument detail, audience relationship, venue context, and group interaction. In a short song restriction, divide the window before the first note. Do not discover at the end that a drummer or supporting performer has no clean frame.
Use musical structure as a cue. Introductions, solos, repeated choruses, and pauses often direct attention around the stage. Listening helps predict where to point and reduces indiscriminate bursts.
Respect injury, distress, wardrobe incidents, and private backstage moments. Access does not make every visible scene appropriate to publish. Follow artist policy and editorial standards.
Preserve song and position context in CR3 review
After verified ingest, imagic can scan Canon CR3 files and analyze them locally. It groups similar images and scores technical qualities; culling changes status rather than deleting originals. Use location or song markers to keep sequences understandable.
Human review must compare gesture, face, microphone position, instrument, light cue, audience obstruction, and set variety. If a stored score appears stale, check freshness and reanalyze affected files. Reselecting only ranks values already stored.
The desktop overview explains local, non-destructive review, while the camera hardware guides cover related lens decisions. Keep the access map and lens notes beside the final contact sheet.
Frequently Asked Questions
Which RF lens is best from a concert pit?
A wide or standard zoom is often flexible at close distance, but the correct choice follows stage size, barrier position, required performers, and the amount of venue context.
Is a long lens always best from the soundboard?
No. Reach helps subject scale, but haze, audience heads, vibration, narrow acquisition, and blocked musicians can limit the result. Verify the exact sightline.
Can silent capture prevent LED banding?
No. Electronic capture can interact with modulated lights. Test shutter times and relevant anti-flicker options under the actual venue fixtures.