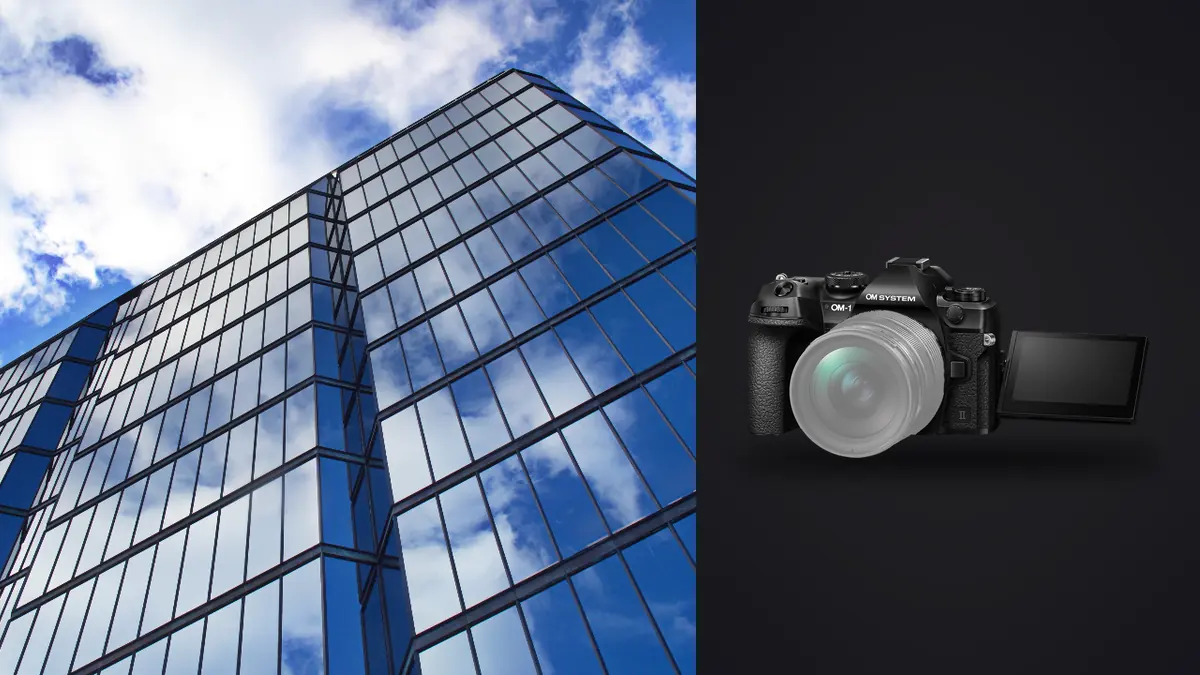
I picked up the OM System OM-1 Mark II expecting to use it for wildlife and hiking trips, the two things the marketing leans on hardest. It ended up living in my bag for architecture and interior work instead, mostly because I wanted to see whether the smaller system could do the job of a full-frame kit and a tilt-shift lens. Eight months and probably forty interiors later, here's what actually holds up on that kind of job, and where I still reach for a rental.
Why a Four Thirds Sensor Doesn't Work Against You Indoors
The instinct with architecture is to reach for the biggest sensor available, because bigger sensors usually mean more dynamic range for pulling detail out of bright windows without blowing them out. That instinct is correct, and the OM-1 Mark II's 20.4MP stacked sensor genuinely does give up a stop or so of highlight latitude compared to a full-frame body in a room with a big south-facing window. I noticed it in the first month, mostly on shoots where I wanted a single ungraded frame rather than a blended exposure.
What I didn't expect is how much the flip side matters for this specific genre. Four Thirds has a 2x crop factor, so at a given aperture you get roughly two stops more depth of field than a full-frame camera shooting the same field of view. For architecture that's not a compromise, it's often exactly what you want. Shooting a kitchen at f/4 on the OM-1 Mark II gets me a foreground countertop and a background window frame both acceptably sharp, where a full-frame shooter on the same job is stopping down to f/8 or f/9 and eating the shutter speed hit, or focus stacking two frames instead of one. On a shoot with twelve rooms and a tight afternoon window before the light changes, that adds up to real time saved.
In-Camera Keystone Correction, and Why I Still Do It By Hand
OM System (carried over from the Olympus era) builds a keystone compensation tool into the menu that lets you preview and correct converging verticals live, before you press the shutter. It's genuinely useful for judging a composition on a tall stairwell or a two-story entry hall where the uncorrected frame looks so distorted it's hard to tell if the shot works at all. Point the camera up at a facade, dial in the correction, and you can see roughly what the client will get.
The catch, and it took me a couple of jobs to internalize this, is that the correction bakes into the JPEG but the RAW file stays as-shot. If you're delivering RAW-processed files for a client (which for anything above a quick listing photo you should be), the in-camera correction is really just a framing aid, not a final fix. I use it to judge the shot, then pull the verticals straight manually in post with the same two-click lens-correction workflow I'd use on any other camera. It saves guesswork on site, it doesn't save a step in the edit.
Building a Lens Kit Around the 2x Crop
The crop factor cuts both ways on lens choice. A 7-14mm f/2.8 PRO becomes a genuine 14-28mm equivalent, which is wide enough for cramped stairwells and small bathrooms without needing anything more exotic. For most interior work I actually reach for the 8-25mm f/4 PRO more often: it covers 16-50mm equivalent in one zoom, it's smaller and lighter to carry room to room all day, and f/4 is plenty once you factor in the depth-of-field advantage from the sensor size.
- 8-25mm f/4 PRO (16-50mm equiv.) for the bulk of interior walkthroughs, one lens covers most rooms.
- 7-14mm f/2.8 PRO (14-28mm equiv.) for tight stairwells, small bathrooms, and full-facade exteriors where you can't back up further.
- 12-40mm f/2.8 PRO II (24-80mm equiv.) for detail shots, fixtures, and material close-ups where the wide end isn't the point.
What's missing from the native lineup is a true perspective control lens. Canon and Nikon shooters doing architecture full time lean on a tilt-shift for facades where keystone correction in post would mean cropping away too much of the frame. There's no OM System equivalent, and adapting a manual tilt-shift loses autofocus and, in most cases, the in-body stabilization sync. For street-level facade shots where the building fills the frame edge to edge, this is the one spot where I still book a rental full-frame body with a tilt-shift rather than push the small-sensor kit past its limit.
Handheld High Res Shot for Walkthroughs, Tripod for Delivery
The Mark II's handheld high-resolution mode shoots a burst and merges it into a 50MP file without a tripod, or 80MP if you do mount one. For quick client walkthroughs, real estate listings on a tight turnaround, or rooms where a tripod just isn't practical (crowded open houses, active renovation sites with people moving through), handheld high-res gets you meaningfully more resolution than the native 20.4MP file without slowing the shoot down.
It has real limits worth knowing before you rely on it for a delivery set. Anything moving in the frame during the burst, gauzy curtains catching a draft from the HVAC, a ceiling fan, foliage outside a window on a windy day, shows up as faint ghosting or smearing in the merged file. On a still-life detail shot of tile or fabric texture it's fantastic. On a living room with a table fan running or a window overlooking trees, I've had to throw out the high-res version and fall back to a single 20.4MP frame more than once. For anything going to print at a larger size, or for a hero shot you are likely to blow up, I still put the camera on sticks and shoot the tripod version, which sidesteps most of that risk.
Live ND and Live Composite for Window Light and Blue Hour
Live ND simulates a neutral density filter in real time, up to the equivalent of a 64x filter, and you watch the effect build in the electronic viewfinder rather than guessing at exposure through a physical filter screwed onto the lens. On a lobby shoot with people walking through the frame, or an exterior with traffic passing in front of the building, dialing in a few stops of Live ND blurs the motion out of a handheld frame without carrying glass filters or waiting for a gap in foot traffic. It's one of the features I actually use on nearly every commercial interior job now, mostly because swapping physical ND filters between compositions in a room-by-room shoot wastes time you don't have.
Live Composite solves a different problem: painting light into a shot without a single long exposure blowing out whatever's already bright. On a blue hour exterior with the building's interior lights glowing through the windows, I'll set a base exposure that holds the sky, then let Live Composite keep adding only the brighter pixels from subsequent frames, whether that's a passing car's headlights streaking the driveway or a second pop of flash lighting a dark corner of the porch. The window glow and the sky stay controlled the whole time because Live Composite never re-exposes what's already correctly lit.
| Scenario | Lens (35mm equiv.) | Mode | ISO range | Note |
|---|---|---|---|---|
| Tight stairwell / small bathroom | 8-25mm f/4 PRO at 8mm (16mm) | Single frame, handheld, IBIS on | 400-800 | Stop to f/5.6-8, corners soften below 10mm wide open |
| Open-plan living/kitchen, big windows | 12-40mm f/2.8 PRO II, 14-17mm (28-34mm) | 3-frame AEB (±2EV), tripod | 200 | Blend for window pull in post, single frame loses the view |
| Full facade, street level | 7-14mm f/2.8 PRO at 8-9mm (16-18mm) | Single frame, Keystone Comp for preview only | 200-400 | Correct verticals manually on the RAW afterward |
| Blue hour exterior, interior lights on | 12-40mm f/2.8 PRO II, ~20mm (40mm) | Live Composite, 2-4 sec base | 200 | Base exposure holds the sky before it drops fully black |
| Fixture / material detail | 12-40mm f/2.8 PRO II, macro range | Handheld High Res, 50MP | 200 | Static subject only, no fans or drafts nearby |
| Occupied space, meeting nearby | 8-25mm f/4 PRO, zoom range | Electronic shutter, silent | 800-3200 | No shutter clatter to disturb the room next door |
Weather Sealing on Active Sites
A lot of the architecture work that isn't a finished, styled interior is actually a construction or renovation site: drywall dust, exposed subfloor, contractors tracking mud through what will eventually be a lobby. The OM-1 Mark II carries an IP53 rating, and in practice that's meant I've kept shooting through drywall dust clouds and a couple of light rain exteriors that would have had me packing up a less sealed body. It's not a reason to buy the camera on its own, but on a renovation-in-progress job it's one less thing to think about while you're also trying to frame around scaffolding.
From Card to Client Gallery
A single interior job with bracketed windows, a handheld high-res pass on the detail shots, and a couple of Live Composite exteriors easily produces six or seven hundred RAW files by the end of the day, most of them near-duplicates by design. Going through that by eye, room by room, comparing three or four nearly identical bracket frames to pick the sharpest, is the part of the job that used to eat a whole evening.
I run the card through imagic before I open anything in an editor. Its local sharpness scoring flags which frame in each AEB set is actually the crispest, which matters more than it sounds like on a handheld high-res shot where even a slight hand tremor during the burst shows up in the merge. The duplicate and burst clustering groups those bracket sets automatically instead of leaving me to scroll past five near-identical frames per room looking for the keeper, which is most of the practical value on a shoot this repetitive. Because it processes everything on the machine rather than uploading to a cloud service, it's also an easy yes if you don't want unreleased interior photos of a property sitting on someone else's server before the listing or the press release goes out, which comes up more often on this kind of job than you might expect. If you haven't looked at how that culling step actually works under the hood, this breakdown of AI photo culling covers the mechanics in more depth than I will here.
For the edit itself, I trained an apply_my_style preset in imagic on a set of interiors I'd already graded by hand, warmer whites, pulled-back magenta in the shadows, a specific highlight rolloff for window light. Running new shoots through that preset gets me most of the way to a consistent look across a delivery set before I go in and fine-tune individual frames, which matters when someone is comparing photos of six different rooms side by side and any inconsistency in white balance between them stands out immediately. For anyone building a similar look from scratch, this guide to color grading workflow is a reasonable starting point before you train a preset of your own.
Where the System Still Falls Short
Two honest gripes after eight months. First, the dynamic range gap versus full frame is real on high-contrast interior-exterior mixes, a room with one bright window and dim corners needs a bracket where a full-frame body might get away with a single RAW pull. That's not a dealbreaker, it just means you plan for bracketing rather than treating it as optional. Second, the subject-detection autofocus modes the Mark II is genuinely good at (birds, cars, planes) are simply irrelevant to this genre. None of that R&D shows up on an architecture job, so you're paying for capability you won't use if that's the only reason you'd pick this body over the cheaper original OM-1.
Frequently Asked Questions
Does the smaller Four Thirds sensor limit how large architecture prints can go?
Not in practice for the sizes most architecture and interior clients actually print at. A standard 20.4MP RAW comfortably covers anything up to a large trade-show panel, and the handheld or tripod high-res modes push that to 50 or 80MP for oversized prints or heavy crops. The bigger practical limit is dynamic range on high-contrast scenes, not resolution.
Is there a native tilt-shift or perspective control lens for this system?
No. OM System doesn't currently make a tilt-shift lens for the Micro Four Thirds mount, and the in-camera keystone correction only bakes into JPEGs, not RAW files. For facade shots that need genuine perspective control rather than a post-production vertical correction, a full-frame body with a tilt-shift lens is still the better tool.
How does the OM-1 Mark II handle mixed LED and daylight in one room?
The anti-flicker detection helps avoid the banding that shows up under cheap LED and fluorescent fixtures when shooting at faster shutter speeds, which comes up constantly in office and retail interiors. Getting the color right when daylight and warm LEDs mix in the same frame is still a white balance judgment call in post either way, no camera solves that automatically.
What's the fastest way to turn a large interior shoot into a delivered gallery?
Bracket deliberately rather than over-shooting every angle from three positions, use Live ND instead of reshooting for motion blur, and run the resulting card through a local culling pass before you touch an editor. Sorting bracket sets and picking the sharpest frame by hand is the slowest part of a job like this, and it's the part most worth automating first, which is the whole reason I moved that step into imagic instead of doing it manually in a folder full of near-duplicate thumbnails.