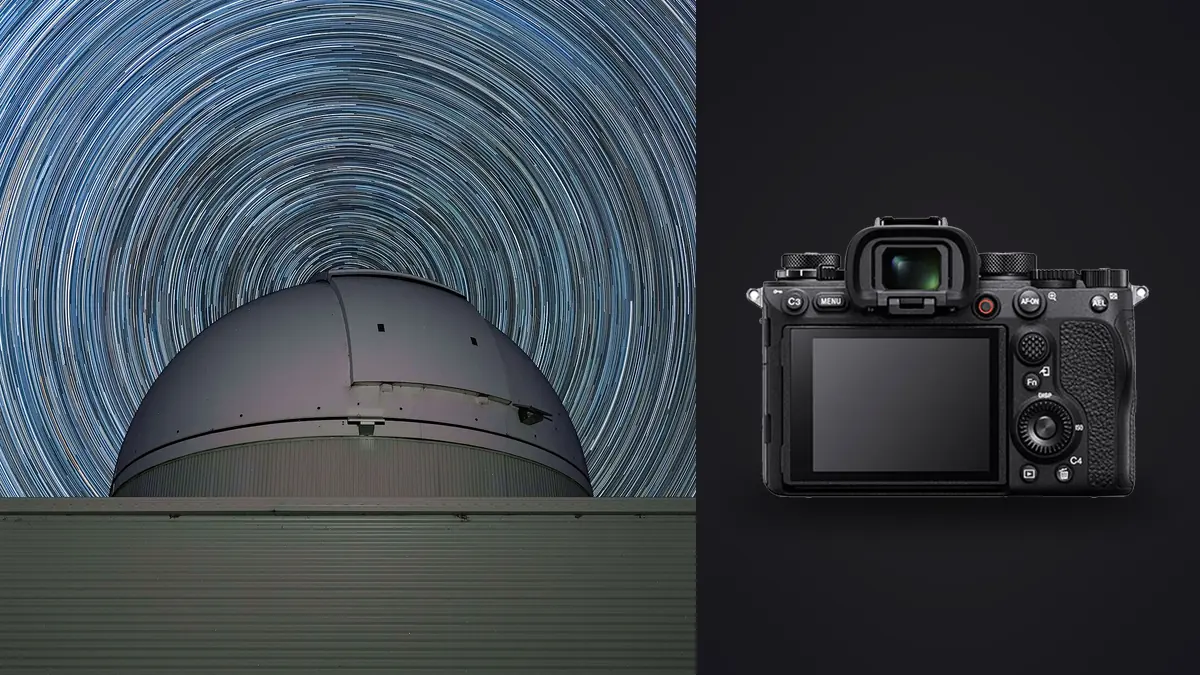
Why I Keep Bringing a 50-Megapixel Body Under Dark Skies
The Sony A1 was never marketed as a night sky camera. Sony built the A7S III for that job, with big photosites and a resolution ceiling that keeps noise low at ISO 12800 and beyond. So the first time I set an A1 up on a ridge for a Milky Way session, a friend who shoots with an A7S III asked why I'd bother lugging a 50-megapixel body out there instead of something built for low light. Fair question. The honest answer is that the A1 does two things for astro work that the low-light specialists don't: it gives you enough resolution to crop into a foreground rock formation or a distant treeline and still print large, and its autofocus system will lock onto a star or a lit ridge line in near-total darkness, which saves real time when you're trying to nail focus before the milky band drifts out of your framing.
That resolution comes with a tax, though. This piece is about what that tax actually costs you in the field, how to structure exposures around it, and the stacking and culling workflow I use once I'm back at a laptop with a card full of 50-plus megapixel raw files.
The Sensor Trade-off: Resolution Versus Noise Per Pixel
The A1's stacked Exmor RS sensor packs 50.1 effective megapixels into a full-frame area, which works out to a pixel pitch of roughly 4.1 microns. Compare that to the A7S III, where 12.1 megapixels on the same sensor size gives you photosites closer to 8.4 microns across. Bigger photosites collect more light per pixel before you hit read noise, which is why the A7S III can push ISO 12800 and still look clean at normal viewing sizes.
On the A1, I treat ISO 3200 as my practical ceiling for a single frame I plan to use without heavy noise reduction, and I rarely push past ISO 6400 even when stacking, because chroma noise in the smaller photosites gets patchy rather than fine-grained, and that patchiness survives stacking better than you'd expect. The upside shows up at the export stage: a Milky Way frame shot at 14mm on the A1 gives me enough resolution that I can crop to a vertical composition for a print without touching an upscaler, something I can't do with a 12-megapixel file from a smaller-sensor low-light body.
Lenses That Actually Hold Up Wide Open
Coma is the thing that separates a usable astro lens from one that just has a wide-open aperture number. Stars near the corners of the frame turn into little seagull shapes on lenses that weren't corrected for it, and cropping a 50-megapixel file makes that defect more visible, not less.
The Sony FE 14mm f/1.8 GM is the lens I reach for most. It's usable at f/1.8 with minor corner softness that cleans up by f/2.2, and it focuses close enough to infinity markings that I can trust the barrel scale in a pinch. The FE 20mm f/1.8 G is my second body's lens for wider compositions that include more foreground, and it's noticeably lighter for hikes where every gram in the bag matters. I've also run the Sigma 14mm f/1.4 DG DN on the A1 for sessions where I wanted the extra stop, and while it's sharper in the extreme corners than the Sony 14mm GM, it's also heavier and slower to rack focus manually in the dark. None of these are budget lenses, but a soft f/2.8 kit zoom will undo everything a 50-megapixel sensor is capable of resolving in a star field.
How Long You Can Actually Expose Before Stars Smear
Every astro photographer has heard some version of the "500 rule": divide 500 by your focal length to get a shutter speed before star trailing becomes visible. That rule was built around film grain and small print sizes, and it falls apart fast on a 50-megapixel sensor viewed at 100%, because the pixel density means Earth's rotation smears a star across several more pixels than it would on a lower-resolution sensor in the same amount of time.
Here's what I've actually measured on the A1 by shooting test frames at increasing shutter speeds and checking pixel-level sharpness on a laptop before committing to a full sequence:
| Focal length | Old "500 rule" ceiling | What I actually use on the A1 | Why |
|---|---|---|---|
| 14mm | ~35 seconds | 20 seconds | Pinpoint stars corner to corner at 100% crop |
| 20mm | ~25 seconds | 13 seconds | Slight elongation creeps in past 15s at this resolution |
| 24mm | ~21 seconds | 11 seconds | Matches what shows as sharp when I zoom to check focus stars |
| 35mm | ~14 seconds | 8 seconds | Any longer and bright stars start to look like short dashes on export |
Those numbers are conservative on purpose. If your final output is a web image or a small print, you can push each of these a couple seconds longer and nobody will notice. But if you're stacking dozens of frames and any single one shows elongation, that frame drags the alignment quality of the whole stack down, so I'd rather shoot a touch short and boost ISO than fight trailing after the fact.
Three Exposure Recipes I Actually Use
Different sessions call for different approaches. Here's what a typical night looks like depending on whether I'm shooting handheld-tripod (untracked), on a star tracker, or building a star trail composite.
| Scenario | ISO | Aperture | Shutter | Frame count | Stacking tool |
|---|---|---|---|---|---|
| Untracked Milky Way, 14mm GM | 3200 | f/1.8 | 15s | 8-12 for a stack, more if stitching a pano | Sequator |
| Tracked wide-field, 24mm on a Star Adventurer GTi | 1600 | f/2.8 | 90s | 20-30 | Deep Sky Stacker |
| Star trail composite, 20mm | 800 | f/4 | 30s x roughly 240 frames over 2 hours | 240 | Photoshop lighten stack or StarStaX |
The tracked recipe is the one that surprises people. Once a tracker is compensating for Earth's rotation, you're no longer fighting the shutter speed ceilings from the table above, so you can drop ISO substantially and let longer exposures do the noise-reduction work for you instead of software. The A1's resolution is genuinely wasted on untracked wide-field shots where you're limited to 10-20 second exposures, because you're ISO-bound long before you're resolution-bound. It earns its keep on tracked sessions where you can expose long and clean, then actually use all 50 megapixels of detail in the final stack.
Field Workflow: Intervals, Cards, and Cold Batteries
The A1 has a built-in interval shooting function in the shooting mode menu, which means I don't need to carry a separate intervalometer for a star stacking sequence. I set the frame count, the interval between shots, and the exposure length, then walk away from the camera rather than triggering each frame with a remote. For a 200-plus frame star trail sequence this matters more than it sounds, because touching the camera between frames is exactly how you introduce a composition shift that ruins the stack.
Card management is the other practical detail worth planning around. A single 50-megapixel uncompressed raw from the A1 runs close to 100MB, and a two-hour star trail sequence at that file size fills a card fast. I shoot compressed raw for stacking sequences specifically to buy more frames per card, since the extra sharpness of uncompressed raw doesn't matter when every frame is getting blended into a composite anyway. I keep the CFexpress Type A slot as primary and let the SD slot in the second bay record as overflow, so a card failure mid-sequence doesn't cost me the whole night.
Cold hits the NP-FZ100 battery harder than the spec sheet suggests. On a below-freezing night I've watched a battery reading 60% drop to a shutdown warning within twenty minutes of continuous interval shooting. I keep a spare battery in an inside jacket pocket, body heat against skin, and swap it in when the first one starts reading low rather than waiting for it to die mid-sequence.
From 200 Raw Frames to One Stacked Image
This is the part of astro photography nobody warns you about before you do it the first time: the field session is the easy half. You come home with a card holding somewhere between 60 and 250 nearly identical raw frames, and the software you plan to stack them in only wants the frames that are actually sharp, correctly exposed, and free of a plane's landing lights streaking through the corner.
I run the whole take through imagic before it touches Sequator, Deep Sky Stacker, or Photoshop. Because it scores sharpness and focus locally on the machine, I can flag frames where focus drifted after a lens bump, or where condensation started fogging the front element partway through a two-hour trail sequence, all without any of that raw data leaving my laptop, which matters when you're doing this review at a cabin or a campsite with no signal at all. Its duplicate and burst clustering groups the sequence into clusters of visually near-identical frames instead of leaving you to scroll through 180 thumbnails one at a time looking for the one with a satellite trail through it, so a review pass that used to eat half an hour drops to a few minutes. That's a bigger deal for star stacking than for ordinary event or portrait culling, because a stacking sequence is designed to produce near-duplicates on purpose, which breaks most culling tools built around finding your single best shot from a burst rather than qualifying an entire sequence for a stack.
If you haven't dealt with a culling pass built around AI sharpness scoring before, our explainer on how AI photo culling works covers the mechanics in more depth than I'll go into here.
Building a Repeatable Edit for Every Session
Once a stack is built, the edit itself follows a pattern I've refined over a couple dozen sessions: a mild curve to lift shadow detail in the foreground, selective saturation on the Milky Way core, and a slight cool shift in the sky that stays warm in the foreground rock or treeline. Redoing that from scratch every time is where a lot of astro editing time actually goes, more than the stacking itself in my experience.
I trained imagic's apply_my_style feature on a batch of sessions I'd already edited by hand, and now a fresh stack gets that same core-and-foreground treatment applied automatically as a starting point, built from my own prior edits rather than a generic preset pack. I still nudge white balance per session since haze and moon phase change the color cast night to night, but starting from something already close to my style rather than a flat raw file saves real time when you've got three sessions backed up from a week of clear skies. If your broader workflow could use a tighter structure beyond just the astro-specific steps, the general advice in 10 tips for a faster photo workflow applies here too.
The offline part matters more for astro work than for most photography genres. These sessions happen at elevation, in national forests, on ridgelines with zero cell signal, often hours from anywhere with wifi. A culling and editing tool that needs to phone home to a cloud service to score your images is a tool you can't use on the exact night you most need it, which is the whole reason a local-first, one-time-purchase approach fits this kind of shooting better than a subscription tool built around always-on connectivity.
Frequently Asked Questions
Does the Sony A1's 50-megapixel sensor actually hurt it for astrophotography compared to a lower-resolution body?
It hurts you specifically in untracked, high-ISO situations, where the smaller photosites show more per-pixel noise than a camera like the A7S III at the same ISO. It stops mattering, and starts helping, the moment you're on a tracker and can drop ISO and extend shutter speed, because at that point you're limited by how much detail you can resolve rather than how much noise you can tolerate. If your sessions are mostly handheld-tripod wide-field shots at high ISO, a lower-resolution body will genuinely give you cleaner files. If you're tracking, or you need the resolution for cropping and large prints, the A1's sensor works in your favor.
Should I use the A1's electronic shutter for long star exposures?
No, stick with the mechanical shutter for anything beyond a second or two. The electronic shutter on the A1 is built for high-speed silent bursts and video-adjacent work, and it's not the mode you want engaged for multi-second astro exposures where rolling readout characteristics and banding risk under certain ambient light sources can show up in ways a mechanical shutter simply doesn't produce. I leave the shutter mode on mechanical for the entire night once I'm set up for a stacking sequence and don't touch it.
What interval setting should I use for a star trail sequence, and does the shutter mechanism hold up to that many actuations?
I run 30-second exposures with a 1-second gap between frames for star trails, which is short enough to avoid visible gaps in the trail once stacked but long enough that the camera isn't straining to write files between shots. A two-hour sequence at that interval works out to roughly 240 actuations, which is nothing against the A1's shutter durability rating. I've run sequences like that dozens of times over two years without a shutter-related issue.
Do I need a star tracker with the A1, or is the sensor good enough for untracked shots?
You don't need one to get a usable Milky Way shot, but you're leaving most of what the sensor can do on the table without one. Untracked, you're capped at roughly 8 to 20 seconds depending on focal length before trailing shows at pixel level, which forces ISO 3200 or higher and puts you right in the noise range where the A1's smaller photosites are at their weakest. A basic tracker like a Star Adventurer GTi lets you shoot 60 to 90 second exposures at ISO 800 to 1600 instead, which is a completely different noise profile and finally lets that 50-megapixel resolution show up as actual resolved detail rather than noise you have to smooth away.