
A print comes back with muddy colors or looks softer than expected, and the usual suspects, wrong color space, wrong resolution assumption, wrong file format, are almost always export settings rather than anything wrong with the lab's equipment or the original edit. Getting these three settings right before sending a file to print prevents most of the surprises.
sRGB vs AdobeRGB: The Consumer Lab Reality
Adobe RGB captures a wider range of color than sRGB, which sounds like a straightforward reason to always use it for print work, but most consumer and even many professional print labs are actually calibrated to expect and correctly interpret sRGB files, not Adobe RGB. Sending an Adobe RGB file to a lab that assumes sRGB input can produce colors that look duller or shifted compared to what was intended, since the lab's processing misreads the wider gamut data. Unless a specific lab has explicitly confirmed it accepts and correctly processes Adobe RGB (some high-end fine-art print labs do), sRGB is the safer default for print export, the same as it is for web and social delivery.
The 300 DPI Myth
The "always export at 300 DPI" rule gets repeated constantly, but DPI (or PPI) alone is meaningless without knowing the actual print size, since DPI just describes how many pixels are packed into each inch of the final print, not the total pixel count of the file. A 3000 by 4500 pixel image printed at 10x15 inches is rendering at 300 PPI; the same file printed at 20x30 inches is rendering at 150 PPI, a real drop in detail per inch but still often perfectly acceptable to the eye at typical print viewing distances for larger prints. What actually matters is total pixel dimensions relative to the intended print size and viewing distance, not blindly forcing a 300 DPI tag onto a file without checking whether the underlying pixel count supports it at the size being printed.
TIFF vs JPEG for Print
TIFF, an uncompressed or losslessly compressed format, preserves every bit of image data with no generational quality loss, making it the safer choice for large prints, fine-art reproduction, or any file that might get reprinted or re-processed later. JPEG, even at a high quality setting, introduces some compression, which is usually invisible at typical print sizes and viewing distances but becomes a more meaningful consideration for very large prints viewed up close, gallery-scale work, oversized canvas prints. For most standard consumer print sizes, a high-quality JPEG is genuinely sufficient and keeps file sizes far more manageable for upload to a lab's ordering system; TIFF earns its larger file size specifically for large-format or archival-grade printing. TIFF vs JPEG vs RAW: when to use each format covers this tradeoff across all three formats in more depth.
Soft-Proofing Basics Without Paralysis
Soft-proofing, previewing how an image will likely look once printed on a specific paper and process, using a profile provided by the lab, catches gamut and contrast surprises before they show up on physical paper, but it is easy to over-invest time in it for routine consumer print orders where the practical benefit is small. A reasonable middle ground: skip formal soft-proofing for standard prints going to a lab whose output you already trust from past orders, and use it specifically for high-stakes prints, an oversized wall piece, a client album master, or a new lab you have not used before, where a color surprise would be costly to catch after the fact rather than before.
A Practical Export Checklist
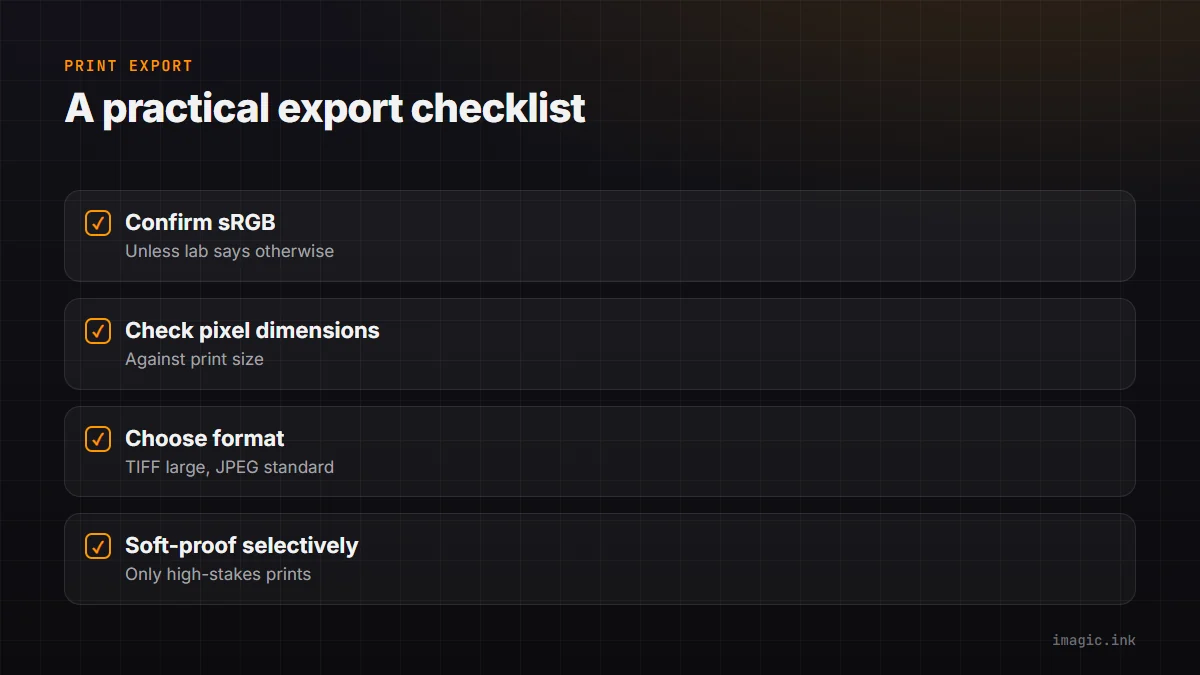
Confirm sRGB unless the specific lab has explicitly said otherwise, check that pixel dimensions actually support the intended print size rather than trusting a DPI number alone, choose TIFF for large or archival prints and high-quality JPEG for standard consumer sizes, and reserve soft-proofing effort for the prints where a mistake would actually be costly. imagic's export presets can be set up once for a lab's specific requirements and reused for every order after that, removing the need to re-check these settings by hand each time. The RAW format hub covers how source file choice feeds into this export decision from the start of the workflow.
Frequently asked questions
Should every print export use TIFF to be safe?
Not necessarily. High-quality JPEG is sufficient for most standard consumer print sizes and is far more practical for file size and upload speed. TIFF earns its place specifically for large-format or archival-grade printing.
Does a higher DPI setting always mean a sharper print?
No. DPI without a fixed print size is not a meaningful quality measure on its own. What matters is whether the file's actual pixel dimensions are sufficient for the specific size being printed.
What happens if I send an Adobe RGB file to a lab expecting sRGB?
Colors typically come back duller or shifted from what was intended, since the lab's processing interprets the wider gamut data incorrectly. Converting to sRGB before export avoids this for the large majority of consumer and professional labs.