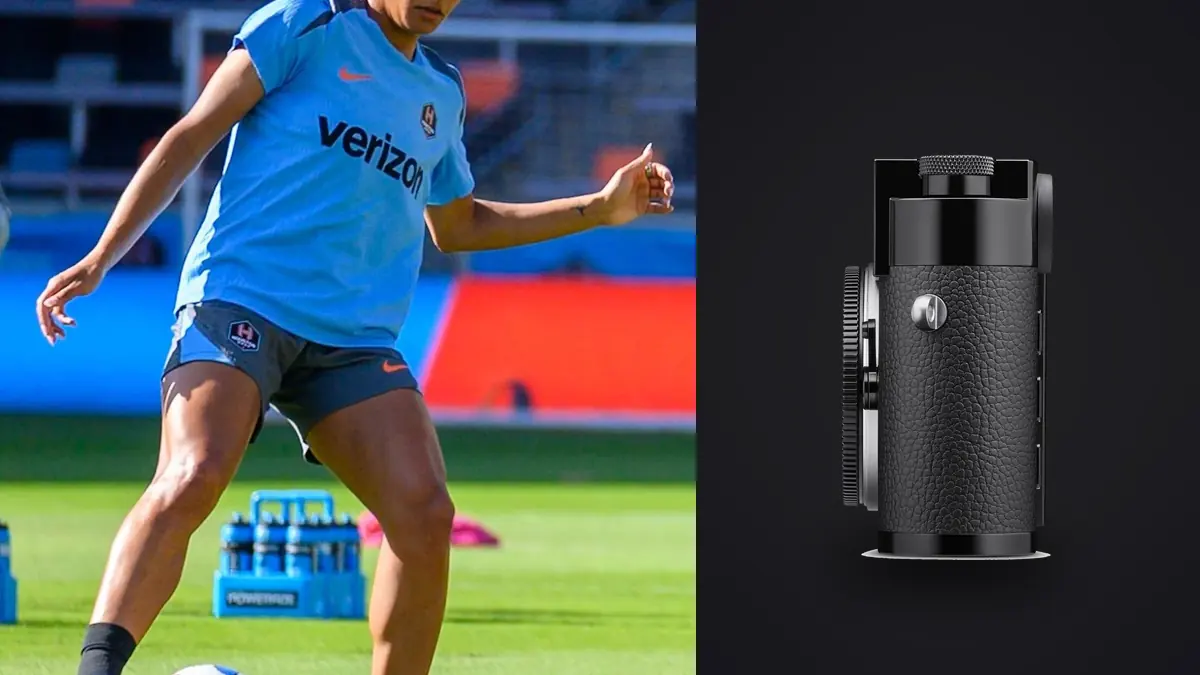
The Leica M11 is not designed to compete with a modern autofocus sports body. It uses manual rangefinder focusing, offers a modest continuous rate, has no in-body stabilization, and presents the scene through an optical finder rather than a through-the-lens action display. Those limitations are decisive for erratic, close, unrepeatable sport.
They do not prevent every action photograph. Track crossings, road races, golf, paddock work, training sessions, and wider environmental sports scenes can be photographed through anticipation and pre-focus. The M11 becomes viable when its controls are arranged around known distances and one carefully timed frame.
Define the action before configuring the camera
Separate predictable action from reactive action. A runner crossing a marked line, cyclist entering a bend, jumper reaching a takeoff board, or athlete standing after a finish provides a known distance. A ball changing direction in a crowded court does not. Use the M11 for the first category and bring a suitable autofocus body for the second.
Create a small shot map. Mark the start, crossing point, background, and safe standing area. Decide whether the image will freeze action, pan with it, or place the athlete within a wider environment. Each choice leads to a different shutter speed and focus method.
Do not rely on 60 megapixels to rescue distant framing. Cropping can refine a strong composition but cannot recreate telephoto compression or missing detail. Move to the right legal position and choose the appropriate lens before treating resolution as insurance.
Configure direct exposure control
The M11's traditional shutter dial and aperture ring support a clear manual workflow. For stable light, set shutter, aperture, and ISO manually. This prevents bright lane markings, dark crowds, or uniforms from changing exposure across a sequence. Check the histogram from a test file, not only the apparent finder scene.
When light shifts across the course, use Auto ISO with a fixed shutter and aperture if that behavior matches the assignment. Set a maximum sensitivity based on processed files and final output. Keep exposure compensation reachable when using an automatic component, and watch pale uniforms for clipping.
Assign a function control to the exposure aid most often needed, such as ISO or compensation. Avoid building a complex menu map. The optical finder keeps attention on the scene; controls should be recognizable by touch so the photographer does not have to leave it.
Use the rangefinder patch at known distances
The central rangefinder patch aligns two images when focus is correct. It works best on a clear vertical or contrast edge. For a static athlete, an eye, number edge, or garment seam can provide that target. For action, focus on a marker at the distance the subject will cross rather than trying to turn the ring continuously through the full path.
Place an assistant, hurdle, cone, or bag at the crossing point before the event. Focus precisely, then leave the ring alone. If the lens has a clear distance scale, note the position as a backup, but confirm through the rangefinder or live view because scale markings are not a substitute for the actual optical system.
The patch sits in the center even when the subject will be off-center. Focus on the distance marker first, compose the final frame, and wait. This avoids focus-and-recompose error on a close subject because the distance is already fixed before the athlete arrives.
Use zone focus for wider documentary frames
Zone focus combines a moderate aperture with a selected distance range. It is useful when the photograph includes spectators, course context, and an athlete moving through a broader area. Read the lens depth-of-field scale as a starting guide, then test the actual result at the intended output.
Do not assume everything inside a printed scale will look equally sharp on a high-resolution file. Circle-of-confusion assumptions behind traditional markings may be generous for close pixel inspection. Build a narrower practical zone and leave margin around the subject's path.
A wider lens and greater camera distance create more depth than a fast normal lens used close. This makes a 28mm or 35mm lens practical for environmental action. It does not make close sideline portraits easy; those still require exact timing and focus.
Set shutter speed from the visual intention
For a crisp stride, use a fast shutter and confirm hands, feet, and face in a rehearsal. For a pan, select a slower speed, begin following before the subject reaches the frame, release smoothly, and continue the movement afterward. Make a safe sharp image before attempting the slower interpretation.
No single shutter value covers every sport. Angular speed increases when the subject is close and crossing the frame. A distant runner can appear slower than a nearby cyclist even when actual speed differs. Test the specific distance and lens rather than applying a memorized number.
Because the M11 lacks in-body stabilization, posture and follow-through matter. Brace elbows, use a stable stance, and press without jabbing. A monopod may help a longer lens at a fixed position, but it can obstruct movement in a crowded course. Follow venue rules.
Choose lenses that keep framing visible
Rangefinder frame lines show an approximate field inside the optical finder. Wider lenses leave visible space around the frame, which can help anticipate a runner entering. Longer lenses use a smaller central frame and make exact composition harder. Select a focal length that balances subject size with the finder's practical view.
A 35mm lens is a strong environmental choice for track, street races, and paddocks. A 50mm lens isolates more while remaining manageable. Longer M lenses can cover fixed moments but demand more precise rangefinder calibration and timing. Test the actual body and lens pair at working distance.
Fast aperture is useful in low light, yet very shallow depth makes pre-focus less forgiving. Stop down enough to cover the crossing zone and athlete's body depth. Lens rendering matters only after the important subject is sharp.
Configure continuous shooting with restraint
The M11's continuous rate is modest by specialist sports standards. Treat it as a way to cover a brief gesture, not as a substitute for timing. A two- or three-frame sequence around contact or stride peak can be useful. Holding the shutter through the whole approach fills the buffer and card without solving focus.
Practice the release lag and rhythm before the event. Photograph a person crossing the mark repeatedly and compare where the subject appears in each file. Adjust the release cue until the peak falls in the frame. Human timing improves when the path is predictable.
Use single frame for static portraits, scene details, and moments after action. Switching drive mode should be deliberate. Unnecessary sequences slow review and can make the quiet rangefinder workflow feel like an imitation of a camera it is not.
Use live view or an accessory finder selectively
Rear-screen live view shows the lens view and can magnify manual focus for a fixed setup. It is useful for low positions, precise pre-focus, and checking field curvature or edge framing. It is less useful for following fast action at arm's length in bright light.
An optional electronic viewfinder can provide through-the-lens framing and focus aids. That may help with lenses or angles that strain the rangefinder, but it changes balance and adds another powered component. Test responsiveness and visibility for the intended action rather than assuming it creates autofocus-like performance.
The optical finder remains valuable for anticipation because the photographer can see outside the frame. Keep both eyes open when practical and watch the subject approach. Situational awareness is also a safety requirement near roads, animals, and moving equipment.
Handle storage and battery choices
The M11 includes internal storage in addition to an SD card. Decide whether the two destinations provide backup, overflow, or a specific separation, and verify the routing before the event. Internal storage is useful only when the transfer and backup process is understood.
High-resolution DNG files consume space quickly despite a modest burst rate. Confirm capacity, carry a prepared card, and avoid deleting in the field. Battery use rises with live view, wireless features, and repeated review, so bring a charged spare for a long day.
At ingest, preserve file order across internal memory and card. Use a collision-safe naming method and verify both sources before formatting either. Note any clock changes or camera reset that could affect the event sequence.
Review by timing before microscopic detail
Group images by action point. Choose the frame where stride, gesture, equipment, and expression explain the moment, then inspect focus. A slightly softer file may not survive a large print, but a perfectly sharp frame with a collapsed gesture may not survive the edit.
A local Windows or macOS app such as imagic can score sharpness, exposure, closed eyes, and composition and group similar frames while keeping photos on the computer. Use the result to navigate, then make the sports decision manually. The application does not turn the M11 into an autofocus capture system.
Apply non-destructive adjustments and export JPEG or TIFF according to the delivery. Keep the DNG original and a record of the selected sequence. The workflow and editing guides cover more reliable handoff practices.
Run a pre-event control check
- Confirm the action is predictable enough for manual focus.
- Set exposure and inspect the brightest important surface.
- Pre-focus at the marked crossing distance.
- Choose single or short continuous release.
- Verify lens frame lines and leave entry space.
- Check card routing, internal storage, and battery.
- Make a rehearsal frame and inspect the intended detail.
If the rehearsal fails because the subject path is too erratic, change the photograph or change the camera. Honest adaptation is a professional control decision.
Practice timing with a repeatable local drill
Choose a safe public path where a walking or cycling assistant can cross one fixed mark repeatedly. Pre-focus, frame with entry space, and make one exposure per pass. Review where the subject lands relative to the intended peak, then adjust the release cue rather than firing a longer sequence.
Repeat with a wider lens and a narrower aperture for zone focus, then with a slower shutter for panning. The drill reveals how focal length, subject speed, and personal reaction interact on the M11. Keep the resulting notes as a control reference for the event.
Frequently asked questions
Can the Leica M11 track fast sports with autofocus?
No. It is a manual-focus rangefinder. Use pre-focus, zone focus, and predictable action, or choose an autofocus sports body for erratic movement.
Which M11 lens is easiest for environmental sports?
A 28mm or 35mm lens provides context, visible space around the frame, and more practical depth than a close fast telephoto. The exact choice depends on access and subject size.
Should the M11 use continuous shooting for every action?
No. Its modest sequence rate works best for a brief gesture after focus and framing are prepared. Single-frame timing remains central to this approach.