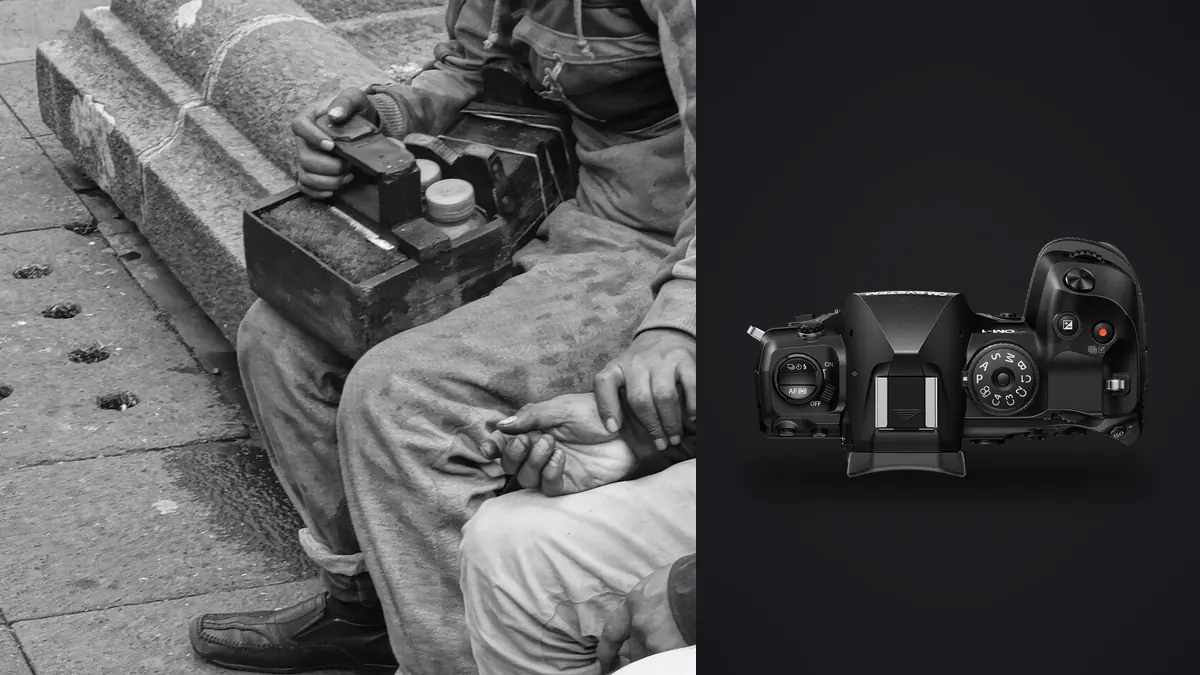
The OM System OM-1 Mark II has far more speed and automation than most street photographs require. A useful plan begins outside the menu, with a route, a working distance, and one or two Micro Four Thirds lenses that suit the density of the place. Compact focal lengths can keep the kit discreet, while the body's stabilization and weather resistance support longer walks through changing light.
This Lens and Location Guide connects those choices to markets, transit areas, broad public squares, narrow streets, and night routes. Camera setup still matters, but it follows the visual role of each location rather than becoming the purpose of the walk.
Choose a lens by street width and working distance
Micro Four Thirds makes it practical to carry compact primes with distinct visual roles. A lens around 17mm gives a moderately wide view for dense streets and environmental layers. Around 25mm gives a normal perspective for general walking. A compact 45mm option creates distance for details or portraits made with permission. Exact choices depend on the available lens, but each should earn a place through a different viewpoint.
| Location | Lens role | Position to scout |
|---|---|---|
| Narrow market lane | Moderately wide context | Edge recess with an unobstructed flow |
| Open square | Normal perspective | Shadow line, steps, or architectural frame |
| Transit platform | Normal or short telephoto | Legal waiting area clear of passenger flow |
| Night storefront | Fast normal prime | Opposite pavement outside reflections |
| Public event detail | Short telephoto | Authorized perimeter with clean background |
Walk the route with one primary lens before adding a second. Notice how often the camera must move too close or crop too heavily. If most frames require retreat that the street does not provide, use a wider option. If subjects remain small and disconnected, choose a longer view or find a position that brings the action through a fixed foreground.
Scout light transitions along the route
Map where the walk moves from open sun to arcades, shop interiors, stations, or shade between tall buildings. A route that looks consistent on a map can vary by several exposure stops within a block. Choose the order by the direction and time of light, then save camera configurations for daylight, low light, and motion as support for those transitions.
Look for repeatable pools of light, reflective walls, bright pavement, and windows that reveal or hide faces. Return to the same corner at the hour when a useful beam reaches the background. At night, note which signs cycle brightness and which fixtures create visible flicker. A location with stable light is often more productive than walking continuously in search of isolated moments.
Keep exposure compensation reachable and reset it when entering a new street. Aperture priority can suit changing daylight, while manual shutter and aperture with Auto ISO can preserve motion rendering across a known route. Settings remain secondary to knowing where the light changes and what the selected lens includes from each position.
Choose focus behavior for distance and intent
For isolated people or held moments, single autofocus with a modest selectable area is direct and easy to verify. For someone walking toward or across the camera, continuous autofocus can maintain focus through a short sequence. Human detection may help, but it can also jump to a face that is not your subject in a crowd. Keep an accessible control for changing the target or returning to a defined area.
Zone focusing remains valuable with a small prime. Set a repeatable distance, choose an aperture that gives useful depth, and learn the near and far boundaries through practice. Do not rely blindly on a depth-of-field scale at very close distance or high-resolution viewing. Make test frames at the same print or screen size as the intended work, then note the combinations you trust.
Back-button focus can separate focusing from release, but it is not mandatory. Use it only if it makes pre-focusing and timing more natural. Whichever method you select, keep it consistent across custom modes. Missing a frame because a mode silently moved focus back to the shutter button is an avoidable setup failure.
Check access and silent shooting at each location
The electronic shutter can make the camera unobtrusive, but it is not invisible and it is not always artifact-free. Fast lateral movement may distort, and artificial lights can create bands. Save a quick path back to mechanical or anti-shock operation. Under station, shop, or office lighting, photograph a plain surface and review for stripes before relying on silent mode.
Turn off focus confirmation beeps, unnecessary illuminators, and bright review behavior where appropriate. Reduce rear-screen use rather than trying to hide the camera after every frame. Respect signs and instructions in private premises. Silence does not create permission, and photographing vulnerable people requires judgment beyond what local law might allow.
The camera's weather resistance supports work in difficult conditions, but lens sealing and handling still matter. Keep rain from collecting on the front element, avoid changing lenses in spray, and carry a cloth in an accessible pocket. A technically sealed kit can still produce unusable frames through a single water spot.
Plan stable night viewpoints without blocking movement
In-body stabilization is excellent for static storefronts, quiet interiors, and deliberate night scenes. It can hold environmental detail at shutter speeds that would otherwise show camera shake. It does nothing to stop a moving person. When people are central, select the shutter speed for their motion and let stabilization handle only your movement.
Check the first low-light frame at useful magnification. If the background is crisp and the subject is smeared, the shutter is too slow for the action. If all edges move together, improve support or raise the speed. If one plane is sharp and another is not, focus or depth is responsible. This simple diagnosis prevents solving every kind of softness by raising ISO.
For intentional motion blur, make the decision visible. A stable background plus a moving figure communicates direction; uniformly soft detail often reads as an accident. Use a controlled pan or fixed camera position, and make several considered attempts rather than a long uncontrolled burst.
Match drive behavior to repeatable street events
The OM-1 Mark II offers extremely fast capture modes, including specialized settings that can produce large RAW sequences. Most street situations do not need them. Single frame encourages timing and keeps editing humane. A low continuous rate is useful for a short gesture, stride, or interaction. Reserve the highest modes and Pro Capture for a defined event where frames before or immediately after the press genuinely matter.
Set a maximum burst length in your own behavior even if the camera does not enforce one. Two or three frames around a gesture are easier to compare than dozens of nearly identical files. High rates also fill cards, increase transfer time, and make accidental presses costly. Speed is a targeted tool, not a default measure of readiness.
- Single frame for static layers, signs, portraits with permission, and anticipated gestures.
- Low burst for a stride, a brief exchange, or movement through a precise background.
- Pro Capture for a repeatable event whose start is difficult to predict.
- High-speed modes only when the output needs fine action phases and the editing plan can support them.
Pack cards and RAW settings for the route
Use reliable, matched cards and decide whether the second slot mirrors the first or takes over when full. Simultaneous RAW recording can protect paid documentary work against a single card failure, while overflow may be adequate for personal walks if there is a disciplined backup later. Confirm the active configuration after firmware updates or a settings reset.
Record RAW when changing color, mixed light, or deep tonal work is expected. A companion JPEG can provide a visual reference or quick transfer, but it doubles file-management decisions. If you do not have a use for it, omit it. Set the camera clock accurately and choose a file naming practice that will not collide when multiple bodies enter the same archive.
Reduce automatic review time or disable it for fluid street work. Use deliberate review breaks in a quiet place to check exposure, card status, and lens cleanliness. Constant chimping narrows awareness and can attract more attention than taking the photograph.
Build a local edit that respects sequence
Back up the card before formatting, then review by event rather than by isolated technical score. Street photographs often depend on visual relationships, ambiguous gestures, or a sequence's pacing. A local workflow helps when the subject matter is sensitive. imagic desktop scans a folder before analysis, processes on the machine, and sets reversible culling statuses without deleting original files.
Automated analysis can help surface sharpness, exposure, closed eyes, composition, and related frames. It cannot decide whether a glance connects two sides of the picture or whether an imperfect frame is essential documentary evidence. Review rejects and burst groups yourself. If a stored score seems wrong, check freshness and reanalyze stale photos rather than expecting reselect to recalculate them.
Edit selected ORF files with a consistent baseline, then preserve differences in weather, neighborhood, and light. A learned personal style requires an existing profile; it is not available by assumption. Export renders the stored edits into new files. More ways to organize the process appear in Workflow and Editing.
Keep one wider or quieter frame from each event until the final sequence is assembled. Those transitional images often control pace even when they are not the strongest standalone photographs.
Run the five-minute lens and location check
- Confirm RAW format, card roles, available capacity, battery, and accurate clock.
- Load the three custom modes and verify that focus activation is consistent.
- Check exposure compensation is zero and Auto ISO boundaries suit the light.
- Test silent shutter under local artificial lighting and keep the fallback reachable.
- Inspect the lens, set review brightness, silence beeps, and secure the strap.
- Make one walking-subject frame and one static frame to confirm shutter and stabilization choices.
Once those checks pass, stop configuring. Good street photography depends on curiosity, patience, and respectful presence. The OM-1 Mark II can react much faster than necessary; a successful setup makes that capability available without allowing it to dominate the way you look.
Frequently Asked Questions
Should I use 120 fps for street photography?
Usually not. It is useful for a narrowly defined action, but single frame or a low burst produces a more manageable edit and encourages deliberate timing for ordinary street scenes.
Is the electronic shutter always best for discreet work?
No. It is quiet, but moving subjects may distort and artificial light may band. Test the environment and keep a mechanical or anti-shock mode available.
Does stabilization let me use any shutter speed at night?
No. Stabilization reduces camera shake, not subject motion. Choose shutter speed for the person or object moving in the frame, then use stabilization as support for your own movement.