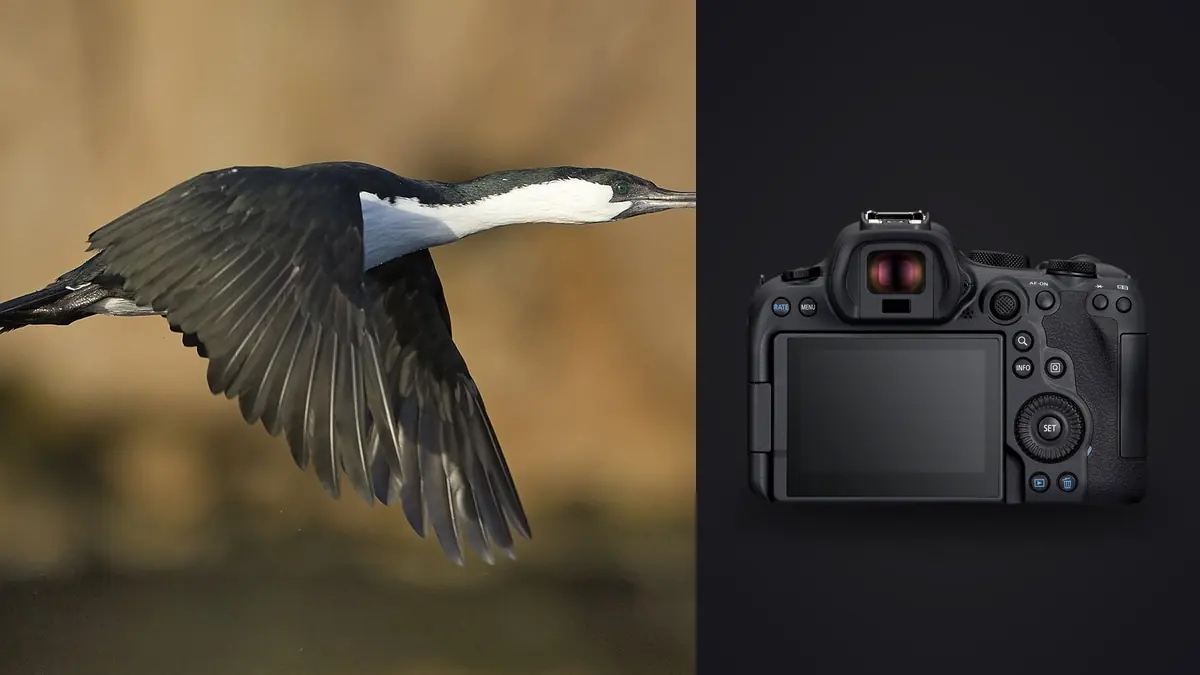
Wildlife lens choice begins with animal behavior and lawful access, not with the longest optic available. A Canon EOS R6 Mark II at a wetland hide, woodland path, shoreline, and open grassland needs different reach, support, background control, and movement. The subject should never pay for a focal-length mismatch.
This Lens and Location Guide connects RF lens roles to habitats, likely subject distance, flight direction, light, wind, and safe camera positions. Autofocus and burst settings are secondary to that geometry. If a lens cannot make the intended frame from an ethical position, choose a wider environmental picture, wait, or change location.
Define the species and behavior before the focal length
A perched portrait, bird in flight, mammal in habitat, feeding sequence, and close behavioral detail ask different questions. Write the picture and identify likely distance, subject size, movement, and background. A lens suited to a large slow bird can be inadequate for a small erratic one from the same hide.
Study reputable local guidance for seasonal behavior, breeding sensitivity, and access. Do not publish exact coordinates for nests, roosts, threatened species, or fragile habitat. A predicted path is useful only when observation does not alter it.
Plan one environmental frame and one more selective frame. This prevents the session from becoming a single pursuit of frame filling and preserves habitat context when close behavior never occurs.
Plan converter and crop choices before the encounter
If a compatible teleconverter is part of the kit, test autofocus, aperture, stabilization, balance, and image quality with the exact lens. Fit or remove it in a clean, sheltered place, not while wildlife is approaching. A converter can help subject scale but cannot remove atmosphere or create a clear flight path.
Use an in-camera crop guide only as a framing aid whose file behavior is understood. Preserve enough field for wing tips and direction changes. A tighter guide does not change working distance or make an ethical position closer.
Use flexible telephoto zooms for changing distance
A telephoto zoom can help locate a bird against reeds, widen when it approaches, and include habitat when a long prime would be too tight. It suits hides, shorelines, and mixed encounters where distance changes. Its aperture, weight, extension, and balance still need to be tested as part of the complete kit.
Mark useful focal-length zones during a scout instead of staying at the longest end. A wider setting may keep wing tips, reflection, or a second animal in frame. A tighter setting may simplify a distant background when the subject remains predictable.
Check minimum focus distance and focus limiter. A zoom selected for distant flight may fail when a bird lands beside the hide. Know which switch position covers the full expected range before action begins.
Use long primes for stable, known positions
A long prime can provide subject scale, isolation, and a consistent handling balance from a hide or fixed boundary. It is less adaptable when subjects approach unexpectedly or when finding a small bird in clutter. Practice acquisition with both eyes open and leave enough frame for directional change.
Teleconverters can change reach, aperture, autofocus behavior, and handling. Confirm compatibility for the exact Canon lens and camera, then test at the real distance in representative light. Do not assume a converter resolves haze, heat shimmer, or insufficient subject detail.
A prime often benefits from a monopod, tripod, or gimbal at a stable site. Configure the support so it cannot fall, obstruct a path, or extend into protected habitat. Handholding may remain preferable when flight directions change rapidly and the load is manageable.
Plan wetlands around hides, water level, and sun
Use established hides and observation points. Note which openings face morning or evening light, where birds approach, and whether the water horizon stays level from the intended seat. A lower view can improve background separation but may be prohibited or unsafe outside the structure.
Reflections require enough frame below the bird and a wind state that supports the picture. A long lens can isolate, while a zoom can include ripples, reeds, and repeated shapes. Watch bright water and pale plumage for important highlight loss.
Do not block other observers with extended hoods, tripods, or repeated movement. Silence does not make a photographer invisible to wildlife. Limit repositioning and leave if the animal changes behavior in response.
Use hides and vehicles without turning them into pressure
A hide can reduce visible movement and provide a stable lens opening, but it fixes height and direction. Visit or inspect reliable diagrams before choosing a long prime. A zoom may be more useful when subjects move from a distant perch to the water directly below the opening.
A vehicle can act as familiar cover only where stopping and photography are lawful. Remain on approved roads, avoid blocking traffic, and never pursue an animal. Use a beanbag or window support that cannot fall outside, and turn off the engine where safe if vibration affects the frame.
Enter a permanent or temporary hide without flushing nearby wildlife. Arrive before sensitive activity, minimize sound and light, and follow site-specific exit rules. A close picture made by forcing an animal away defeats the purpose of concealment.
Plan woodland around clutter and light gaps
Branches create strong autofocus targets and can hide wings or faces. Scout clean lanes through the vegetation from the established path. A shorter telephoto may be easier to steer and can retain forest context, while a longer lens can compress overlapping branches into a busy background.
Light levels and color change under foliage. Identify patches where a subject is likely to enter brighter light, and meter a representative trunk or perch. Mixed green reflection and open-sky blue are real parts of the location; decide how much to preserve.
Atmospheric distance is shorter in woodland, but humidity, rain, and condensation can lower contrast. Use a hood, keep the front element dry, and avoid frequent lens changes in dust or moisture.
Plan shorelines and grasslands around wind
Wind direction shapes takeoffs, landings, and the side of a bird likely to face the camera. On a shoreline, it also affects spray, blowing sand, and support stability. Position with a safe route above tide and waves, and never corner wildlife against water or people.
Open grassland can offer clean distant backgrounds but expose the photographer and equipment. Use existing cover, a vehicle only where lawful, or a hide with permission. Do not drive off approved tracks or create a new path through habitat.
Heat shimmer across open ground can soften a distant subject even when focus is correct. Check static detail at the same distance. A closer lawful position, cooler time, or wider environmental frame may help more than added focal length.
Choose camera height for background and welfare
Eye-level work can create intimacy and separate the subject from the horizon, but reaching that height may damage ground or expose the photographer. Evaluate the position first. A higher safe angle from a path can remain the responsible choice.
Background distance changes more than blur. It controls whether reeds cross the body, water lines cut the neck, or bright sky surrounds fine edges. Move laterally within the permitted area before moving closer to the animal.
Leave visual room in the direction of gaze or flight. A slightly wider capture can protect wing tips and habitat. Cropping later should refine composition, not excuse poor field distance or pressure.
Use wind and flight lines to choose a side
Many birds prefer to take off and land into the wind, though terrain and behavior can alter the path. Observe several movements before committing to a position. The useful side is the one that combines likely head angle, clear background, ethical distance, and light, not simply the nearest bank.
Sun behind the photographer can illuminate the face clearly but may flatten form. Side light can reveal feather structure while deepening shadow. Backlight can define wings or spray but demands careful flare control. Move only within permitted areas and do not circle a resting subject to manufacture a favored angle.
For crossing flight, leave lead room and a panning path that does not swing the lens into another observer. Check the entire arc for branches, signs, and bright water. A clear beginning and blocked finish may justify a shorter burst or different focal length.
Scout weather, tide, and access contingencies
Check tide, sunrise, weather, trail status, permits, and opening hours from authoritative sources. Tell someone the plan when working remotely. Carry offline directions, suitable clothing, power, and a way to protect cards separately from the camera.
Rain covers must fit the body and lens without blocking rings, switches, ventilation, or support. Secure loose material in wind. Allow cold equipment to acclimatize in a closed bag when moving into warm humid air.
Prepare a fallback site that does not depend on the same wind, tide, or light direction. A different habitat may support environmental portraits when flight photography is impractical.
Use a habitat-to-lens matrix
| Location | Lens role | Main limit |
|---|---|---|
| Wetland hide | Telephoto zoom or long prime | Fixed opening and changing approach distance |
| Woodland path | Responsive medium telephoto | Branches, low light, and narrow sightlines |
| Shoreline | Zoom with environmental range | Wind, spray, tide, and horizon control |
| Open grassland | Long lens from lawful cover | Heat shimmer and exposed approach |
| Nearby calm subject | Shorter telephoto or wider context | Minimum focus and animal tolerance |
Replace these roles with actual lenses only after measuring the approved positions. Keep the matrix in the field note so a changed location leads to a deliberate lens change.
Make one ordinary test visit with the complete support and clothing. Check how quickly the lens can move from resting to tracking position, whether the hood strikes the hide, and whether seated height clears vegetation. Review the files for atmosphere and background as well as focus. Small physical conflicts discovered here are easier to solve than during rare behavior.
Review CR3 sequences as encounters
After verified copies, imagic can scan Canon CR3 files and analyze them locally. It groups similar frames and scores technical qualities, while culling changes status and leaves originals on disk. Use groups to compare flight phases without losing chronology.
Human review must judge species, behavior, eye and head detail, wing position, habitat, ethics, and caption accuracy. If a stored score seems outdated, check freshness and reanalyze stale photos; reselecting only ranks existing values.
The desktop page explains local and non-destructive review, and the workflow and editing guides cover related file systems. Keep location and lens notes with each encounter.
Frequently Asked Questions
Should the longest RF lens always be used for wildlife?
No. A zoom or shorter telephoto may acquire movement more easily and preserve habitat. Choose from subject distance, behavior, background, support, and ethical access.
Can cropping replace a longer wildlife lens?
Moderate cropping can refine composition, but it cannot restore subject detail, remove atmosphere, or justify approaching too closely. Evaluate the delivered size from the lawful position.
Why are distant birds soft even when focus is confirmed?
Heat shimmer, haze, moisture, camera movement, or insufficient subject scale may limit detail. Inspect static objects at the same distance before changing autofocus.