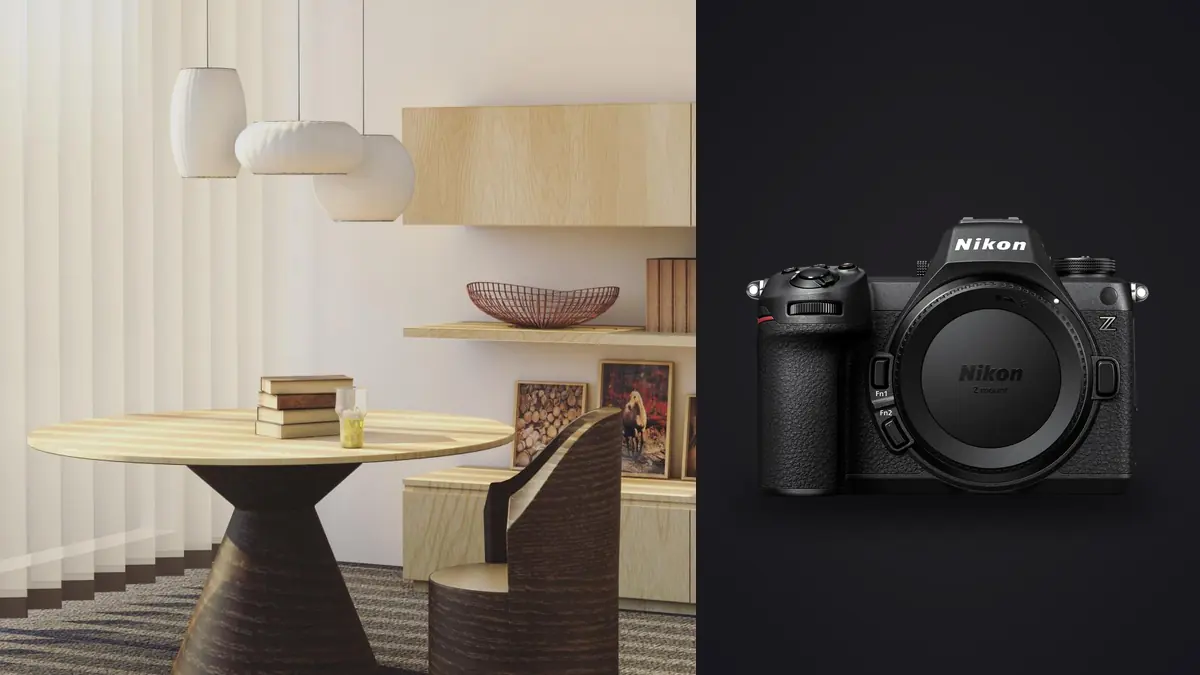
A Nikon Z6 III architecture and interiors RAW Workflow must preserve relationships between files. A single finished room may depend on an ambient frame, a window exposure, several flash positions, a color reference, and a carefully leveled base composition. If those NEF files are separated or renamed without a plan, later selection becomes guesswork and blending errors become more likely.
The Z6 III provides a full-frame sensor, in-body stabilization, and two different card formats. Architecture rarely needs its fastest capture rate, but it benefits from disciplined grouping, stable geometry, and reliable metadata. The workflow below treats every composition as a set with a purpose, protects the original files, and keeps perspective and composite work traceable.
Give every viewpoint a set identifier
Create a shot list by property area and viewpoint rather than by vague room name. A lobby may need an entrance view, reception angle, circulation detail, material close-up, and evening variant. Assign a short code to each approved composition. Photograph a slate or voice a note at the start, then record any change that creates a new base frame.
Keep the tripod position, height, focal length, focus, and camera level stable through exposures intended for one composite. If any element changes, begin a new set. A slightly shifted camera can make windows, furniture, and edges difficult to align even when the images look similar on the rear screen. Do not rely on software to repair an avoidable mismatch.
Note moving elements such as curtains, screens, fountains, people, traffic, or trees. Their phase may determine which frame can serve as the base. For occupied interiors, record which exposures contain approved people and which are clean plates. Consent and property restrictions should be associated with the set, not remembered later.
Capture NEF files with geometry in mind
Level the camera before refining composition. A grid or electronic level helps establish verticals, but verify against the building because floors, ceilings, and walls are not always square. Keep the sensor plane parallel to important vertical surfaces when a conventional lens is used. Excessive upward tilt forces stronger correction and sacrifices edge area.
Choose focal length from the desired spatial relationship rather than from the need to fit everything. An extremely wide view can stretch foreground furniture and make a room feel larger than it is. Step back when access allows, remove temporary obstacles with permission, or make a more focused composition. Honest spatial rendering is part of the deliverable.
Set aperture for corner quality and required depth, then verify focus on meaningful near and far features. In-body stabilization is helpful for handheld details, but a locked tripod should be configured according to Nikon guidance and the support in use. Use a remote release or delay when touching the camera could disturb a long exposure.
Organize brackets by purpose
Exposure brackets should solve a defined range problem. A bright exterior view and a dim interior may need a sequence, while an evenly lit room may need only one well-exposed RAW file. Keep aperture, focus, focal length, and white balance stable across a set, changing shutter time for exposure unless the creative plan requires otherwise.
Record enough overlap for the highlights and shadows that matter without filling the card with redundant steps. Inspect the brightest frame for usable interior shadows and the darkest for meaningful window detail. A lamp bulb or direct sun reflection does not always need texture. The relevant limit is the material and view that the design brief expects.
Place a separator frame, rating, or note between bracket groups if the camera's sequence order is not obvious. At ingest, preserve timestamps and exposure metadata. Do not reorder by filename alone when multiple cameras or card resets can create collisions.
Keep ambient and flash passes distinct
An ambient base preserves natural gradients and the relationship between practical lights and daylight. Flash passes can clarify color, lift shadowed materials, or control reflections, but every light position should have a reason. Photograph a neutral reference under the relevant sources and record when a practical lamp or window treatment changes.
Move through flash positions methodically. Keep the tripod locked, avoid touching furniture between passes, and check mirrors, metal, glass, and polished stone for the flash head, stand, photographer, or cable. A clean plate after equipment removal can be valuable. Flag the frame as a plate rather than allowing it to look like another exposure bracket.
Mixed color cannot always be solved by one white balance. Decide which practical warmth is intentional, which source should be corrected, and where local masks will be needed. Avoid overpowered flash that flattens texture or creates a bright reflection impossible to blend naturally.
Use both media slots with a written policy
The Z6 III has a CFexpress Type B or XQD slot and an SD slot. Duplicate NEF recording can provide an in-camera second copy when the selected cards and settings support the plan. RAW and JPEG separation supports rapid review but is not duplicate RAW protection. Overflow increases capacity without redundancy.
For a property with many rooms, label cards by camera and sequence. A card should not be formatted because its files appear on a laptop; wait until a working copy and separate backup are verified. Open a bracket set and a flash sequence from each card to confirm that grouped files are readable and complete.
If files transfer during the day, maintain a log of card ID, first and last set, destination, verification, and return status. Keep the original directory immutable. Previews, composites, and exports should live outside it so the source can always be reconstructed.
Ingest and cull at the set level
Begin review by confirming that every required viewpoint has a complete set. Check for a sharp base, usable highlight and shadow coverage, clean plates, flash passes, and a color reference where needed. Mark missing pieces before packing the location. A technically excellent single frame may still be unusable when the promised window view or equipment-free plate is absent.
imagic can ingest supported NEF files locally and score sharpness, exposure, closed eyes, and composition. Duplicate and burst grouping may help with repeated handheld details, but bracketed exposures and flash passes are not redundant merely because composition is similar. Preserve their set roles during the human review.
Culling in imagic changes status and does not delete originals. Use a consistent meaning for base candidate, component, reject, and delivery candidate, even if those labels are maintained in a companion note. A component frame should not disappear from attention just because it is not attractive on its own.
Correct the base before complex blending
Select the best geometric base, apply a camera and lens profile where appropriate, and make restrained perspective corrections. Correct vertical convergence without forcing every old building into mathematical perfection. Watch doors, artwork, and furniture near the frame edges, since aggressive transforms can stretch them.
Establish white balance and broad tone on the base, then synchronize compatible settings across components. Avoid local contrast or sharpening that creates halos before blending. Keep enough edge area for transformation and the required crop. Compare the corrected image with the shot list orientation, including any vertical or banner derivative.
Use local masks and composite tools in software designed for them. imagic provides non-destructive adjustments and exports JPEG or TIFF, but it does not provide layers, HDR merging, or panorama stitching. Its role can be local culling and baseline processing, followed by an external editor for the composite.
Preserve transparent composite versions
Name the layered or merged master with the set identifier and a version, then keep a record of source frame IDs. Do not flatten the only editable master before approval. If a window view, screen content, or person comes from another exposure, confirm that the result remains truthful to the place and the agreed production method.
Review reflections, edges, repeated objects, and transitions at normal size and at closer inspection. Composite errors often appear around window frames, lamps, plants, and moving curtains. Color should remain plausible from one room to the next without erasing intentional differences in materials or lighting design.
Separate architectural correction from content alteration. Removing temporary equipment may be allowed, while changing permanent fixtures, room proportions, views, or safety features may misrepresent the property. Write the boundary before retouching begins.
Export by recipient and usage
Confirm dimensions, color space, file type, compression, sharpening, metadata, and naming for each destination. A web listing, design portfolio, print publication, and archival handoff may need different derivatives. Generate them from the approved master rather than applying independent edits to several copies.
JPEG suits many finished deliveries, while TIFF can support a high-quality downstream handoff. The imagic desktop workflow describes its local export route. The Camera Hardware guides provide wider context for body and media decisions, but archive design remains a separate responsibility.
Open every final, check orientation and profile, and compare the delivered count with the approved shot list. Verify that private property information, GPS metadata, access codes, and occupant details are not included unintentionally. Store the final manifest with the masters and retain components according to the agreement.
Review the finished property as a sequence as well as individual frames. Consistent camera height, vertical treatment, window brightness, color, and contrast help rooms feel connected, but each space should retain its real lighting character. A sequence audit can reveal one room that was developed from the wrong reference or exported from an older master.
Maintain a small exception list for frames that intentionally differ, such as twilight exteriors, detail studies, or occupied lifestyle views. Documenting the reason prevents a later batch correction from flattening those distinctions. It also gives the recipient a clear way to request a revision against the correct source set.
Use an architecture RAW workflow checklist
- Set code: identify property area, viewpoint, and variant before capture.
- Geometry: level the camera and keep composite frames physically aligned.
- Coverage: record purposeful highlight, shadow, ambient, flash, and plate files.
- Media: verify slot behavior and both storage copies before card reuse.
- Completeness: audit components while the location remains available.
- Base: choose geometry, focus, and movement before global adjustments.
- Composite: preserve source IDs and use appropriate layer or merge software.
- Truth: distinguish cleanup from changes that misrepresent the property.
- Delivery: check profiles, dimensions, names, metadata, and set count.
Frequently asked questions
Can imagic merge Nikon Z6 III exposure brackets?
No. imagic can cull and make non-destructive adjustments, but it does not provide HDR merging or layers. Keep bracket components grouped and use dedicated merge or layer software.
Should every interior be exposure bracketed?
No. Bracket when the scene range or planned composite requires it. A single well-exposed NEF is simpler when it already preserves the important highlights and shadows.
What is the most important file before leaving a property?
There is no universal single frame. Confirm that each required viewpoint has its base, necessary components, and clean plate or color reference before the set is dismantled.