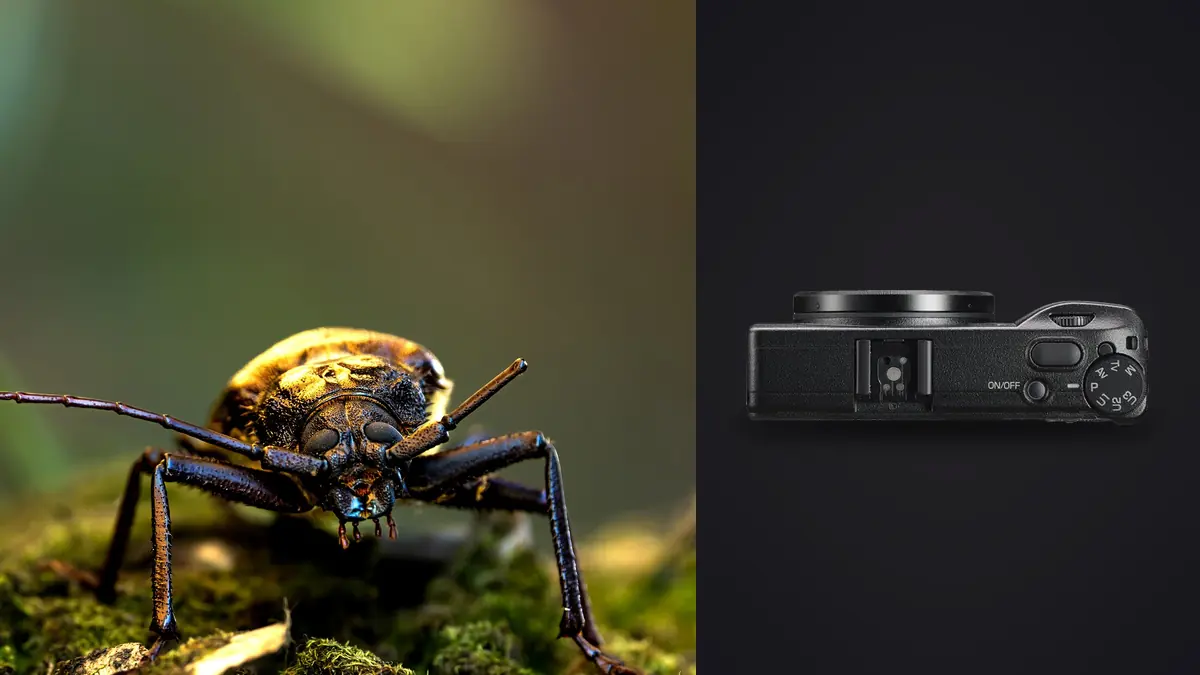
The Ricoh GR IIIx has a useful close-focus mode, but it is not a true 1:1 macro system. Its fixed 26.1mm f/2.8 lens gives an angle of view similar to 40mm on full frame, and the official close-focus range is roughly 12 to 24cm from the front of the lens. That can produce detailed photographs of flowers, textures, food, and larger insects in context. It will not fill the frame with a tiny insect the way a dedicated macro lens can.
This Lens and Location Guide treats the fixed view and close-focus range as scouting constraints. Choose subjects large enough to read, backgrounds that remain coherent at 40mm-equivalent, and habitats where a short working distance does not disturb wildlife or block the light.
Let the fixed lens set the subject scale
Confirm that Macro Mode is active and that the subject sits inside the camera's usable close-focus band. Moving closer than the minimum distance does not increase useful magnification; it simply prevents focus. Watch the focus indicator, then move the whole camera backward until the subject becomes sharp. A small tabletop rail can help with static objects, but in the field your body is the focusing rail.
Even at the closest valid distance, a small ant or midge will occupy little of the sensor. Cropping can tighten the composition, but the 24.2 megapixel file has finite room, and a deep crop enlarges noise, blur, and lens limitations. Decide whether the picture can become an environmental close-up, showing the insect on a leaf, bark pattern, or flower. If the brief requires diagnostic detail or frame-filling tiny subjects, use a camera with a true macro lens or suitable close-up optics.
The GR IIIx digital crop options do not create optical magnification. They can preview a tighter field and reduce the recorded area, but they cannot reveal detail absent from the full file. Record DNG and keep the uncropped source when you expect to refine composition later.
Choose location planes that make focus dependable
Close-up depth is shallow, and an autofocus area that includes both insect and background may select the more contrasty leaf edge behind it. Switch from a broad automatic area to pinpoint or a small selectable area. Place it on the eye or the body feature that carries the photograph. If the insect is partly hidden, focus on a nearby edge at the same distance, lock, then recompose carefully.
Manual focus with magnification and peaking can help on a static subject, but peaking indicates contrast, not guaranteed exact focus. Magnify, choose the critical plane, and move the camera gently forward or backward. Avoid twisting the camera around the subject because that changes perspective and distance at once. Take one frame, review the intended feature, then make a small correction.
For a moving insect, continuous autofocus may still struggle at the edge of the close-focus range. Rather than following every twitch, predict a pause: a bee landing on a known flower, a butterfly resting between movements, or a beetle crossing a distinct line. Pre-focus near that plane and release as the subject arrives.
| Symptom | Cause to test | Correction |
|---|---|---|
| No focus at all | Subject is closer than the macro range | Back away until focus confirms |
| Leaf sharp, insect soft | AF area includes stronger background contrast | Use pinpoint placement on the insect |
| One frame sharp, next soft | Camera or subject changes distance | Increase shutter speed and work in short sequences |
| Only a thin body slice is sharp | Depth of field is too narrow | Stop down or align the subject with the sensor |
| Everything has directional blur | Camera shake | Improve support and raise shutter speed |
Align the subject and camera within the habitat
At close distance, depth of field can be thinner than an insect's body. Closing the aperture gives more depth, but it also reduces light and eventually softens fine detail through diffraction. Use the smallest aperture that meets the picture rather than automatically choosing the numeric maximum. Keep ISO and shutter speed in the decision: a deeper focus zone is useless if the subject moves during a long exposure.
Camera angle often adds more useful depth than another aperture step. Photograph a butterfly with its wing plane roughly parallel to the sensor if the full pattern matters. For a beetle, align the head and visible body along a plane you can cover. If the photograph needs a dramatic diagonal, accept that focus will isolate one feature and place that feature deliberately.
Focus stacking is realistic only when the subject, camera, and light remain still through the sequence. The GR IIIx does not turn a moving insect into a stable stack. Use stacking for specimens photographed ethically, flowers on a windless setup, minerals, small products, or other controlled subjects, then combine the frames in software designed for that purpose. imagic does not merge focus stacks.
Find locations sheltered from subject movement
The camera's stabilization reduces movement of the camera. It does not stop a swaying flower, crawling insect, or breeze-driven web. Inspect the blur direction. If the background and subject smear together, camera movement is likely. If the background is crisp while legs or antennae move, the shutter speed is too slow for the subject.
Use a stable stance, tuck elbows, exhale gently, and press the shutter rather than stabbing it. A small support can help with static ground-level work, but do not crush habitat or place equipment on an animal's path. Raise shutter speed for living subjects and allow ISO to increase. A slightly noisier sharp frame generally contains more usable detail than a clean, motion-blurred one.
The leaf shutter is quiet, which helps avoid drawing human attention, but many insects respond more to movement, shadow, and proximity than shutter sound. Approach slowly from an angle that does not cast your silhouette across the subject. Stop when behavior changes and let the insect resume normal activity.
Scout light at the close working distance
At close working distance, the camera and photographer can shade the subject. The fixed 40mm-equivalent view also includes enough background that a harsh isolated pool of light may look unnatural. Reposition relative to the sun first. Open shade, backlight with a small reflector, or soft side light can reveal shape without forcing the lens directly over the insect.
For controlled close-ups, use a small diffused continuous light or off-camera flash that does not physically threaten the subject. Keep the source far enough off axis that the camera does not block it, and make the diffuser large relative to the insect. Watch glossy shells and wings for clipped reflections. Lowering flash power and moving diffusion closer often produces softer, shorter illumination than pointing a bare source straight at the subject.
Mixed green light reflected from foliage can tint shadows. Record a neutral reference when color accuracy matters, but avoid placing a target so close that it disturbs the scene. A manual white balance can stabilize a series; it cannot remove different colors arriving from multiple directions.
Build the background into the location choice
The GR IIIx works best when background is treated as part of the photograph. Move laterally by a few centimeters and watch how bright stems, holes in foliage, or horizon lines shift behind the insect. A darker, more distant background separates the subject without demanding maximum aperture. Lowering the camera can replace tangled ground with open shade or sky.
Do not remove live vegetation, damage a web, chill an insect, or relocate it merely to create a clean background. Compose around the actual habitat. If a distracting dead twig can be moved without affecting the subject or environment, do so gently; otherwise accept it or choose another angle. Documentary integrity and welfare outweigh a polished backdrop.
Use the frame edges intentionally. The fixed lens invites wider context, so show the flower species, surface texture, or relationship between insect and shelter. A technically smaller subject can still carry the image when light, contrast, and direction make it easy to find.
Review DNG files against the planned crop
Begin with exposure and white balance, then inspect at the final output size. Deep crops and shadow recovery enlarge noise. Correct lens behavior, set a restrained noise-reduction baseline, and add sharpening only after choosing the crop. Heavy global sharpening can turn leaf texture and fine hairs into brittle halos while doing nothing for true focus.
Separate subject and background decisions. The insect may need modest detail enhancement while the background benefits from less texture. Keep edges natural and avoid smoothing away wing scales or shell pattern. Compare the edited file with the untouched DNG periodically; a close-up can become technically loud while drifting away from the actual subject.
A local workflow reduces unnecessary transfer of location and nature images. imagic desktop can scan DNG folders before analysis, set reversible culling statuses, and store non-destructive edits. Its culling does not delete source files. Related discussions of machine-assisted review are in AI and Technology.
Use a field lens and location checklist
- Confirm Macro Mode and move into, not past, the valid focus range.
- Decide whether the subject is large enough for this camera without an excessive crop.
- Choose a small focus area and place it on the feature that matters.
- Align the subject plane or stop down until required depth is covered.
- Set shutter speed for insect and plant motion, not only camera shake.
- Check whether your body or camera is blocking the useful light.
- Move for a cleaner background without disturbing the animal or habitat.
- Record two or three deliberate frames, review, and change only one variable.
The GR IIIx is a capable close-up notebook, not a miniature-subject specialist. Once that distinction is accepted, troubleshooting becomes easier. Use its portability, quiet operation, DNG files, and contextual angle of view to make photographs that a larger macro kit might never be present to capture.
Keep brief field notes about species if known, weather, plant, behavior, focus method, and the correction that finally worked. Do not guess an identification in public captions. Those notes turn troubleshooting into repeatable technique and help separate a camera limitation from a subject that simply never paused.
Frequently Asked Questions
Does the Ricoh GR IIIx shoot true 1:1 macro photographs?
No. Macro Mode focuses close, but the fixed lens does not provide life-size 1:1 reproduction. It is better described as close-up capability for larger subjects and environmental detail.
Why will my GR IIIx not focus when I move closer?
You may be inside the lens's minimum working range. In Macro Mode, move back until the camera can focus, then refine composition or use a different system if greater magnification is essential.
Can imagic combine a focus stack from GR IIIx DNG files?
No. imagic can support local culling and non-destructive editing, but it does not merge focus stacks. Use dedicated stacking software after selecting and preparing a stable sequence.