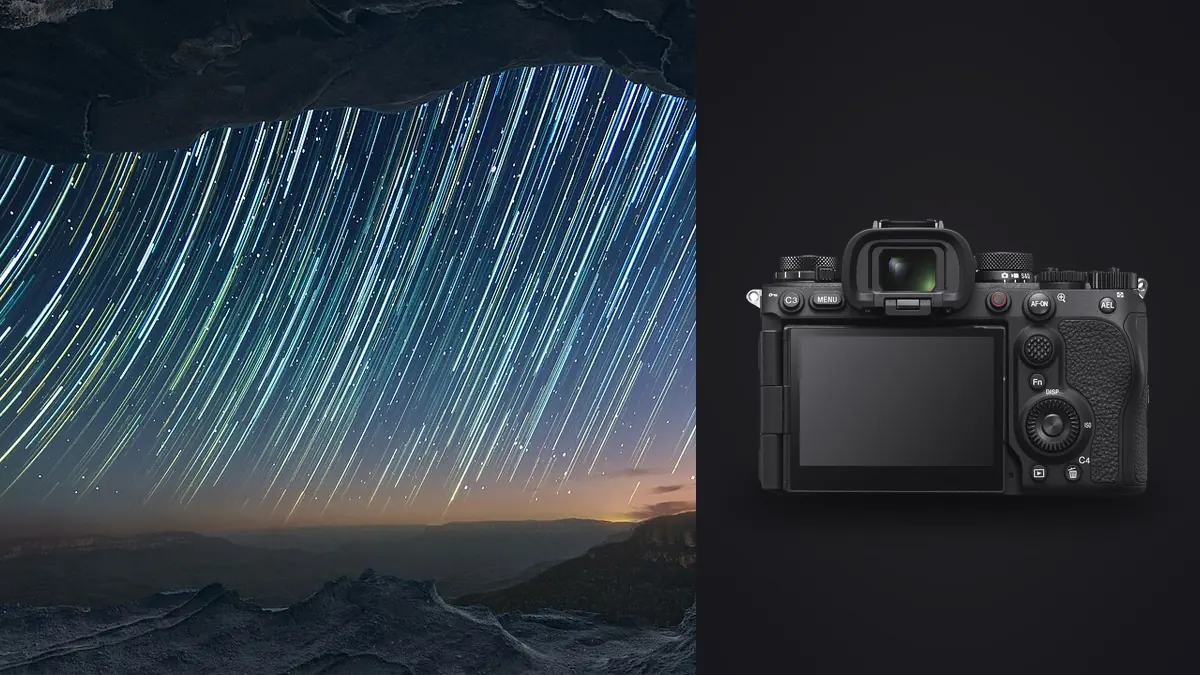
The Sony A9 III was designed around speed and a full-frame global shutter, not around maximizing low-ISO landscape latitude. For astrophotography, that means its most famous feature solves little about star motion while its 24.6-megapixel sensor, base sensitivity, lens choice, and support determine the result. It can make strong night images, but the system should be built for the sky rather than for the camera's action reputation.
This strategy starts with optical fit, tracker load, dark-site access, and sequence organization. It avoids a universal exposure formula because focal length, sky brightness, temperature, and final output change the useful settings. The goal is a complete field plan that acknowledges the A9 III's tradeoffs instead of treating global shutter as an astro shortcut.
Understand what global shutter changes at night
A global shutter exposes all pixels at the same moment, eliminating the geometric skew associated with rolling readout. Stars do not normally cross the sensor fast enough for that skew to be the central night-sky problem. Their apparent movement during a long exposure is caused by Earth's rotation, which global shutter does not stop.
The architecture also gives the A9 III a higher base ISO than many conventional full-frame cameras. For a dark-sky landscape, compare highlight and shadow behavior with the camera already owned rather than assuming the newest sensor is superior. Correct exposure and stacking can help noise, but they do not create unlimited tonal latitude.
The benefit becomes more relevant when stars share a frame with fast action, lightning, rapidly moving artificial lights, or a separate time-sensitive subject. Even then, shutter duration still controls motion blur. Buy or carry the A9 III for astro because the whole assignment needs it, not because global readout freezes the sky.
Choose the lens from field of view and corner behavior
An ultra-wide lens includes a large sky area, reduces visible star movement at a given output, and supports strong foreground perspective. It can also make the galactic core small and stretch nearby objects at the edges. A moderate wide lens gives celestial structure more presence while demanding shorter untracked exposure or better tracking.
A normal or telephoto lens isolates constellations, moon alignments, and compressed landscape layers. It magnifies polar-alignment error, atmospheric shimmer, and lens defects. Use it when the subject needs isolation, not merely to exploit a high burst rate that has little value for long night sequences.
Test coma, sagittal smear, chromatic fringes, field curvature, vignetting, and infinity-focus stability at the intended apertures. Wide-open speed is useful only if stars remain acceptable. Many lenses improve noticeably one stop down, and that trade may be worthwhile when a tracker or stack can recover exposure.
Test lens samples on point sources
On a local clear night, focus a bright star at the center and make an aperture series. Move the star toward each corner without changing focus and compare shapes. Unequal corners can reveal decentering or adapter tilt. Repeat after the lens and camera reach outdoor temperature.
Remove unnecessary clear filters, which can add reflections around stars and lamps. Test any light-pollution filter for color shift and corner behavior. A filter may suppress selected wavelengths, but it cannot recreate a dark sky or remove broad-spectrum local lighting.
Record where true infinity falls. Modern autofocus lenses can focus past infinity and may reset when power changes. If the lens supports focus hold or manual retention, configure it carefully; otherwise schedule focus checks throughout the sequence.
Match the tracker to the entire moving load
The tracker carries the A9 III, lens, head, plate, heater cable, and any counterweight. Weigh the complete moving assembly and remain within the manufacturer's stated limit. Balance it in the same orientation used for capture. A nominally light body can become a demanding load with a fast telephoto or large head.
Polar alignment accuracy needs to increase with focal length and exposure. Practice the alignment tool, hemisphere procedure, and tripod leveling before traveling. A wide lens may tolerate a rougher setup, while a telephoto can show elongated stars from a small error.
A tracker follows the sky, so a landscape foreground blurs during a tracked exposure. Capture a separate static foreground if a composite is intended and disclose the process where documentary expectations require it. Dedicated software is required for alignment, stack merging, panoramas, or HDR source blending.
Build a static tripod option as a fallback
Cloud, wind, a failed tracker battery, or unsafe terrain can make tracking impractical. Pack a workflow for untracked wide-field frames: stable tripod, fast tested lens, short exposure, and a sequence suitable for later star alignment. The fallback should still produce a complete image rather than merely document equipment failure.
Keep the center column down, use thick leg sections first, and shelter from wind. Do not suspend a freely swinging bag. If ballast is needed, let it touch the ground while applying gentle tension. Secure cables so they cannot tug the head.
Use a remote release, interval function, or self-timer. Check whether long-exposure noise reduction inserts a dark-frame delay that breaks the intended cadence. A separate calibration-frame workflow may suit stacking, but frames need matching exposure and temperature context.
Scout darkness and foreground as separate layers
A light-pollution map estimates broad sky brightness but does not confirm access, horizon, local lamps, or safety. Visit in daylight. Record parking, gates, private boundaries, unstable ground, tide or cliff exposure, and a route that remains clear without visual landmarks.
Use a planning tool and compass to locate the Milky Way, moon, or constellation relative to the foreground. Then stand at the actual camera height. A mountain alignment that looks correct from the road can disappear when the tripod moves behind a wall or tree.
Prepare an alternate viewpoint with a different direction. Local cloud, a new lamp, traffic, or another group can make the first position unusable. The alternate should be safe and photographically complete, not simply a nearby patch of darkness.
Use moonlight and local light deliberately
No moon maximizes contrast for faint sky detail, while a low side moon can shape a landscape naturally. A bright moon near the subject can wash out stars and cause flare. Plan phase, direction, elevation, and timing according to the picture.
A small continuous light can help focus or add foreground detail, but it may disturb wildlife and other observers. Use the lowest practical output, shield it, and turn it off quickly. Do not light structures, private land, roads, or people without permission and safety checks.
Vehicle lights and nearby towns can add gradients. Change position, shield the lens, or time frames between traffic rather than assuming software will remove every source. A lens hood is useful even at night.
Control dew, cold, and power routing
A dew heater keeps the front element slightly above the dew point. Fit it around the lens barrel without covering controls, and route the cable so it cannot turn the focus ring. Check the glass periodically with a dim light; dew often lowers contrast before it becomes obvious.
Keep charged batteries protected from cold and label tracker, heater, and camera power separately. A shared source can simplify packing but may end the entire sequence if one cable fails. Bring a tested backup appropriate to the duration without inventing a runtime estimate.
When returning indoors, let cold equipment warm gradually inside a closed bag to reduce condensation. Do not remove a cold lens in a humid room. Clean moisture only after loose grit has been removed and the equipment has acclimated.
Focus and frame without wasting final exposures
Magnify a bright star and turn focus until it becomes the smallest clean point. Disable autofocus afterward. Inspect a corner to see whether field curvature requires a smaller aperture or compromise. Recheck after temperature changes and any accidental contact with the lens.
Use a short high-ISO frame to compose the foreground and horizon. Return to the planned ISO and shutter before the sequence. Check bright stars and artificial lights for clipping, then leave the camera untouched.
Do not use the A9 III's extreme burst capability for long-exposure astro. Set an interval that leaves enough time for writing and any required processing. A stable cadence matters more than frame rate.
Label sequences for later stacking
Separate tracked skies, untracked skies, static foregrounds, dark frames, flat-field references if used, and focus tests. Photograph a slate between groups or record a note with lens, aperture, exposure, tracker state, and temperature context. Keep each sequence contiguous.
At ingest, copy and verify the ARW files before changing names. imagic can locally group near-duplicates and assess sharpness or exposure, but a dedicated astro application must align and merge the sky frames. Use the lenses and optics guides for optical planning and the blog hub for related workflows.
A dark-site packing decision table
| Goal | Priority equipment | Main limitation |
|---|---|---|
| Wide untracked landscape | Fast wide lens and stiff tripod | Star motion and corner quality |
| Tracked Milky Way detail | Balanced tracker and tested lens | Foreground blur and alignment |
| Telephoto constellation | Precise tracker and stable head | Small tracking and focus errors |
| Remote cold session | Dew heater and protected power | Condensation and battery decline |
| Hiking location | Reduced kit and safe route | Carry weight and setup time |
Decide whether the A9 III belongs in the astro bag
The camera makes the strongest case when the same assignment combines fast action and night sky, when its controls are already familiar, or when carrying another body would add more complexity than it removes. It can also serve a wide untracked project whose final output does not depend on extreme resolution.
It is a weaker dedicated purchase for static high-dynamic-range landscapes when another current body offers a lower base sensitivity, more resolution, or lighter integration with the preferred tracker. A global shutter is a remarkable action feature, but most celestial movement is slow and predictable.
Run a side-by-side test at the same dark site with the intended lens, exposure plan, and final output. Compare shadow recovery, bright-star color, corner shape, stacking behavior, battery and dew handling, and total kit weight. A body earns its place through the complete sequence, not through one sensor label.
Frequently asked questions
Does the A9 III global shutter stop star trails?
No. Star trails during long exposures come from Earth's rotation. Use a shorter untracked exposure or a correctly aligned tracker to keep stars round.
Is a fast lens always better for A9 III astro work?
Only if it renders stars cleanly at the chosen aperture. A slightly slower setting with better corners can outperform a wide-open lens when stacking or tracking supplies enough exposure.
Can imagic stack Sony A9 III astro frames?
No. It can help with local ARW review and duplicate grouping, while dedicated software is required for star alignment, stacking, and any foreground blend.