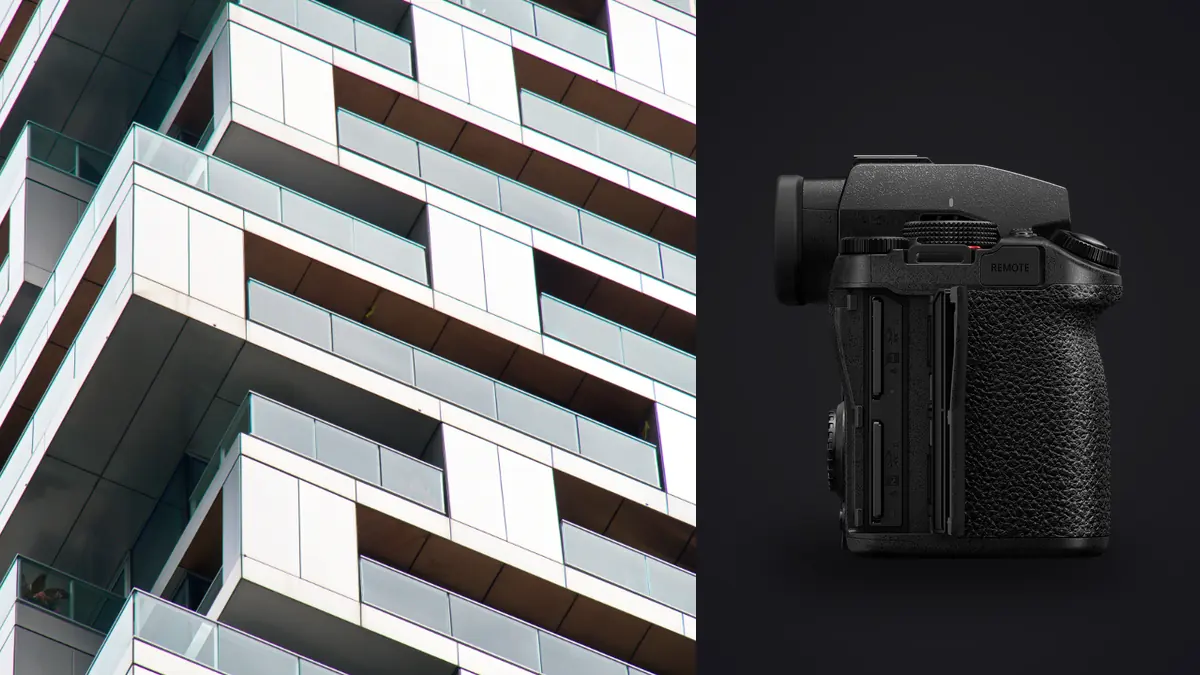
The Panasonic Lumix S5IIX is a compact 24.2-megapixel full-frame body with phase-hybrid autofocus, in-body stabilization, an L-mount, and RAW still capture. Those features make it adaptable for architecture, but the body is only one part of the result. Lens geometry, camera support, access timing, and control of reflections have a larger effect on whether walls stay credible and interiors look intentional.
This plan starts outside the camera menu. It helps choose a lens set, support kit, and location schedule that match the building. It also separates corrections that can be made non-destructively later from perspective and lighting problems that are better solved before release.
Diagnose architectural failures by their geometry
Troubleshooting an S5IIX interior begins with a reference frame made from the intended camera position. Converging verticals usually point to camera tilt, while a single leaning object may be construction or furniture rather than perspective. Soft corners can come from lens behavior, field curvature, motion, or an aggressive correction crop. A bright rectangle in polished stone often identifies a window or lamp reflected behind the camera. Color that changes from room to room calls for separate reference frames, not one global white balance. Classify the symptom before moving the tripod, because changing height, focal length, and light together removes the evidence needed to choose the right correction.
Scout for light, access, and visual obstructions
Ask for floor plans or a basic room list before arrival. Mark compass direction if window light matters, note public opening hours, and identify spaces that require staff access. A lobby can look empty at dawn and impossible ten minutes after opening. An exterior may need morning light on one facade and late light on another.
During a scout, stand at likely camera positions and inspect more than the hero view. Look for exit signs, temporary displays, floor outlets, reflective screens, parked vehicles, landscaping equipment, and windows that reveal cluttered adjacent rooms. Record quick reference frames and note what can be moved legally and what must remain.
Confirm rules for tripods, light stands, roof access, power, and moving furniture. Some buildings permit handheld photography but restrict stands in circulation paths. That changes the lens and stabilization strategy. Also learn when cleaning, deliveries, or maintenance will introduce people and equipment into the frame.
Choose focal length by camera position, not room size alone
An ultra-wide lens can fit a small room, but it also enlarges foreground objects and makes distant furniture recede. First move the camera to a position that shows the room's design logic. Then select the focal length that includes the required boundaries. If the only workable position is in a doorway, a wider lens may be necessary; keep it level and avoid placing major objects in stretched corners.
A moderate wide angle often produces a more natural interior than the widest available setting. It can show material relationships without making a table dominate the foreground. A normal lens is useful for elevations, designed vignettes, and details. A short telephoto can compress facade layers or isolate craftsmanship from a distant viewpoint.
Build a small lens plan around functions rather than carrying every option:
- Ultra-wide zoom: for constrained rooms and complete elevations where stepping back is impossible.
- Moderate wide prime or zoom: for most interior hero frames and balanced spatial relationships.
- Normal or short telephoto: for details, material transitions, and exterior compression.
- Perspective-control lens or adapted tilt-shift: for deliberate vertical correction and shifted compositions from a level camera.
Decide whether adapted perspective control is worth the friction
A solid L-mount adapter can make a manual perspective-control lens useful, provided infinity focus and mechanical stability are reliable. Adapted lenses add setup time, and some electronic features may be limited. Test the exact lens and adapter before the assignment, including aperture operation, focus magnification, metadata, and any play in the mount.
Shift allows the camera to remain level while moving the framed image upward or sideways. That preserves parallel verticals without the severe crop that follows a tilted capture. It does not correct a poor camera position or eliminate all optical distortion. Keep movements moderate and inspect corners, especially near the edge of the image circle.
If a shift lens is not practical, reserve extra framing margin and keep the S5IIX level using its electronic level. Later perspective correction will crop the image and stretch some areas. Plan that loss at capture instead of discovering that an important ceiling or furniture edge falls outside the corrected frame.
Use a tripod and head that support measured changes
In-body stabilization is helpful for scouting, details, and positions where a tripod is prohibited. For the main architectural set, a tripod provides repeatable framing, cleaner low-ISO exposure, and easier control of small changes. Turn stabilization off or use the camera's recommended tripod behavior when the support is fully locked, then confirm sharpness with a test.
A geared head makes small pitch and roll corrections independent. A ball head is faster but can release several axes at once. Whichever head is used, extend the thickest leg sections first, keep the center column low, and avoid placing one leg where people can trip. Add a weight only if the tripod maker supports it and the weight cannot swing.
Use a remote release, a short self-timer, or electronic release to avoid touching the camera during long exposures. Shield the setup from foot traffic on flexible floors. Stabilization cannot correct a tripod that vibrates because someone walks beside it.
Pack accessories that solve architectural problems
| Accessory | Problem solved | Important caution |
|---|---|---|
| Geared head | Fine level and perspective adjustment | Check load capacity with the heaviest lens. |
| Circular polarizer | Reduces some reflections and deepens foliage | It can create uneven skies on an ultra-wide view. |
| Black fabric or flag | Controls reflections in glass and polished surfaces | Keep stands out of paths and reflected angles. |
| Gray card or color target | Provides a neutral reference under each light mix | Place it in the same light as the subject area. |
| Small continuous light | Accents a dark detail or balances a practical | Match color and avoid inventing impossible light. |
| Lens cloth and blower | Removes dust, spray, and fingerprints | Check the front element after every exterior move. |
A polarizer is not a universal reflection eraser. Its effect depends on angle, and laminated or coated glass can show color patterns. Rotate it while watching the whole frame, not just one window. Sometimes retaining a controlled reflection communicates material better than removing it.
Plan mixed light instead of fighting it later
Interiors often combine daylight, warm practical lamps, display lighting, and hidden architectural LEDs. Decide which source establishes the room's character. Turn off sources that add an unwanted color patch if the building operator permits it. Record a neutral reference after each meaningful lighting change.
Lock white balance rather than allowing it to change with framing. A wide room view may contain more daylight than a detail frame, causing auto white balance to render the same wall differently. A fixed setting keeps the set coherent and makes later synchronization easier.
Where windows are much brighter than the room, first schedule for a more balanced time or adjust blinds and interior lighting. Exposure bracketing can preserve options, but combining exposures requires separate HDR-capable software and careful handling of movement. imagic does not merge HDR frames or panoramas. It can organize and non-destructively edit selected RAW files before JPEG or TIFF export.
Control verticals, camera height, and foreground weight
Level the camera in both pitch and roll. If vertical lines still diverge, confirm that the building itself is plumb and that lens distortion correction is appropriate. Historic walls and intentionally leaning structures should not be forced into false geometry.
Camera height changes how much floor, furniture top, and ceiling appear. Around waist to chest height is a common starting range for interiors, but design intent matters more than a formula. Lower positions emphasize furniture and floor; higher positions reveal layouts and work surfaces. Set height after identifying the subject, not merely to center the room.
Check the nearest corners carefully. A chair, plant, or counter clipped by an ultra-wide edge can dominate the composition. Move or reframe when permitted. If objects must remain fixed, consider a slightly longer focal length and a stitched panorama in dedicated software, understanding that imagic itself does not perform the merge.
Organize capture and delivery by space
Create a shot sequence that follows access and light rather than room numbering alone. Photograph exteriors during their best light, public interiors before opening, and controlled rooms later. At each space, capture the required hero view, supporting angle, material detail, and any vertical version before moving equipment.
At ingest, use folders or metadata labels for building, space, and viewpoint. Cull technical failures, but avoid treating similar compositions as pure duplicates until perspective and furniture relationships have been compared. A one-degree change can matter more in architecture than a slight expression change in portraiture.
For a local review path, see the desktop workflow. More lens-focused planning appears in Lenses and Optics. Keep final crops and vertical correction consistent, verify color across connected rooms, and export to the client's required dimensions and format.
Schedule around moving people and changing rooms
A technically static building often contains moving staff, guests, screens, curtains, plants, and daylight. Decide which movement should remain. A person crossing an atrium can explain scale, while a cleaner passing through a hotel room may simply break continuity. Coordinate a short hold with the site contact instead of making a long sequence and hoping every obstruction disappears.
When people are intentional, direct a repeatable path and choose a shutter treatment before capture. A crisp figure requires enough speed and reliable focus; an architectural motion blur needs a stable camera and a person moving through a known zone. Keep one empty reference frame whenever access allows. It provides a clean comparison and documents the designed space without promising a composite.
Rooms also drift during the day. Cushions move, doors change position, lamps are switched, and blinds are adjusted. Photograph a quick continuity frame at the start of each space and compare it before the final angle. This small record prevents connected images from showing contradictory styling that must later be explained or repaired.
Location-day packing and capture checklist
- Confirm access windows, tripod rules, power permission, and movable objects.
- Clean lenses, test adapters, charge batteries, and prepare two reliable cards.
- Pack a level support, remote release, color reference, flags, and basic cleaning tools.
- At each viewpoint, level the camera before choosing the final focal length.
- Inspect every edge, reflection, practical light, and vertical before leaving the room.
- Record a neutral reference whenever the source mix changes.
- Verify all required spaces and orientations against the shot list before wrap.
Frequently asked questions
Is 24.2 megapixels enough for architectural photography?
It is enough for many editorial, web, and print uses when framing and focus are sound. Confirm final output size and crop needs before deciding whether the assignment requires a higher-resolution body.
Should stabilization stay on when the S5IIX is on a tripod?
Use the camera and lens guidance for tripod operation, and verify with a test frame. For a fully locked support, many photographers disable stabilization to avoid unnecessary correction attempts.
Can perspective be fixed entirely in editing?
Software can correct convergence, but it crops and stretches the frame. Keeping the camera level or using controlled lens shift preserves more image area and usually produces cleaner geometry.
Does a polarizer remove every window reflection?
No. Its effect depends on angle and glass construction, and it may create uneven skies or color patterns. Rotate it while inspecting the full composition and use flags when needed.