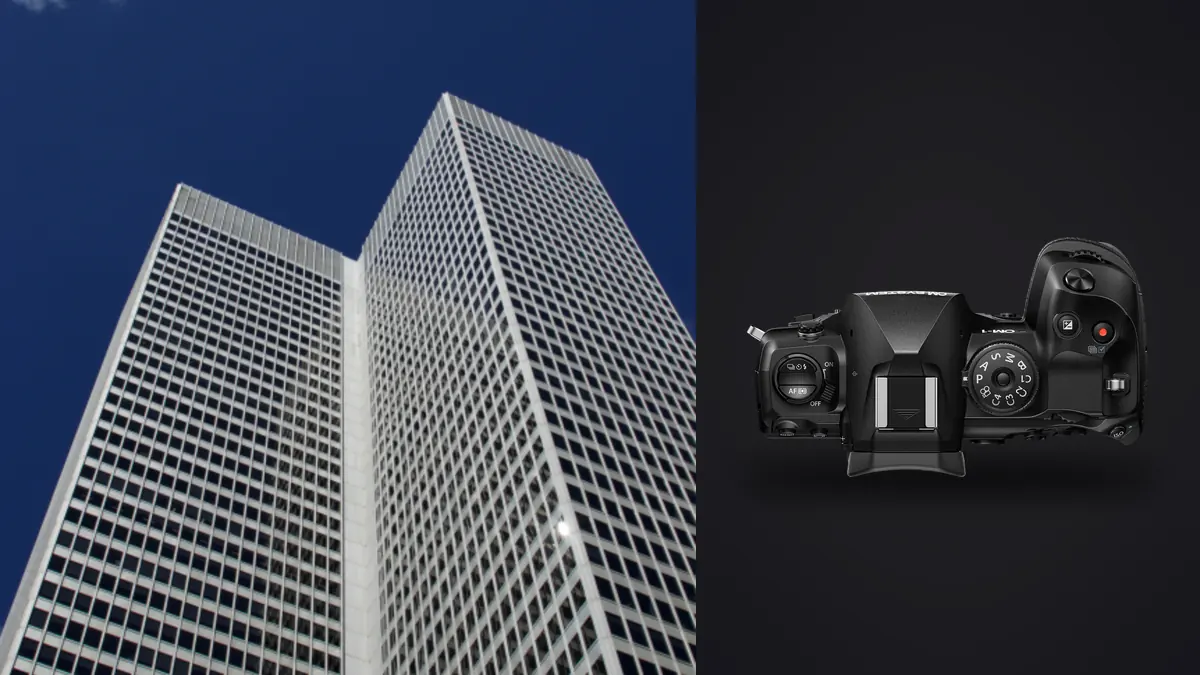
I spent three days last spring shooting a boutique hotel renovation outside Porto with an OM-1 Mark II as my only body. No backup full-frame kit in the van, no shift lens in the bag, just the OM-1 II, three PRO zooms, and a stack of batteries. Part of that was a stubborn experiment, part of it was a scheduling accident (my usual Sony kit was in for a sensor clean), but it turned into the most honest test I've run of whether Micro Four Thirds actually holds up against the gear architectural and interior photographers normally reach for.
The short answer is: it holds up better than I expected in some places, and it genuinely struggles in one or two others. This isn't a spec-sheet review. It's what changed about how I shoot when the sensor in my hand was half the physical size of what I'm used to.
The Sensor Size Trade-off You Can't Avoid in This Genre
Four Thirds sensors carry a 2x crop factor, so the OM-1 Mark II's lens lineup reads very differently on paper than it does in a full-frame catalogue. The 8-25mm f4 PRO, which is the zoom I used for maybe 70% of that hotel job, gives you a 16-50mm equivalent field of view. The 7-14mm f2.8 PRO gets you to a genuinely wide 14-28mm equivalent. Neither of those numbers is unusual for architectural work, but the physical glass needed to hit them is smaller and lighter than what a full-frame system needs to cover the same ground, which is the whole appeal of the format. The cost shows up in dynamic range. A high-contrast hotel lobby with a bright courtyard visible through floor-to-ceiling windows and a dim reception desk in the foreground is exactly the scene that punishes a smaller sensor. In practice I found the OM-1 II gives you somewhere around 12 to 12.5 stops of usable range at base ISO before shadows get noisy enough to matter at print size. A full-frame body from Sony or Canon will typically give you another stop and a half beyond that. For a lot of interiors that gap is invisible. For the ones with a blown-out window in frame, it isn't, and you end up bracketing more aggressively than you would with a bigger sensor to compensate.
What you get back for that dynamic range concession is depth of field that behaves differently. At f8 on Four Thirds you're getting roughly the depth of field a full-frame shooter would need f16 to match, with a lot less diffraction softening along the way. For interior work where you generally want a wall of sharpness from the nearest doorframe to the back of the room, that's a real advantage, not just a consolation prize. I stopped down less on this job than I normally would and still had corner-to-corner sharpness in rooms where my full-frame setup would have needed a focus-stacked pair of frames.
There's No Native Shift Lens, and That Changes Your Workflow
This was the thing I underestimated going in. Canon, Nikon, and even a few third parties like Laowa build dedicated perspective-control lenses for full-frame and APS-C mounts, letting you shift the lens element to keep verticals parallel without tilting the camera up. OM System doesn't make one for Micro Four Thirds, and I couldn't find a usable third-party option either. If converging verticals are a dealbreaker for your client (and for a lot of architecture and design portfolio work they are), you're working around it rather than shooting your way past it. The workaround I settled into: keep the camera dead level using the electronic level overlay, shoot slightly wider than the final crop, and correct verticals in post with Lightroom's Upright tool or a manual transform. Because the 7-14mm f2.8 PRO gives you so much width to spare, you can usually eat the crop from correcting a moderate lean without dropping below a usable resolution for web or a modest print. Where it falls apart is really tall interior spaces, double-height atriums, stairwells, anywhere you'd need to tilt the camera up 20 degrees or more to get the top of the space in frame. There the crop from correction gets punishing fast, and I ended up doing two-frame vertical panoramas stitched in post instead, which solves the resolution problem but adds a stitching step and rules out anything with movement in the frame (people, curtains, ceiling fans).
High-Res Shot Mode Is Genuinely Useful, With One Big Caveat
The OM-1 Mark II's sensor-shift High-Res Shot mode captures a sequence of frames at tiny pixel offsets and merges them in-camera into a single higher-resolution file: 50MP handheld, 80MP on a tripod. For interior work destined for large prints or a lobby-scale hero image, that tripod mode is a real asset, and it closes a good chunk of the resolution gap against higher-megapixel full-frame bodies. The caveat is that it only works cleanly on a completely static scene. Anything moving during the roughly one-second capture window (a ceiling fan, curtains near an open window, a person walking past a doorway) shows up as a ghosted smear or gets flagged and discarded by the merge algorithm. On the hotel job this meant killing the HVAC before shots in rooms with visible vents, and it meant I couldn't use High-Res Shot at all in the restaurant space during service hours. It's a mode for empty, still interiors, which describes a lot of architectural photography but not all of it.
The Wide-Angle Kit Comparison That Actually Matters
Numbers here are rounded, working-photographer figures rather than lab measurements, but they're the ones I actually think about when deciding what to pack for an interiors job.
| Kit | Full-frame equivalent | Approx. kit weight | Usable dynamic range (base ISO) | Highest-res composite mode | Approx. street price (body + lens) |
|---|---|---|---|---|---|
| OM-1 Mark II + 8-25mm f4 PRO | 16-50mm | ~1,010 g | ~12.5 stops | 80MP (tripod) | ~$3,700 |
| OM-1 Mark II + 7-14mm f2.8 PRO | 14-28mm | ~1,130 g | ~12.5 stops | 80MP (tripod) | ~$3,600 |
| Sony a7R V + FE 16-35mm f2.8 GM II | 16-35mm | ~1,270 g | ~14.5 stops | 963MP (tripod, static only) | ~$6,200 |
| Canon R5 Mark II + RF 15-35mm f2.8L | 15-35mm | ~1,590 g | ~13.5 stops | none (no in-camera pixel shift) | ~$6,600 |
| Fujifilm GFX100S II + GF20-35mmF4 | 16-28mm (medium format) | ~1,610 g | ~14 stops | 400MP (tripod) | ~$7,400 |
What that table tells me every time I look at it: the OM-1 II kits are roughly half the price and a third lighter than everything else on the list, and the dynamic range gap, while real, is smaller than the price gap would suggest. If your interior work leans toward hospitality, retail, or design portfolio shoots where you're carrying gear up ladders and into tight service corridors all day, the weight difference stops being a footnote.
Mixed Lighting Is Where the Stacked Sensor Earns Its Keep
Interiors almost never give you one light source. You've got daylight through windows, tungsten in the fixtures, LED strip lighting under a bar, maybe fluorescent in a back-of-house area, all in the same frame. LED and fluorescent sources flicker at a rate that can cause visible banding in stills at certain shutter speeds, and it gets worse the faster your sensor reads out. The OM-1 Mark II's stacked sensor design and anti-flicker scan mode handle this better than I expected, catching the flicker frequency and timing the exposure to avoid the band. I didn't get a single banded frame across three days of mixed-lighting rooms, which hasn't been my experience with older cameras in the same spaces. Live ND is the other feature that actually changed how I shot. Instead of carrying physical ND filters to smooth a fountain in a hotel courtyard or blur foot traffic through a lobby during a long exposure, you dial in up to ND64 electronically and shoot handheld or on a light tripod without screwing anything onto the front of the lens. For a solo interior shooter juggling reflectors, a stepladder, and a client hovering nearby, cutting one physical accessory out of the bag is a bigger deal than it sounds.
What the Bracket Sets Look Like by the End of a Job
Because the dynamic range concession pushes you toward more aggressive bracketing, a three-day interiors job on this camera generates a lot of near-duplicate frames. Five-shot AEB brackets in every high-contrast room, plus the usual safety frames, plus a few High-Res Shot attempts you'll throw out because someone walked through the shot. I came back from Porto with just under 4,000 raw files for what became a 60-image final gallery. That's the point where I stopped trying to sort things manually in a folder structure and ran the take through imagic instead. It's local, so renovation photos before a public reveal never leave my machine, which matters where NDAs on unreleased hospitality projects are standard. The sharpness scoring flags which frame in each bracket set is actually the sharpest (useful when a tripod isn't perfectly rigid on an old hardwood floor and a slight vibration softens one or two frames in a five-shot set), and the burst and duplicate clustering groups each bracket together automatically instead of leaving you to eyeball timestamps. If you haven't looked at how that kind of automated culling actually decides what's sharp versus what's soft, this breakdown of how AI photo culling works covers the mechanics in more depth than I will here. For the edit itself, I trained imagic's apply_my_style feature on a set of interiors I'd already graded, so the warm, slightly desaturated look I use for that kind of work got applied consistently across the new batch before I went in and did room-by-room adjustments. It's not a replacement for actually looking at each image, but it means the starting point for sixty photos looks like one coherent set instead of sixty separate decisions.
Lenses That Earned a Permanent Spot in the Bag
The 8-25mm f4 PRO did most of the work on this job and would again. One zoom covering a genuine wide interior shot through to a tight product-style detail on furniture or fixtures means fewer lens changes in spaces where dust and construction debris are a real concern. The 7-14mm f2.8 PRO came out for the tightest corridors and the double-height lobby, where even the 8-25mm's wide end wasn't quite enough. It's the lens I'd grab first for a genuinely cramped interior, a small apartment shoot or a narrow retail unit, but I don't reach for it as often as the 8-25mm on a mixed job. I also carried the 12-45mm f4 PRO for detail work: fixtures, materials, joinery, the kind of tight editorial shots a design magazine wants alongside the wide room views. It's not architecture glass in the traditional sense, but it earns its place in every interiors bag I pack now.
Frequently Asked Questions
Is the smaller sensor a real problem for large architectural prints?
Less than you'd think if you use High-Res Shot mode on a tripod for static rooms, which gets you to 80MP. For handheld work or scenes with any movement, you're capped at the native 20.4MP, which is fine for web and moderate print sizes but starts to show its limits past roughly 24x36 inches at typical viewing distances.
Can I correct converging verticals without buying a shift lens?
Yes, for most rooms. Shoot level with the electronic level overlay, leave margin at the top and sides of the frame, and correct in Lightroom or Photoshop. It stops working well in very tall spaces where the crop needed to fix a steep vertical eats too much of the frame, which is where a two-frame vertical stitch becomes the better option.
How does this camera actually compare to full-frame for HDR interior brackets?
You'll bracket more aggressively to compensate for roughly a stop and a half less usable dynamic range at base ISO. In practice that means five-shot brackets in high-contrast rooms instead of three, which is more files to manage but not a dealbreaker if your culling workflow can keep up with the volume.
Is High-Res Shot mode usable handheld on an interior shoot?
The 50MP handheld version exists, but I wouldn't rely on it for interior work you care about. The tripod-based 80MP mode is the one that actually produces clean files, and it demands a completely static scene, no moving curtains, fans, or foot traffic during the capture.