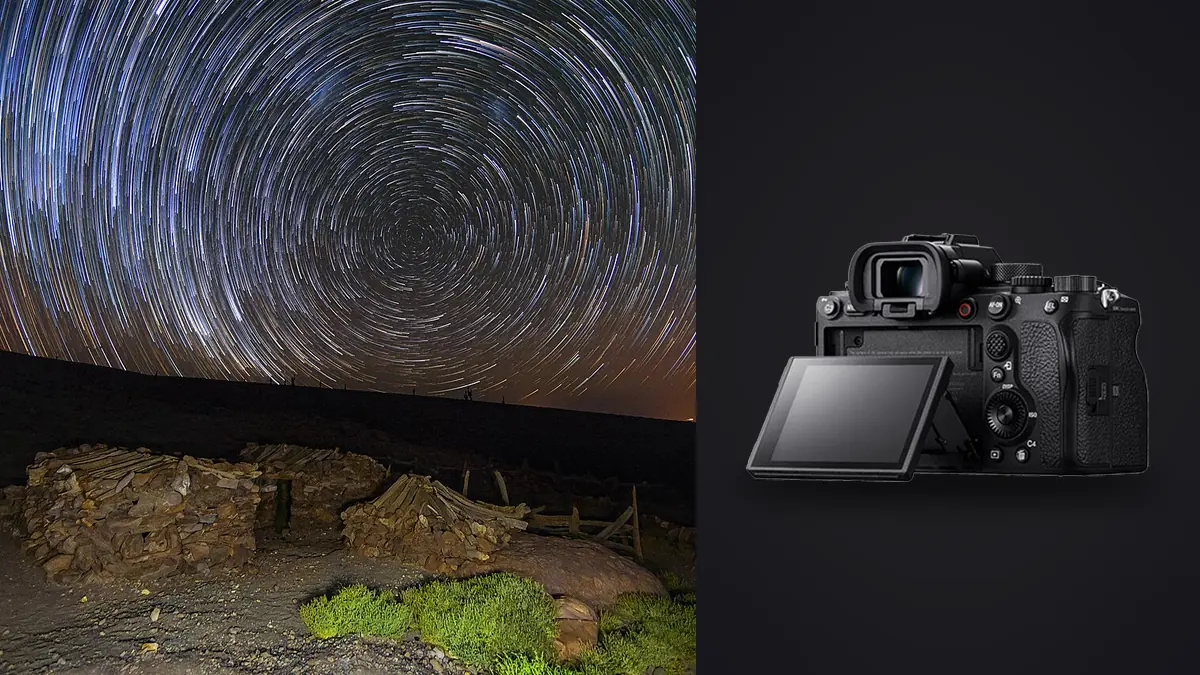
A productive Sony A1 night setup starts before any exposure setting is chosen. The lens determines how long stars can remain points, the support determines whether those points stay in the same place, and the location determines whether the sky has enough contrast to record. A high-resolution body can reveal weak corners, slight tripod movement, and missed infinity focus with uncomfortable clarity, so the accessories around it matter as much as the camera.
This is a lens, support, and location guide rather than a universal exposure recipe. Sky brightness, focal length, star motion, temperature, and the intended final image all change the correct settings. Plan the constraints first, then make short test frames on site. That keeps the night focused on pictures rather than on solving preventable kit problems in the dark.
Choose focal length from the story of the sky
An ultra-wide lens includes a large area of sky and gives star movement less visibility at a given display size. It suits a Milky Way arch, a close foreground, or a tight viewpoint where stepping back is impossible. Its challenge is composition: distant mountains become small, empty corners become obvious, and a foreground placed too close can stretch unnaturally. A moderately wide lens gives the galactic core or a constellation more presence without demanding a panoramic merge.
Normal and short telephoto lenses isolate sky detail, compress layers in the landscape, and can reveal structures that disappear in a broad view. They also magnify tracking error and shorten the untracked exposure that keeps stars round. Choose them when the subject is a specific region of sky, a rising moon, or a distant ridge aligned with a constellation. Do not carry a telephoto merely because the A1 can crop; start with the framing the finished picture needs.
Prime lenses often combine a wide aperture with fewer handling compromises, while a zoom allows quick refinement when access limits the camera position. Neither category guarantees good stars. Evaluate coma in the corners, sagittal smearing, chromatic fringes around bright stars, field curvature, and how well the focus ring stays in place. The relevant aperture may be one or two stops down from the marked maximum if that produces cleaner corners.
Test a lens for stars before traveling
A daytime sharpness chart does not fully predict night performance. Point sources near the edge of the frame expose optical defects that textured daylight can hide. On a clear local night, place a bright star near the center, focus carefully, and make an aperture series. Repeat with the star near a corner. Compare star shape, not only brightness, and inspect all four corners because decentering can make one side worse.
Mark the aperture where the corners become acceptable for the intended output. A web image may tolerate shapes that distract in a large print. Also note whether the lens reaches true infinity before, at, or beyond its infinity mark. Many modern lenses focus past infinity to allow for manufacturing tolerances and temperature, so turning the ring to the stop is not a reliable method.
Check filter behavior during the same test. A protective filter can add reflections around bright stars or nearby lamps, and a thick filter may worsen corner performance on a wide lens. Remove unnecessary filters for the night. If a light-pollution filter is part of the plan, test its color shift and exposure effect at home rather than treating it as an automatic cure for a bright sky.
Build support for the focal length and terrain
The tripod needs torsional stiffness as well as vertical load capacity. Long legs with a raised center column may hold the A1 upright while still twisting in a breeze. Keep the center column down, use the thicker leg sections first, and spread the legs securely on uneven ground. On rock, rubber feet usually grip without transmitting the spring of vegetation. On sand or soft soil, widen the stance and let the feet settle before composing.
A ball head is compact and quick for single frames. A geared head makes small horizon and foreground adjustments easier when the composition must remain fixed for a sequence. Whichever head is used, check that the plate cannot rotate under a front-heavy lens. An L-bracket keeps the camera centered over the head in portrait orientation and avoids the side-hanging position that can slowly sag.
Do not hang a bag from the center column in gusting wind. A swinging weight can add movement. If ballast is necessary, let it touch the ground while applying gentle downward tension. Extend the tripod only as high as the composition and safe operation require. A low stance is often more stable, but it should still leave enough room to see the screen and operate controls without kicking a leg.
Decide whether a star tracker belongs in the kit
A tracking mount rotates the camera with the sky, allowing a longer exposure of the stars without trails. It does not track the ground, so a landscape foreground will blur during that tracked exposure. A common approach is to capture a tracked sky and a separate static foreground from the same position, then combine them later with clear editorial intent. That is a compositing workflow, not a single documentary exposure.
The tracker must carry the camera, lens, ball head, and any counterweight within its stated limits. More important, the load must be balanced and polar alignment must be accurate enough for the focal length. A wide lens tolerates a rougher alignment than a telephoto. Practice assembly and alignment in daylight, including how to find the correct celestial pole for the hemisphere.
A tracker is unnecessary when the goal includes natural short star movement, fast night action, or a simple wide-field composition at moderate output size. It adds weight, setup time, batteries, and another failure point. For a hike where the foreground and experience matter more than deep sky detail, a stable tripod and faster lens may be the better system.
Scout darkness, access, and foreground separately
A dark-sky map is a starting point, not a location plan. It estimates broad artificial brightness but does not show a newly installed lamp, a blocked horizon, seasonal road closure, or whether private access is permitted after dark. Visit in daylight when possible. Record safe parking, the walking route, cliff edges, livestock gates, tide exposure, and a clear way back without relying on visual landmarks that disappear at night.
Use a compass or planning app to determine where the intended sky feature will appear and when. Then evaluate the foreground from the actual camera height. A landmark that aligns from the car park may separate from the stars ten meters away. Leave room to shift left or right while preserving a safe path and stable tripod placement.
Moonlight is not simply good or bad. A moon below the horizon helps reveal faint sky contrast. A low moon from the side can provide useful foreground shape and reduce the need for artificial light. A bright moon near the subject can wash out faint stars and create flare. Plan its phase, direction, and elevation according to the image rather than applying a blanket rule to avoid it.
Control dew, temperature, and power
A clear lens can fog as its front element cools below the dew point. The change may be gradual enough to ruin a sequence before it is visible from behind the camera. A low-power dew heater wrapped around the lens barrel keeps the glass slightly warmer than the surrounding air. Route its cable so it cannot pull the focus ring or catch during reframing.
Cold reduces battery performance and can change focus slightly as lens materials contract. Carry charged batteries in an inside pocket, but keep contacts protected. Recheck focus after a major temperature change and during a long sequence. Do not breathe onto the front element to clear condensation; moisture can refreeze or leave a film.
Power banks, interval controls, tracker batteries, and heater cables need a simple layout. Label cables by touch, use dim red light only as much as needed, and disable bright status lamps where the equipment permits. Pack a cloth for external moisture, but do not wipe grit across a coated element. A blower should remove loose particles before any contact cleaning.
Focus and frame the Sony A1 in darkness
Use magnified live view on a bright star rather than relying on the lens scale. Adjust until the star is the smallest clean point, then inspect a corner to see whether field curvature requires a compromise. Focus peaking can get close, but it spreads across contrast before critical focus is certain. Turn off autofocus after confirming focus so a shutter press cannot start a new search.
Compose with a short high-ISO test frame rather than waiting for a final long exposure. Check the histogram for sky clipping, inspect bright stars, and look for stray lamps or vehicle trails. High ISO in the test is only a visibility aid; return to the planned settings afterward. Cover or dim the rear screen between checks to preserve night vision and avoid distracting other photographers.
For an untracked sequence, use an interval longer than the exposure by enough time for file writing and any required noise-reduction behavior. Avoid touching the tripod. If long-exposure noise reduction creates a dark frame after every image, understand how that gap affects a star sequence before enabling it. A separate dark-frame strategy may be more suitable for stacking software, but it must match the sensor temperature and exposure plan.
Pack around failure, not around every possibility
| Risk | Primary item | Simple backup |
|---|---|---|
| Tripod movement | Stiff tripod and secure plate | Lower stance and sheltered position |
| Dew | Lens heater and power source | Shorter checks and dry lens cloth |
| Power loss | Charged camera and accessory batteries | Protected spare batteries |
| Missed focus | Magnified star focus | Scheduled focus rechecks |
| Unsafe access | Daylight scout and offline route | Preselected alternate viewpoint |
Keep the kit small enough to carry safely. One proven wide lens, one alternate focal length, a dependable tripod, dew control, power, warm clothing, and navigation usually outperform a bag filled with untested options. Browse the lens and optics guides when narrowing the optical choices, and use the main photography guide hub to plan the wider workflow.
Organize the files for a clean night review
Keep tracked skies, static foregrounds, test frames, dark frames, and failed alignments in clearly separated sequences. A spoken memo or photographed note card at each transition can make the folder understandable the next morning. Preserve the original ARW files and work non-destructively. If the night contains many near-identical test frames, imagic can group duplicates and assess sharpness locally before JPEG or TIFF export, while the editorial decision about composites remains with the photographer.
Frequently asked questions
What focal length is best for Sony A1 astrophotography?
There is no single best length. Ultra-wide lenses emphasize sky and foreground, moderate wides give the Milky Way more presence, and longer lenses isolate constellations or distant alignments while demanding better tracking.
Is a star tracker required for sharp stars?
No. A wide lens, stable tripod, careful focus, and suitably short exposure can keep stars acceptably round. A tracker becomes useful when longer exposure or a longer focal length is central to the image.
Should a clear filter stay on the lens at night?
Remove it unless it serves a specific protective need. Extra glass can add reflections around stars and lamps, so test any filter with the exact lens before an important trip.