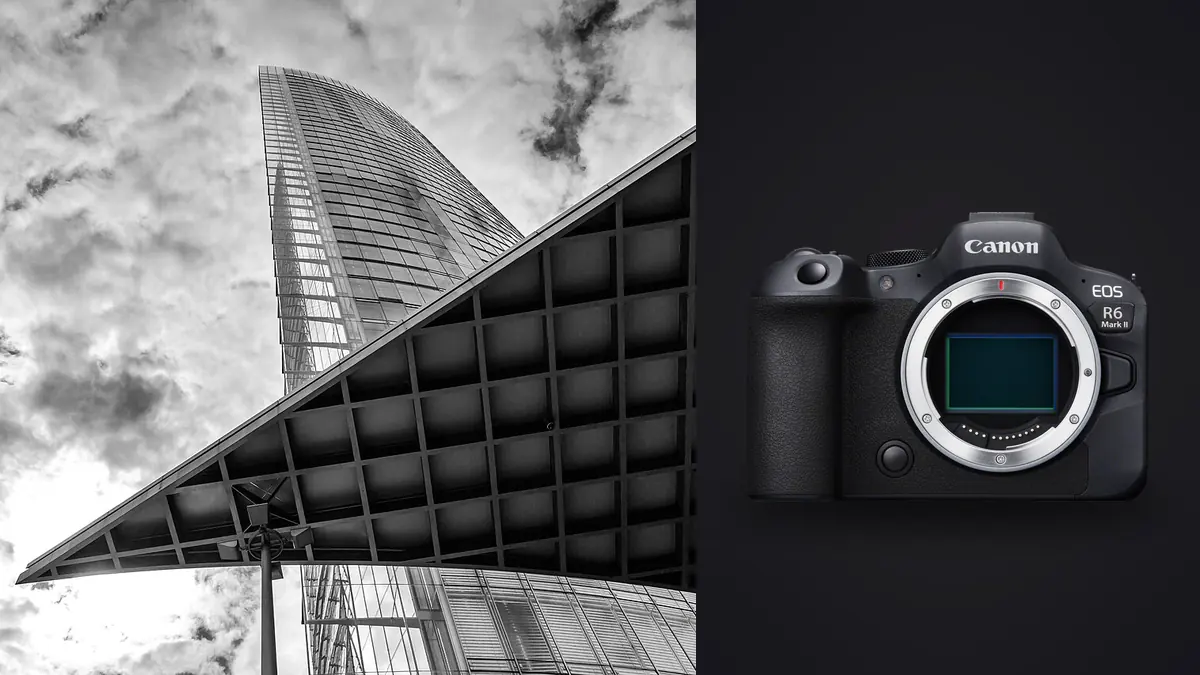
I picked up the R6 Mark II about eighteen months ago mostly for event work, and I didn't expect it to become my main body for interior shoots. It did, and not for the reasons I expected going in. It wasn't the megapixel count (24.2MP is fine, not remarkable) or the autofocus system (overkill for a room that isn't moving). It was the dynamic range in mixed light, the electronic level, and how quiet the shutter is when you're working in someone's occupied home at 8am while they're still making coffee in the next room.
This isn't a spec-sheet rundown. There are a dozen of those already. This is what actually changes about your workflow when you take this specific body into stairwells, kitchens with skylights, and open-plan living rooms with a wall of west-facing glass.
Dynamic range is the whole game indoors
Architectural interiors punish sensors in a way that portraits and street work don't. You've got a window pulling in 5,000 lux of daylight six feet from a corner that's lit by a single 40-watt lamp. The R6 II's sensor gives you something like 13.5 stops of usable dynamic range at base ISO in raw, which in practice means you can expose for the room and still pull back a window that isn't a total blown-out rectangle, most of the time. Not always. A bright noon sky through a large glazed wall will still clip if you're not bracketing, but the margin for error is bigger than what I had on the older 5D-series bodies I used for years before this.
I still bracket. Anyone telling you a single raw file replaces a proper HDR blend for interiors with visible windows hasn't shot a listing with floor-to-ceiling glass on a sunny afternoon. What changes with this camera is how few brackets I need. Where I used to shoot 5-frame AEB sequences at 2-stop intervals as a safety net, I'm mostly down to 3 frames at 1.5 stops for anything that isn't direct sun through the glass. Fewer frames means fewer files to sort through later, which matters more than it sounds like when you're shooting a 4,000 square foot house and end up with 600+ raw files by lunch.
Keeping verticals straight without fighting the lens
Converging verticals are the single fastest way to make an interior photo look amateur. Point a wide lens up even slightly in a tall room and the walls lean inward. The R6 II's electronic level (shown in the viewfinder and on the rear screen, both pitch and roll) means I catch a tilted horizon before I trip the shutter instead of noticing it on a laptop that evening. That sounds minor. On a shoot where you're moving through 15 rooms in under two hours, it saves real time.
But the level only tells you the camera is straight, it doesn't stop the lens from converging verticals when you tilt up to get a tall window or a vaulted ceiling into frame. For that you either correct in post (fine for most jobs, the RF lenses have clean enough corner performance that a keystone correction in Lightroom or Capture One doesn't fall apart) or you shift the lens itself. I run a Laowa 15mm f4.5 Zero-D shift lens on the R6 II for anything with ceiling heights over nine feet, and for shots where I want magazine-grade correction with zero cropping loss, I adapt an old Canon TS-E 24mm f/3.5L II through the EF-RF adapter. It's manual everything, but on a tripod for architecture work that's not a real limitation.
Where adapted tilt-shift glass still earns its keep
The RF mount doesn't have a native Canon tilt-shift lens as of this writing, so if you want tilt (not just shift) for controlling the plane of focus across a room, you're adapting EF glass. The R6 II handles this without complaint, the adapter is a dumb mechanical tube for manual-focus lenses like the TS-E line, and there's no autofocus hunting to worry about because you're focusing manually anyway. What you gain from the tilt function specifically is being able to keep a foreground rug and a background window both sharp at f/8 instead of needing f/16 and fighting diffraction, which matters more than people think on a 24MP sensor where every bit of resolution is already accounted for.
| Lens | Mount | Movement | Street price (approx.) | Best for |
|---|---|---|---|---|
| RF 14-35mm f/4L IS USM | RF native | None | $1,700 | Fast handheld walkarounds, tight stairwells, autofocus needed |
| RF 16-35mm f/2.8L IS USM | RF native | None | $2,300 | Twilight exteriors, dim interiors without flash |
| Laowa 15mm f/4.5 Zero-D Shift | RF native | Shift | $850 | Straight verticals on a budget, tripod work, manual focus |
| Canon TS-E 24mm f/3.5L II (adapted) | EF + adapter | Tilt + shift | $2,200 | Full perspective control, focus-plane work in tight rooms |
| Canon TS-E 17mm f/4L (adapted) | EF + adapter | Tilt + shift | $2,450 | Very large open rooms, full vertical correction with headroom to spare |
Focus bracketing for depth in rooms you can't back away from
Small interiors are a depth-of-field problem as much as a lighting one. A galley kitchen or a compact ensuite gives you almost nowhere to stand, so you're often at 16mm with a countertop three feet away and a window six feet past that. Stopping down to f/16 for depth costs you sharpness to diffraction and often forces a slower shutter than you want on a tripod-mounted long exposure. The R6 II has built-in focus bracketing that fires a sequence of frames at incrementally shifted focus points, which you then blend in post (Helicon Focus or Photoshop's auto-blend both handle it fine). I use it maybe once or twice a shoot, usually on a hero shot of a kitchen island with foreground styling, not as a default for every room. It's slower to shoot and slower to process, so it's not something you reach for casually on a job with a tight turnaround.
What all this bracketing does to your card and your evening
Here's the part nobody mentions in the marketing copy: a 15-room house shot with 3-frame exposure brackets plus a couple of focus stacks for hero shots generates an enormous number of near-duplicate raw files. You end up with three or four frames of the same kitchen that differ only in exposure, and you need exactly one of them (the sharpest, correctly focused one) as your base plate before blending. Sorting that by eye at 1am is how good photographers start missing dinner with their families.
This is the part of my workflow where imagic actually earns its keep. It runs the culling pass locally on the machine, no upload, which matters on real estate photography specifically because some agents and developers have exclusivity clauses about images leaking before a listing goes live, and routing an unreleased property through someone else's cloud pipeline before the images are even edited is hard to justify. imagic's duplicate and burst clustering groups those exposure brackets together automatically instead of me scrolling through 600 thumbnails trying to remember which frame in a five-shot AEB sequence was actually in focus. The sharpness scoring flags the technically sharpest frame in each cluster, which is a genuinely different job than "correctly exposed," and for architecture work sharpness on the base plate matters more than exposure since you're blending exposures anyway.
The other piece I lean on is the apply_my_style preset feature. Interior and architecture clients care a lot about consistency across a gallery, a kitchen and a bedroom shot two hours apart shouldn't read like they came from different white balance decisions. I trained a preset on a batch of edits I was happy with from an earlier shoot and it applies that same look as a starting point across a new set, which cuts down the amount of manual grading I do per image before I get into the finer per-room adjustments HDR blending still needs.
Practical stuff that matters on a real shoot day
The shutter has a genuinely quiet electronic first-curtain mode and a fully silent electronic shutter option, and I use the silent mode constantly on occupied residential shoots. Nobody wants a mechanical clack echoing through a house at 7:45am while the homeowner's kid is still asleep upstairs. Weather sealing on the body holds up fine for exterior shots in light rain or damp morning conditions, which happens more than you'd expect on architecture jobs since golden hour exteriors don't wait for perfect weather. Battery life on the LP-E6NH is rated around 760 shots CIPA, but with a tripod-heavy interior workflow where you're not chimping constantly and mostly working through live view for level checks, I've gotten a full day of shooting, 12+ rooms plus exteriors, on a single charge more often than not.
Dual UHS-II card slots let me shoot raw to one card and a backup raw or JPEG to the second, which for architecture work I treat as non-negotiable. These shoots aren't repeatable the way a portrait session is, you generally can't just come back next week if a card fails, the stager has already moved the furniture and the listing photos are due to the agent by Thursday.
Where the R6 II falls short for this genre
I want to be honest about the limits. 24.2MP is workable but it's not generous if a client wants large-format prints of an exterior facade or a magazine spread with room to crop. If that's your regular business, the higher-resolution body in Canon's lineup is worth the money. The lack of a native RF tilt-shift lens means anyone serious about architecture is either adapting older EF glass or buying third-party shift lenses, which is a minor tax on an otherwise straightforward system. And the in-body stabilization, while excellent for handheld work, is mostly irrelevant for interior architecture since you should be on a tripod for anything involving exposure bracketing or focus stacking anyway. It's a genuinely useful feature for this camera in general, just not one that changes much about how you'd shoot a listing.
Frequently Asked Questions
Do I need a tilt-shift lens for the R6 II to shoot real estate interiors professionally?
No. A lot of working real estate and interior photographers shoot exclusively with a good wide zoom (the RF 14-35mm f/4L is a common choice) and correct verticals in post using the lens profile and a keystone tool. Tilt-shift glass buys you cleaner corners and no cropping loss on tall rooms, which matters more for architecture-firm and high-end residential clients than for standard MLS listing photography.
Is 24 megapixels enough resolution for architectural print work?
For web use, standard print sizes up to roughly 16x20 inches, and typical real estate marketing material, yes, comfortably. For large-format architectural prints, trade publication double-page spreads, or heavy post-crop work, you'll feel the ceiling sooner than you would on a 45MP body. Most residential and commercial interior work never hits that ceiling in practice.
How does the R6 II handle mixed daylight and tungsten interior lighting without heavy bracketing?
Reasonably well at base ISO thanks to the sensor's dynamic range headroom, but it doesn't eliminate the need for bracketing on rooms with strong window light. What it does is reduce how many brackets you need and how extreme your blending has to be, which saves real processing time across a multi-room shoot even if it doesn't remove the step entirely.
Can the in-body stabilization replace a tripod for interior architecture work?
Not for anything involving exposure bracketing, focus stacking, or long shutter speeds in low light, all of which are standard on serious interior work. IBIS is useful for scouting shots, quick handheld details, and exteriors where you're moving fast, but a tripod stays essential for the core deliverables on this kind of job.
If you're weighing this body against something else in Canon's current lineup specifically for architecture and interiors, it comes down to how much resolution and how much native lens flexibility you actually need against how much you want to spend. For most residential and small commercial interior work, the R6 II's dynamic range and level tools do more for the final image than another 20 megapixels would. For culling and sorting the resulting bracket-heavy takes, a workflow guide like our breakdown of how AI photo culling actually works covers the sorting side in more depth, and our tips for a faster photo workflow has a few ideas that apply directly to multi-room shoot days like the ones described here.