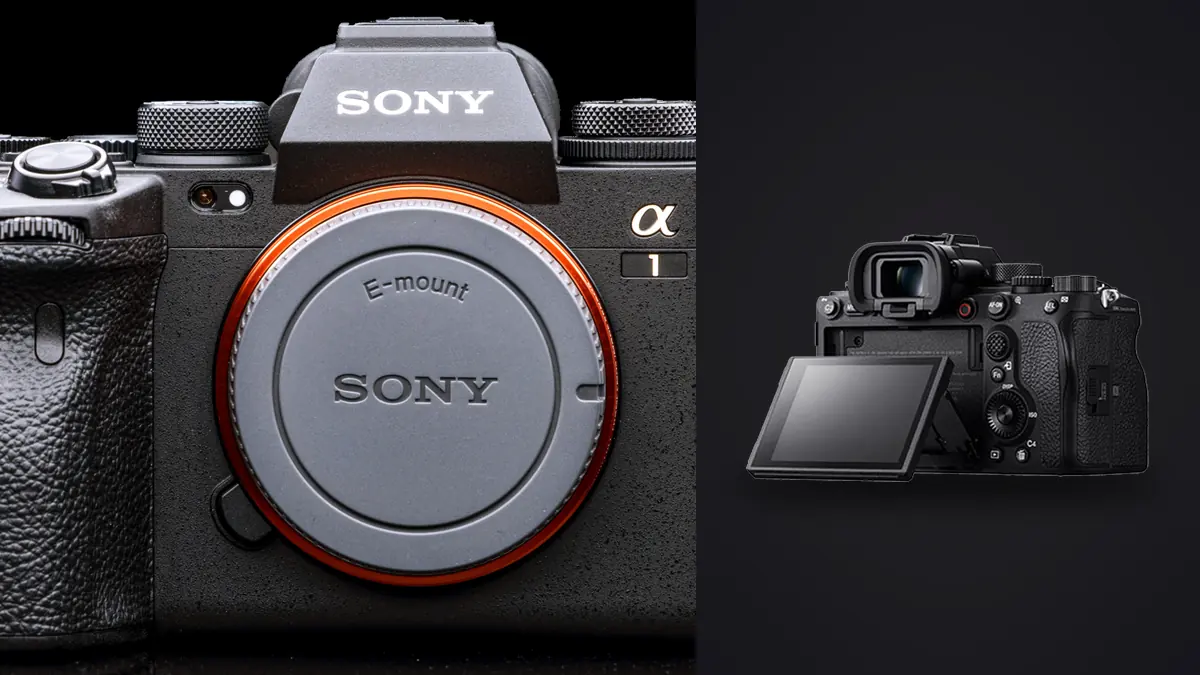
The Sony A1 combines 50.1-megapixel files with continuous shooting up to 30 fps under supported settings. That combination suits assignments that move between controlled commercial frames and unscripted action, but it also makes careless setup expensive in file volume and missed consistency. The useful question is not whether every maximum setting should be enabled. It is how to arrange the controls so the camera can change roles without making the photographer rebuild autofocus, drive, exposure, and file options while the subject is moving.
A strong field setup uses a small number of documented states. One state favors deliberate, full-detail commercial work. Another favors tracked movement and short high-speed bursts. A third handles unusual lighting or a silent environment. Each state should be understandable at a glance, recoverable after a rushed change, and compatible with the same ingest and delivery plan.
Separate the assignment into camera states
Before assigning buttons, list the situations that actually occur. A catalog product frame on a locked tripod needs careful exposure, low drive speed, stable white balance, and precise focus placement. A model walking through a set needs continuous autofocus and enough shutter speed to hold detail. An outdoor action segment may need faster tracking, a wider autofocus area, and a brief 30 fps burst. Treating all three as one configuration usually creates compromises that serve none of them well.
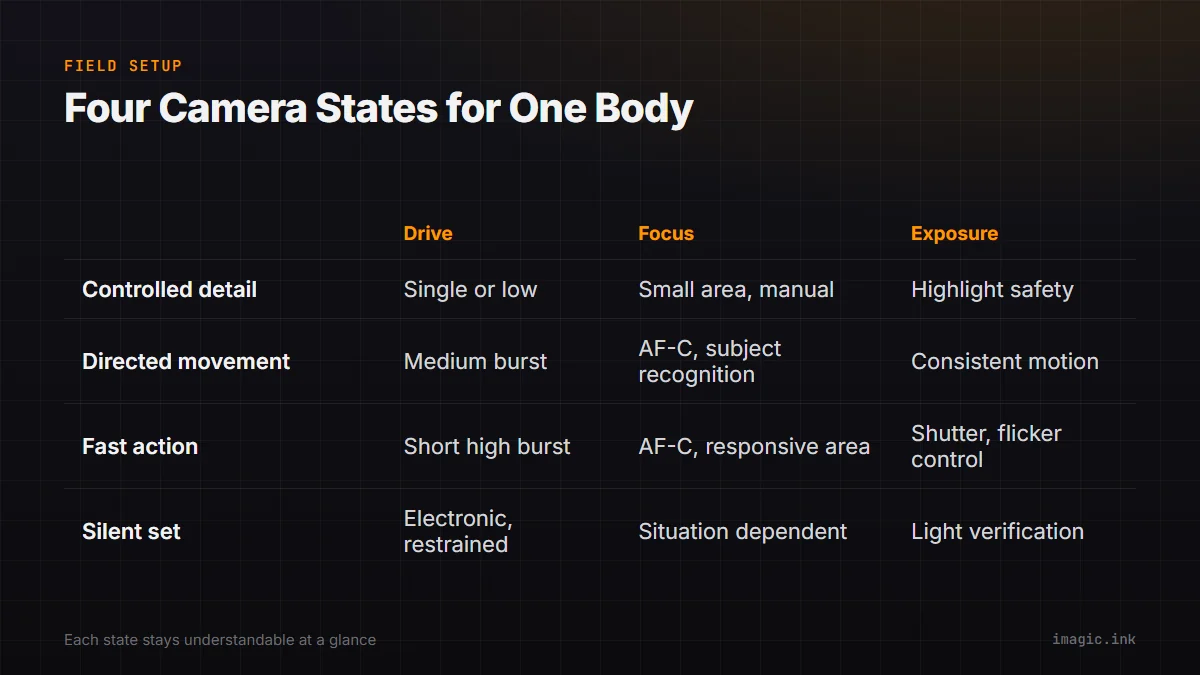
| State | Drive priority | Focus priority | Exposure priority |
|---|---|---|---|
| Controlled detail | Single or low | Small area or manual confirmation | Repeatability and highlight safety |
| Directed movement | Medium burst | AF-C with subject recognition | Consistent motion rendering |
| Fast action | Short high burst | AF-C with responsive area | Shutter speed and flicker control |
| Silent set | Electronic, restrained | Situation dependent | Artificial-light verification |
Store these combinations in the camera's recallable settings where practical, but do not assume every menu item follows a recalled mode. After building each state, change away from it, return, and inspect drive mode, autofocus mode, autofocus area, shutter type, file format, ISO behavior, and white balance. A written reference on a phone or job sheet is more reliable than memory when firmware or another operator changes a control.
Build a deliberate button layout
The fastest control is the one that answers a recurring field problem. Assign high-value functions to accessible buttons, and leave rarely changed setup choices in the menu. A practical arrangement usually gives direct access to autofocus area, subject-recognition behavior, silent or mechanical capture, and a temporary action override. The exact button matters less than consistency across bodies.
Back-button autofocus can separate tracking from the shutter release, which is useful when a commercial subject pauses in a known plane. Some photographers prefer half-press focus because it reduces finger coordination. Either method can work; mixing methods between saved states is the larger risk. If the camera seems to stop focusing in one state, an unnoticed change in shutter-button autofocus is often harder to diagnose than a focus-area error.
- Keep the same focus activation method in every saved state.
- Place autofocus area where it can be changed without leaving the viewfinder.
- Use a hold function for a temporary override rather than rebuilding the base state.
- Reserve one control for rapid exposure protection, such as ISO or exposure compensation.
- Lock or de-emphasize controls that are frequently bumped but rarely needed.
Control logic should remain simple enough for a second operator to understand. A highly customized camera can become fragile when the original setup notes are absent.
Choose autofocus by subject behavior
AF-C and subject recognition are natural starting points for people and action, but the autofocus area still tells the camera where it may search. A wide area helps when movement is erratic and the background is clean. A zone can keep attention near an expected path. A smaller flexible area helps when multiple faces, products, or foreground objects compete for attention. Subject detection does not remove the need to define the relevant part of the frame.
For a model moving toward the camera, begin tracking before the critical pose, maintain a stable framing rhythm, and use an aperture that gives the autofocus system a reasonable depth target. At 50.1 megapixels, slight focus errors become obvious under close review, but that does not mean every scene should be shot wide open. If the product, garment, and near eye all need clarity, sufficient depth of field is a creative requirement rather than a technical concession.
Controlled studio work can benefit from a smaller autofocus point or manual focus confirmation. When the camera and product are fixed, repeated autofocus acquisition may introduce tiny shifts that complicate compositing or matched crops. Establish the focus plane, magnify to verify it, and avoid touching the lens or support unless the setup changes.
Match drive speed to the movement
The A1's maximum burst is valuable for brief, irregular peaks, not as a universal default. The highest rate depends on compatible settings, media, lenses, and shooting conditions. If a selected file type or other option lowers the rate, the camera is not necessarily malfunctioning. Confirm the required combination before the assignment rather than diagnosing it during the action.
Use low or medium continuous drive for directed movement where the performer repeats a mark. This gives distinct choices without filling each cue with near duplicates. Use the fastest supported rate for a short event such as a splash, jump, flying fabric, or collision where small timing differences materially change the frame. Release immediately after the peak. The buffer and card system are part of the capture setting, so confirm that the camera has finished writing before a card is removed or the next essential sequence begins.
High resolution also changes the value of cropping. A looser frame may preserve unpredictable movement and leave room for multiple output ratios, but it does not excuse imprecise composition. Keep backgrounds, horizon lines, and edge intrusions under control while preserving the safety margin required by the subject.
Protect exposure under mixed and pulsed light
Commercial assignments often mix flash, continuous fixtures, practical lamps, daylight, and display screens. Set one source as the reference and decide whether the others will be corrected, allowed to vary, or excluded. A fixed white balance supports consistency across a sequence better than automatic white balance when the framing alternates between warm and cool areas.
Electronic shutter is quiet and supports the A1's high-speed behavior, but artificial lights can interact with shutter timing. Anti-flicker and variable-shutter options can help in suitable conditions, yet they require verification under the actual fixtures. Shoot a plain wall, backdrop, or evenly colored garment, then check for horizontal bands and frame-to-frame color shifts. A rear-screen thumbnail can hide both.
For flash work, confirm the supported synchronization behavior for the selected shutter mode and equipment. Do not assume that a setting used for available-light action will preserve full flash compatibility. In a controlled set, choose repeatable flash timing and adequate recycle behavior before chasing the highest drive rate. A burst is useless if only the first frame receives the intended light.
Plan cards, formats, and heat around the take
The dual media slots can accept different card types, but mixed media may produce different clearing and capacity behavior. Decide whether the job needs redundancy, overflow, or a RAW and JPEG split. Redundancy is attractive for irreplaceable takes. Overflow is simpler for extended action. A RAW and JPEG split can serve a rapid review, but it adds file-management complexity and should have a clear downstream purpose.
Choose RAW compression according to quality needs, burst requirements, and software compatibility. The 30 fps headline is associated with specific compressed RAW conditions, not every possible format. For a product still with controlled light, maximum burst rate is irrelevant and a quality-focused file choice may be preferable. For an action cue, the supported high-rate format can be selected deliberately.
Long sessions also need operational pauses. Check remaining capacity, battery state, card write activity, and camera temperature between takes rather than after a warning appears. Rotate cards only through a labeled process. Never treat a pocket as a reliable distinction between blank and exposed media.
Keep the field setup intact through post
Ingest into folders that preserve body and card identity, then verify a second copy before reusing media. Cull by setup and sequence rather than sorting the entire day only by rating. The studio stills, directed motion, and fast action were captured with different intentions, so their keeper criteria should differ. A technically perfect catalog frame may be repetitive, while a slightly less perfect action frame may have the only useful gesture.
imagic can process the RAW files locally, score sharpness, exposure, closed eyes, and composition, and group burst or duplicate frames. Use that first pass to reduce repetitive comparison while retaining the photographer's final decision. Non-destructive edits and a learned apply_my_style profile can establish a starting look across selects, followed by setup-specific correction and export to JPEG or TIFF.
The automation overview describes where repeatable local operations fit, while Camera Hardware guides provide more context for building camera-specific workflows. Neither saved controls nor software removes the need for a checked handoff. Export a small proof set, verify color and crops at delivery size, and then render the complete job.
Run a pre-call verification
- Load each saved camera state and verify every setting that affects capture.
- Confirm focus activation, subject type, and autofocus area with a moving stand-in or ordinary object.
- Test the intended drive and file combination, then confirm that the workstation opens the files.
- Check artificial light for bands and color changes in the intended shutter mode.
- Confirm card roles, free space, battery condition, clock synchronization, and filename prefix.
- Return the camera to the expected opening state before the subject enters the set.
This short rehearsal catches the dangerous failures: a silent mode left on under unsuitable lighting, a focus button disabled in one recall state, an unexpected JPEG-only setting, or a card role inherited from another job.
Frequently asked questions
Does the Sony A1 always shoot 30 fps RAW?
No. The maximum rate depends on the selected RAW type, shutter mode, lens, media, and other conditions. Verify the complete capture combination before relying on it for a critical sequence.
Which autofocus area is best for commercial action?
Use the smallest area that still accommodates the subject's movement. A zone suits a predictable path, while a wider area is more forgiving when movement is irregular and the background is uncomplicated.
Should studio and action settings share one recall bank?
They are safer as separate states because their drive, focus, exposure, and shutter priorities differ. Keep the focus activation method consistent so switching states does not change basic handling.
Is electronic shutter always the right choice on a quiet set?
It is useful for silence, but it must be tested under the actual continuous lights and practical fixtures. Banding or color variation can matter more than shutter sound in the final files.