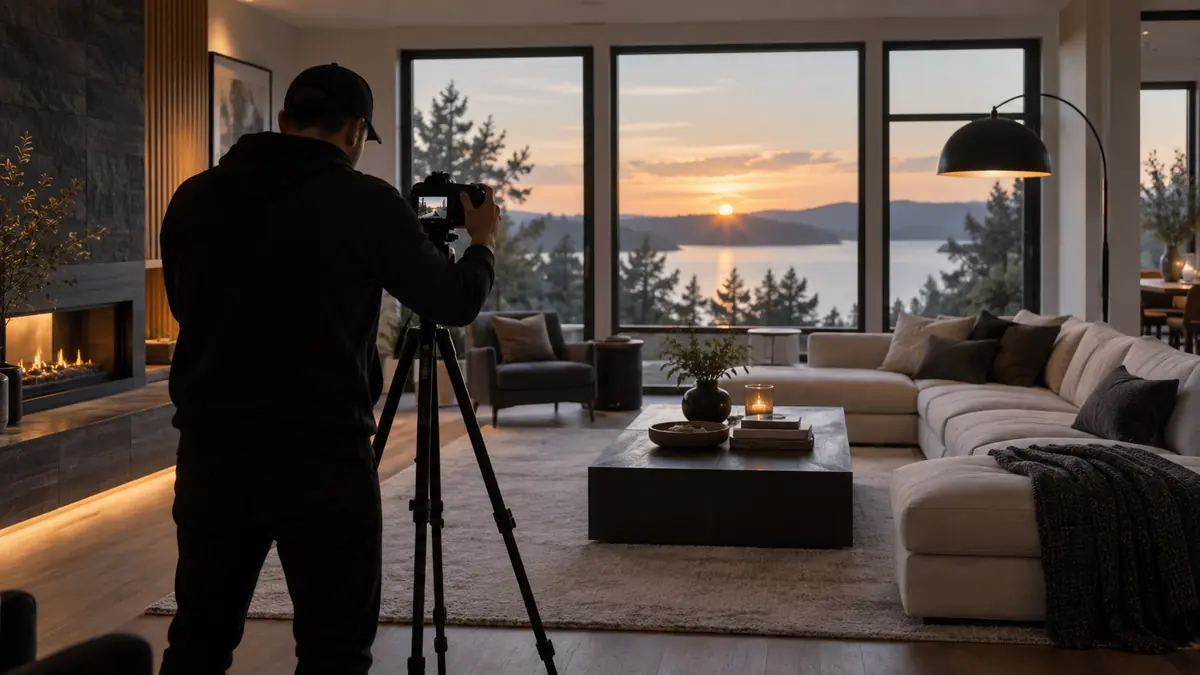
A five-shot bracket is useful in real estate photography when one interior frame cannot hold window detail, room midtones, and deep shadows at the required quality. The five exposures are source material, not five independent photographs. That distinction should guide capture, ingest, culling, merging, editing, and delivery. If one member is lost, misaligned, or assigned to the wrong room, the entire set becomes harder to process.
The workflow also needs a clear software boundary. Culling and duplicate grouping can organize bracket sets and identify technical failures. HDR merging or manual exposure blending must happen in an editor that actually supports those operations. A local culling application should never be assumed to align or merge the exposures merely because it can see them together.
Decide whether the room needs five frames
Use the histogram and the delivery requirement, not a habit, to decide. A softly lit room with shaded windows may fit in one carefully exposed RAW file. A dark interior looking into direct daylight may exceed that range. Five frames provide intermediate exposure information that can make tone transitions easier, but they also multiply capture and processing work. More source files are helpful only when each contributes useful data.
Set the base exposure for the room's important midtones, then choose bracket spacing that reaches a frame with protected exterior highlights and a frame with clean interior shadow information. The spacing does not need to be identical for every property if the camera allows suitable control, but it should be documented and consistent within the assignment. Check the actual histogram for clipping rather than counting exposures and assuming coverage.
Keep ISO stable and low enough for the required output, use aperture to establish depth of field, and vary shutter speed across the bracket. Changing aperture alters depth of field and can change lens rendering, while changing ISO alters noise and may complicate merging. Manual exposure or a predictable bracket mode prevents the camera from quietly changing unrelated settings.
Stabilize composition and the room itself
Mount the camera on a stable tripod, level it carefully, and avoid extending the weakest leg sections more than necessary. Use a remote release, self-timer, or electronic control that does not disturb framing. Turn off stabilization if the camera or lens manufacturer recommends doing so on a locked tripod. Verify that the tripod head is fully settled before starting the sequence.
The room must also remain stable. Ceiling fans, televisions, fireplaces, curtains, moving trees outside, and people crossing windows can create different content in each exposure. Turn off moving fixtures when permitted, pause foot traffic, and wait for obvious exterior movement to clear. If an element cannot be controlled, capture an additional clean frame intended for masking in the merge-capable editor.
- Remove or hide small distractions before locking the composition.
- Set lights to the intended final state and allow flickering sources to stabilize.
- Check reflective surfaces for the camera, tripod, photographer, and open doors.
- Confirm verticals and edge spacing before every bracket.
- Do not touch the zoom ring after the first exposure.
Artificial lights may change brightness or color across shutter timings. Review a bracket at full size for bands and inconsistent practical lamps. If flicker is present, adjust shutter timing, lighting, or capture method before moving to the next room.
Create an unmistakable bracket boundary
Processing errors often begin because one room's bright frame is mistaken for another room's dark frame. Make sequence boundaries visible at capture. A quick hand frame, a blank frame, a photographed room label, or a deliberate pause can separate setups. The marker should never replace accurate metadata and folders, but it helps during a rapid visual ingest.
Keep the five exposures consecutive. Do not interrupt the bracket to make a detail photograph, change orientation, or test another composition. If the sequence fails, repeat all five rather than replacing one exposure after the tripod has moved. A complete repeated set is easier to identify and align than a repaired set assembled from different moments.
| Sequence check | What to verify | Failure response |
|---|---|---|
| Frame count | Five consecutive RAW files | Repeat the complete set |
| Highlight end | Required window detail is protected | Extend the dark exposure |
| Shadow end | Important room shadows contain clean data | Extend the bright exposure |
| Alignment | No tripod or focal-length movement | Reset and repeat |
| Scene state | No avoidable moving objects | Clear the room and repeat |
Ingest by property, card, and room
Create the property folder before copying. Preserve original card folders inside an originals area, then separate working derivatives and final delivery. If several properties share a card, use capture time and marker frames to split them only after the card has been copied and verified. Do not move the sole originals into room folders before a second copy exists.
- Copy each card into a uniquely named card subfolder.
- Verify counts and data, using checksums when the ingest tool provides them.
- Create a second copy on separate storage.
- Group bracket sets without renaming source files destructively.
- Assign stable room or view identifiers in metadata, sidecars, or working filenames.
- Keep cards unchanged until the property has been processed and verified.
A working name can include property, room, view number, and exposure position, but preserve an unambiguous link to the original filename. That link is valuable if a merged image later shows ghosting and the source set needs to be reopened.
Prepare a precise merge handoff
When one person captures and another processes, attach a small manifest to the working set. Record the property and view identifier, the five source filenames, the intended base exposure, any frame containing unavoidable movement, and whether the exterior view must remain readable. Note deliberate exceptions such as a lamp switched off in one source or an additional frame captured to repair a reflection. This prevents the editor from interpreting an anomaly as an accidental mismatch.
Keep the source bracket, merged master, and final delivery distinct. The merged master should retain enough quality for geometry, color, and finishing work, while the delivery export should follow the listing or client specification. Do not overwrite the source files with corrected versions or flatten the only editable master. If a later crop or color revision is requested, the workflow should return to the master without repeating the merge unnecessarily.
A contact sheet of view identifiers can also catch omissions before detailed editing begins. Confirm that each required room and exterior angle has at least one approved complete set, then mark optional alternates. Discovering a missing kitchen view before merging is inconvenient; discovering it after the property has changed occupants or staging is much worse. Coverage verification belongs between ingest and intensive processing.
Cull sets without breaking them apart
Judge the bracket first as a unit. Confirm that it contains the expected five files, spans the needed tones, stays aligned, and avoids unrecoverable motion. Then compare duplicate compositions. One composition may have better furniture spacing, cleaner reflections, or less movement outside even if both sets are technically complete.
imagic can locally analyze sharpness, exposure, closed eyes, and composition and group duplicate or burst-like files. For bracket work, exposure differences are intentional, so an individual dark or bright frame should not be rejected merely for looking unlike a finished image. Use grouping to keep related captures visible and set statuses reversibly. The app does not merge HDR frames, align layers, or blend windows. Send the approved complete set to a separate HDR-capable or layer-capable editor for that stage.
When a single source frame is soft because the tripod moved, replacing it from another repeated set may create alignment problems. Prefer the strongest complete sequence. If no complete sequence is viable, document the repair and inspect edges, window frames, furniture, and fine patterns closely after merging.
Merge for a natural interior result
In the merge-capable editor, apply lens profile and chromatic-aberration corrections consistently when the workflow requires them. Use alignment only as a safeguard, not permission for sloppy capture. Enable deghosting where moving content demands it, but inspect the chosen reference exposure because aggressive deghosting can introduce hard boundaries or repeated objects.
A technically broad HDR result can still look unnatural. Keep windows plausible relative to the room, preserve believable shadow direction, and avoid flattening every surface to the same brightness. Bright outdoor views should generally remain brighter than interior walls unless the creative brief specifies otherwise. Watch halos around window frames, gray whites, oversaturated exterior foliage, and muddy corners.
For mixed lighting, global white balance may not solve every area. Establish a neutral overall baseline, then use local color correction in the capable editor for practical lamps, daylight spill, or reflected color. Do not promise perfectly neutral color from a room containing incompatible light sources unless those sources were controlled during capture.
Finish, export, and quality-check the property
Apply geometry correction carefully. Vertical lines that should be vertical must remain believable, but extreme correction can stretch corners and remove useful framing. Leave enough capture margin for the intended crop. Match brightness and color across adjacent rooms so the gallery feels like one property, while allowing naturally darker spaces to retain their character.
Export JPEG for common listing and delivery systems, following the requested dimensions, color space, quality, and filename convention. Use TIFF only when a downstream workflow specifically needs a high-quality rendered intermediate. Neither format replaces the original RAW brackets or the editable merged master.
Inspect every final at delivery size and several at full size. Look for merge seams, doubled leaves, shifted curtains, window halos, dust spots, reflections, leaning verticals, inconsistent color, and duplicate views. The desktop workflow page describes local culling and non-destructive editing boundaries, while Workflow and Editing collects broader process guidance.
Use a room-exit checklist
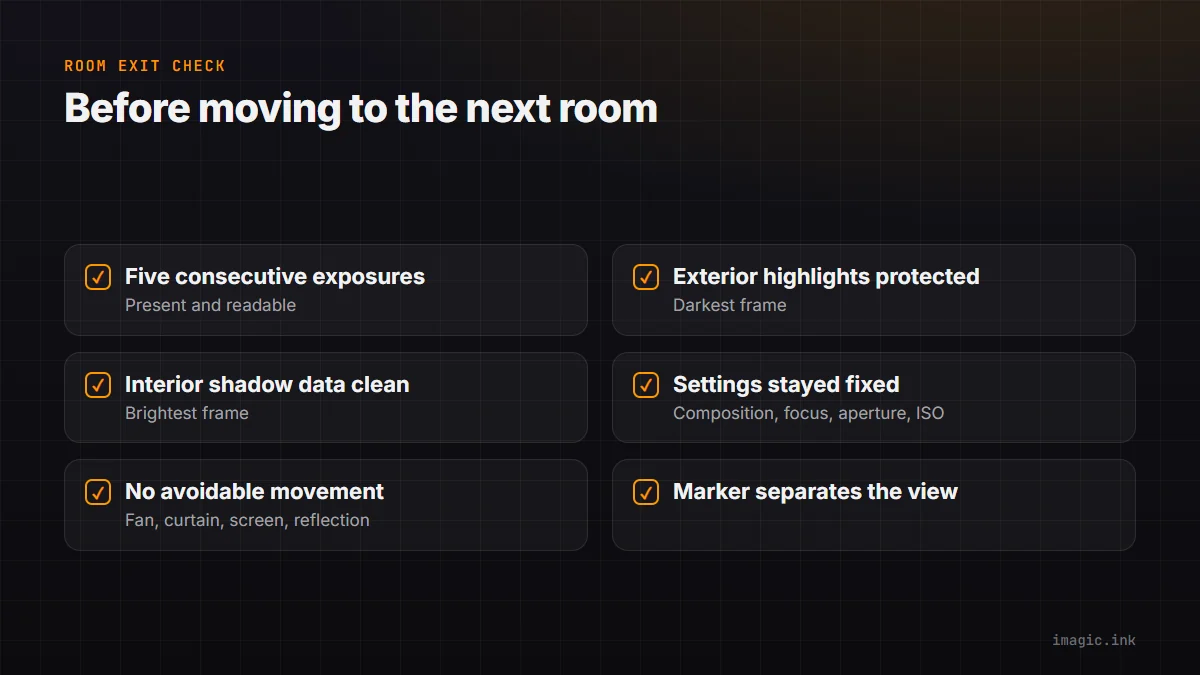
- Five consecutive exposures are present and readable.
- The darkest frame protects required exterior information.
- The brightest frame contains useful interior shadow data.
- Composition, focus, aperture, ISO, and focal length stayed fixed.
- No avoidable person, fan, curtain, screen, or reflection changed.
- A visible marker separates this view from the next one.
Frequently asked questions
Does every real estate interior need five bracketed exposures?
No. Use five when the scene and output require the extra tonal coverage. A single well-exposed RAW file can be cleaner and faster when the room's range already fits.
Should aperture change across an HDR bracket?
Normally keep aperture and ISO fixed and vary shutter speed. Changing aperture can alter depth of field and optical rendering between source frames.
Can imagic merge a five-shot HDR bracket?
No. It can help group and review the source files locally, but alignment, HDR merging, layer work, and exposure blending require a separate capable editor.
When can the camera card be formatted?
Only after the copied originals have been verified and an independent second copy exists. Keeping the card intact through processing adds another temporary recovery path.