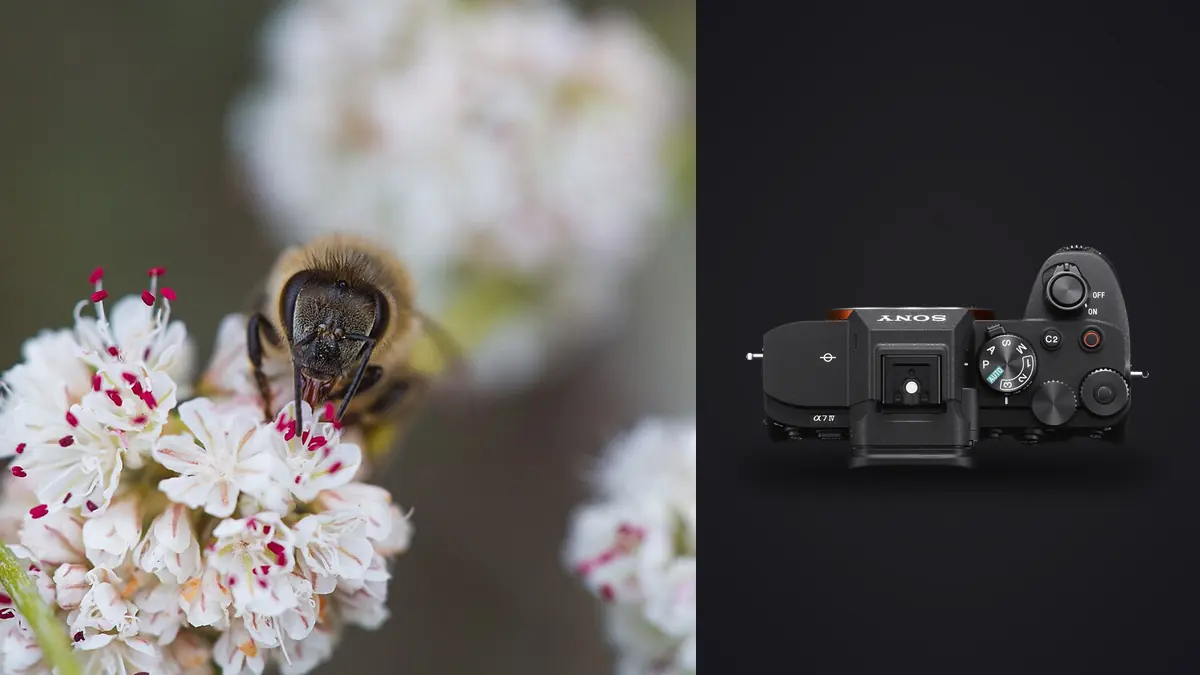
The Sony A7 IV is a versatile full-frame body, but macro work pushes it into conditions where normal autofocus and exposure habits become unreliable. At high magnification, the focus plane may be thinner than an insect's eye, stabilization cannot stop a moving antenna, and a small flash can make the subject bright while the habitat disappears. The camera is usually not failing; several close-range effects are being compressed into one soft or oddly lit frame.
Troubleshooting should preserve cause and effect. Start from a visible symptom, reproduce it on a stable subject, and change one control. This guide uses the A7 IV's mechanical and electronic shutter choices, in-body stabilization, customizable autofocus, and full-frame RAW files as parts of a diagnosis rather than as guarantees.
Build a repeatable diagnostic subject
Use a coin, textured packaging, small figurine, or dead leaf placed at the normal working distance. Support the camera and subject, light them steadily, and disable wind or table movement. Make one reference exposure with a moderate aperture, self-timer or remote release, and magnified manual focus.
If that reference is sharp, the lens, sensor, and basic processing can record detail. Field softness is then more likely to involve movement, target choice, depth, or light. If it remains soft, inspect the filter, front and rear elements, adapter, lens seating, support, stabilization setting, and RAW rendering before tuning subject detection.
Keep the reference files and metadata. Change only focus method, aperture, shutter, or support in each next frame. A controlled series turns a vague impression into evidence and prevents several compensating changes from hiding the real fault.
Read the blur shape before adjusting AF
Find the sharpest region at high magnification. A crisp leaf behind the insect means focus selected the background. A sharp forward leg with a soft eye means the plane is too close. Detail sharp along one narrow strip but soft elsewhere indicates limited depth rather than missed autofocus. Directional streaking across the whole subject suggests movement.
Diffraction and noise reduction look different. Diffraction gently reduces fine detail throughout the focused plane at very small apertures. Strong noise reduction can smear repeated texture while leaving larger edges apparently clean. Compare the RAW file at several processing settings before blaming capture.
Heat shimmer and air movement can soften distant close-ups made with a long macro lens, particularly near sunlit ground. If detail changes unpredictably across frames while focus and support remain steady, wait for calmer air or reduce the distance.
Stop autofocus from selecting the habitat
Use a small flexible spot or tracking spot over the nearest visible eye. A broad area can prefer a high-contrast stem, petal edge, or patterned wing. Subject recognition designed for larger animals may not identify a tiny insect reliably, so target placement remains the primary instruction.
Engage the lens focus limiter when it covers the required distance. This prevents a momentary miss from sending focus through its entire range. If the lens has no limiter, pre-focus near the working distance manually before activating AF. The A7 IV can then search within a smaller practical interval.
AF-C suits an insect or flower swaying toward and away from the camera. AF-S suits a resting subject when the camera and subject can remain still after lock. Neither mode accounts for the photographer leaning after focus. Use a stable stance or continuous focus right through the exposure.
Use manual focus when magnification fixes distance
Near maximum magnification, set focus to the desired reproduction scale and move the camera to place the plane. A focusing rail makes that movement precise on a tripod. Handheld, rock gently from the hips and capture when the eye enters focus, while avoiding repeated bursts that disturb the subject.
Magnified live view is the confirmation tool. Focus peaking can show a broad colored band around nearly sharp contrast and should not be treated as pixel-level proof. Reduce peaking sensitivity if it covers too much of the subject, then magnify the eye.
Focus stacking requires a stationary subject and later alignment software. The A7 IV does not create the merged result, and a dedicated stack application is required. If the insect moves or the plant sways, choose one plane rather than creating a sequence with impossible edge alignment.
Place depth through geometry before aperture
Turn the camera so important features lie closer to one plane. A side-on insect can place eye and body edge together. Open butterfly wings benefit from a sensor plane parallel to the wings. A frontal subject may require a deliberate choice between eyes and forward antennae.
Close the aperture only as much as necessary. Each stop adds some depth but demands more ISO, slower shutter, or flash power. At the smallest settings, diffraction reduces the fine detail that a macro photograph seeks. Make an aperture series and evaluate at the final crop and display size.
If the subject is three-dimensional and still, make separate compositions for face, body, and habitat rather than forcing one frame to carry every detail. A focused visual decision often looks stronger than an indiscriminate attempt at total sharpness.
Distinguish stabilization limits from shutter problems
In-body stabilization reduces camera movement, and some macro lenses add optical stabilization. Their coordination depends on the lens and current firmware. Follow Sony and lens-maker guidance, especially on a tripod. An incorrect assumption about support can create softness that appears only at particular shutter times.
Stabilization cannot freeze the insect, a flower, or wind. If the eye is sharp and antennae blur, shutter time is too long for those parts. Increase shutter speed, use flash-dominant exposure, wait for a pause, or accept motion as part of the image.
Electronic shutter can add rolling-shutter distortion to fast movement and can band under pulsing LED light. Mechanical or electronic first-curtain operation may be more dependable for flash and movement, subject to the exact settings. Test a moving wing or fan and a neutral LED-lit surface before choosing silence by default.
Balance flash distance and background exposure
At macro distance, light intensity changes rapidly when subject distance changes. A flash set manually for one flower may overexpose an insect a few centimeters closer. Keep camera-to-subject and flash-to-subject geometry consistent, or use TTL with careful compensation and review.
Build the ambient frame first. Select shutter and ISO so the habitat remains visible at the desired darkness, then add diffused flash to the insect. If the background turns black, lengthen shutter time, raise ISO, open aperture within the depth limit, or bring background light closer. More flash power on the subject will not brighten distant foliage proportionally.
Large diffusion close to the subject softens reflections, but it can block the lens, strike plants, or cast its own shadow. Shape a compact diffuser around the working distance and test it from portrait and landscape orientation. Keep cables and brackets clear of the focus ring.
Protect iridescence, pale wings, and dark shells
Reflective insects create tiny highlights that can clip while average metering sees a dark scene. Decide which highlights are simple points and which carry texture. Use the histogram and channel warnings, then lower flash or change its angle before reducing the entire exposure.
Iridescent color changes with light and viewing angle. A bright frontal source can flatten it, while side light may reveal color but deepen shadows. Move the source around the subject instead of rotating or disturbing the insect. Make a no-flash reference to understand the natural hue.
Dark shells need shape, not indiscriminate shadow lifting. A broad side reflection or rim can define curvature. Raising every dark tone can make noise obvious and remove the low-key character. Expose enough for useful color, then edit non-destructively.
Find flicker and recycling errors in a burst
If brightness drops after the first frame, the flash may not have recycled. Lower output by moving it closer or opening the aperture, slow the burst, or use a flash designed for the requirement. Do not interpret alternating exposure as automatic metering failure until the ready state is checked.
If color or brightness varies under continuous LEDs, the light may pulse. Try a longer shutter that averages more of the cycle, use mechanical shutter, or change the source. The A7 IV's anti-flicker options work only in supported modes and conditions; verify their current limitations.
If a band stays in the same part of every frame, inspect the light and shutter interaction. If it moves or appears only after flash, test trigger timing and compatibility. A neutral background reveals the pattern more clearly than detailed foliage.
Turn field failures into a small correction log
After ingest, group frames by subject visit. Compare the intended eye, actual focus plane, shutter, aperture, flash state, and movement. imagic can locally process supported ARW files, assess sharpness and exposure, and group near-duplicates without deleting rejected originals. It is an efficient first comparison, not a diagnosis by itself.
Record one-line findings: background acquisition, depth too thin, subject motion, flash recycle, or reflective clipping. The tips and workflow guides offer related field methods, while the desktop page explains local culling, non-destructive edits, and JPEG or TIFF export.
A Sony A7 IV macro reset list
- Stabilize a test: prove the lens and processing on a static textured target.
- Find the plane: locate actual sharp detail before changing AF settings.
- Restrict the target: put a small AF area on the eye and use a limiter.
- Align the subject: gain useful depth through camera angle.
- Set motion control: choose shutter or flash duration for moving parts.
- Build the background: establish ambient exposure before adding flash.
- Test shutter and light: check rolling distortion, LED flicker, and recycling.
- Review by cause: retain one failure long enough to document the fix.
Check the lens, adapter, and front accessories
A macro lens with a loose mount, incompatible extension tube, or slightly rotating tripod collar can shift framing and focus between exposures. Inspect each connection and test electronic aperture control before entering the field. If an adapted lens behaves inconsistently, repeat the static reference with a native lens to isolate the body from the adapter path.
Remove an unnecessary protective filter when flare, low contrast, or doubled highlights appear. A close-up diopter changes focus range and optical performance, so evaluate it separately rather than stacking accessories during diagnosis. Clean the front element only after blowing away loose grit.
Record lens firmware and switch positions when a repeatable fault appears. Focus limiter, stabilization, AF/MF, and custom lens buttons can all change behavior even though the body menu looks unchanged.
Frequently asked questions
Why does the Sony A7 IV focus behind a small insect?
A broad AF area may select a higher-contrast leaf or stem. Use a small spot on the nearest eye, pre-focus near the working distance, and engage the lens limiter when available.
Should stabilization stay on for tripod macro?
Follow the exact Sony and lens guidance because behavior varies by combination. Make comparison frames on the actual tripod and shutter range rather than applying a universal rule.
Why is the flash-lit insect bright but the background black?
Flash falls off quickly near the subject and contributes little to a distant background. Increase the ambient contribution with shutter, ISO, aperture, or separate background light before adding more subject flash.