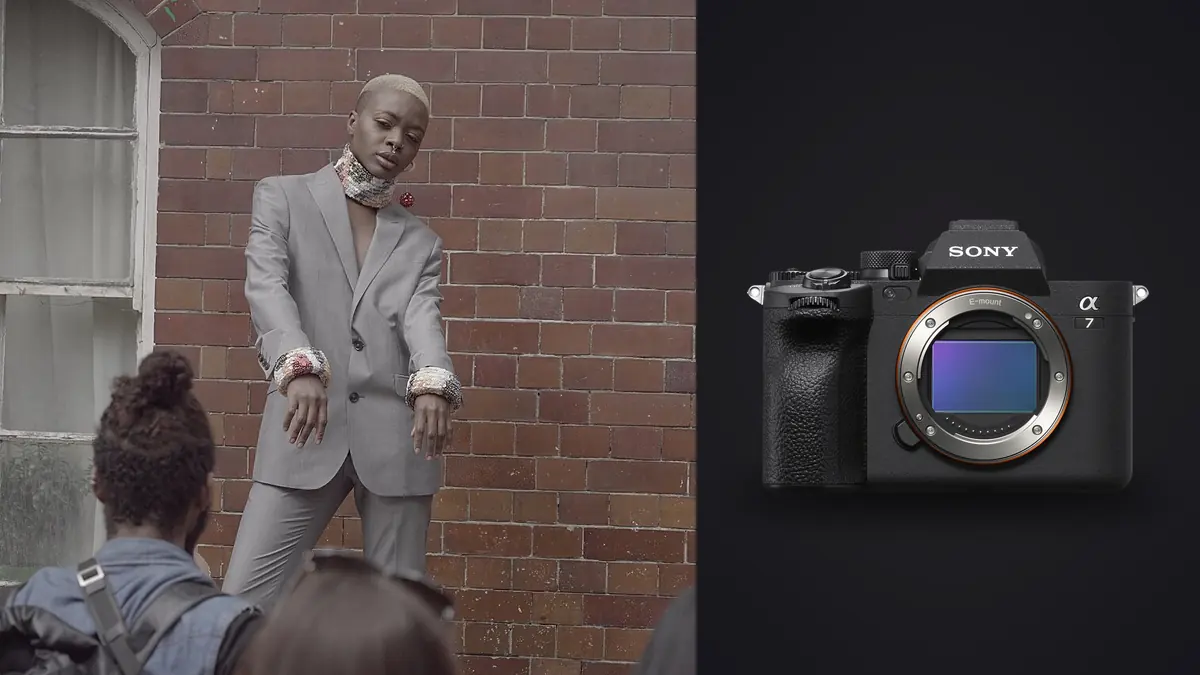
The Sony A7 IV combines a 33-megapixel full-frame sensor, subject-recognition autofocus, in-body stabilization, up to 10-frame-per-second continuous shooting in supported settings, and two media slots. For a commercial fashion lookbook, those capabilities should produce consistency rather than volume. The assignment needs every garment represented accurately, every required angle covered, and every lighting group matched.
An advanced method begins by converting the art direction into measurable capture rules. It then gives autofocus a clear product priority, controls movement around repeatable marks, and locks color before the first wardrobe run. The camera is flexible enough to encourage improvisation; the checklist keeps that flexibility from becoming drift.
Build the set around working distance
This Lens and Location Guide begins with the dimensions of the lookbook set. Mark the full-length subject position, camera line, closest safe light stand, backdrop edge, and space needed for walking poses before choosing focal length. A moderate portrait lens can preserve natural proportions when the room provides enough camera distance; a wider lens may be necessary in a compact set but makes edge placement and viewpoint more critical. Windows, glossy floors, mirrors, low ceilings, and mixed practical lights all influence lens angle and flag placement. Keep the same camera distance within each framing family so garment proportions remain comparable even when the art direction changes.
Turn the brief into a repeatable frame system
List the non-negotiable views for every look: full front, three-quarter, back, movement, portrait, and any construction or accessory detail. Add horizontal and vertical requirements. If the client also wants editorial images, separate them from catalog coverage so a dramatic crop is never mistaken for the only clear view of a garment.
Define camera height, subject mark, crop boundaries, background value, and lighting direction for each frame family. Photograph an approved reference and keep it visible. A written note should include focal length and white balance as well as exposure; those less obvious choices often drift after a lens or set change.
Build variety through pose, gaze, layer, and orientation while preserving the underlying system. Consistency does not mean repeating the same frame. It means that changes are intentional and the viewer can compare products without fighting unrelated shifts in perspective or color.
Use 33 megapixels as framing latitude, not a substitute for coverage
The A7 IV file offers useful detail for print and alternate crops. It should not be expected to generate every layout from one loose horizontal. Photograph required orientations deliberately, leaving known text or bleed space when the layout calls for it.
Moderate cropping can refine a full-length frame into a three-quarter view, but it does not change camera perspective. If hands or shoes look exaggerated because the camera was too close with a wide lens, fewer pixels cannot repair the geometry. Set distance and focal length first.
Confirm final pixel dimensions and the most severe expected crop before production. Then establish a minimum acceptable file size for delivery. This prevents a visually appealing but over-cropped frame from entering the approved set without enough resolution for its use.
Give autofocus a commercial priority
Real-time eye autofocus is a strong baseline for portraits and movement, but the eye is not always the required sharp point. A bag held toward camera, a textured collar, or a shoe may sit forward of the face. Switch to a controlled point when the product detail leads.
Use AF-C for walking and turns. Begin acquisition before the model moves and ask for a repeatable endpoint. In a group or a mirrored set, broad recognition can choose another face or a reflection. Start tracking from a defined area over the intended subject.
Review at useful magnification after a distance, lens, or aperture change. Do not wait until the end of a wardrobe run. The difference between eye focus and eyelash or hair focus can hide on the fit-to-screen preview while remaining visible in a large crop.
Design movement around a path and peak
Give movement a start mark, pace, action, and stop. A two-step walk into a shoulder turn can be repeated while the stylist adjusts a coat or the photographer refines timing. Continuous improvisation makes it difficult to compare focus and garment position.
Choose shutter speed for the design. Crisp e-commerce movement needs hands, face, and hems readable. Intentional blur needs a stable visual anchor and a background that supports motion. In-body stabilization reduces camera shake; it does not freeze the model.
Use short bursts around the peak rather than the full path. The maximum A7 IV frame rate depends on RAW compression, drive, focus, and exposure settings. Verify the selected format, then time sequences so the buffer and flash are ready for the frame that matters.
Control mechanical and electronic shutter tradeoffs
Mechanical shutter is the conservative baseline for fast model motion, strobes, and difficult LED lighting. Electronic shutter is quiet but can distort rapid lateral movement because the sensor is read over time. Straight set edges and swinging accessories make skew visible.
Continuous LEDs can pulse and create bands or frame-to-frame brightness changes. Photograph several frames at the planned shutter speed under the actual dimming level. Sony's flicker-related controls can help in supported conditions, but a small shutter adjustment or a different light-output setting may still be necessary.
Store shutter behavior with the associated custom shooting state. A silent setting left active after a quiet portrait can produce an unexpected artifact when the next look uses a fast fan or strobe.
Build light ratios around garment reflectance
A pale matte coat, black velvet, sequins, and satin respond differently to the same source. Establish the key light on the most difficult required material, then use fill, flags, angle, and pose to preserve both the garment and skin. Raising global exposure cannot solve a ratio that clips reflective fabric while leaving the face dark.
Use broad light for gradual skin and fabric transitions. Add an accent only when it performs a named job such as separating dark fabric from the background. Record source height, distance, modifier, and power after approval. A lighting diagram without physical distance is difficult to rebuild.
Check flash recycle if alternate frames darken. Lower power and move the source, raise ISO modestly, or slow the rhythm. Do not compensate for an unready flash by changing camera exposure, because the next fully recycled frame will be wrong.
Keep lens rendering consistent by frame family
A moderate normal or short-telephoto lens creates stable body proportions for catalog work. A wider lens can add editorial energy, but close placement stretches near limbs and frame edges. Assign focal lengths to frame families instead of zooming randomly through each look.
Mark camera position and height. A small height change alters leg length, floor area, and shoulder relationship. When shooting handheld, use removable floor marks as a reference even if the camera moves for creative variants.
Correct known lens distortion in the RAW workflow and understand the crop it causes. If a profile trims the edge, leave margin at capture. Check that a garment hem or shoe does not disappear only after correction.
Lock color and inspect difficult textiles
Set fixed white balance for each lighting family and photograph a neutral plus color reference in the subject light. Auto white balance can change when a saturated garment fills the frame. That drift complicates comparison and can make a product look like several colors across one page.
Fine checks, mesh, and woven stripes may create aliasing or moire at particular distances. Test representative textiles at the intended crop. If interference appears, alter camera distance, focal length, aperture, or garment angle slightly before photographing every required view.
RAW software can reduce local moire, but broad correction can remove real weave and color. Apply it only where needed and inspect the resized delivery as well as the full file. Downsampling may reveal or conceal a pattern differently.
Configure media and controls for production continuity
The first A7 IV slot accepts CFexpress Type A or SD media, while the second uses SD. Configure backup, overflow, or RAW and JPEG separation deliberately. Simultaneous RAW recording adds protection but requires both cards to support the planned shooting behavior.
Map autofocus-area selection, magnified review, and custom modes to reachable controls. Lock the exposure-compensation dial if it is often bumped. Use one custom state for static catalog frames and another for movement, storing drive, shutter, focus, and exposure together.
Synchronize time across bodies, label card pairs, and make verified copies before formatting. A lookbook may be reproducible in theory, but wardrobe availability, crew, and light make a lost run expensive to rebuild.
Review each look before it leaves the set
Check mandatory views, focus on face and product detail, garment closures, labels, lint, wrinkles, jewelry position, crop margin, background, and one safe expression. Compare the first and last frame for exposure and color drift.
imagic can locally assess sharpness, exposure, closed eyes, composition, and duplicate groups. Use that technical shortlist after ingest, then verify brand coverage and true product color manually. Its adjustments are non-destructive and JPEG or TIFF exports follow final approval.
For local review, see the desktop workflow. Related production methods appear under Guides.
Coordinate stylist checkpoints with the capture sequence
High-resolution files make small continuity errors visible, but the camera should not become the only inspection point. Define a pause after the safe front and three-quarter frames so the stylist can check closures, collar height, pocket shape, hem, jewelry orientation, lint, and whether a label is meant to show. Make the check before adding movement, when the garment is easiest to reset.
Assign responsibility clearly. The photographer watches focus, framing, light, and visible edge problems; the stylist owns garment construction and continuity; the art director confirms the frame satisfies the brief. Shared responsibility without named decisions often leaves everyone assuming someone else saw the twisted strap.
Keep one approved reference visible when a look returns after a break. Compare sleeve position, buttoning, tuck, accessories, and background, then make a fresh color-reference frame if the light changed. This record lets the 33-megapixel detail serve product accuracy instead of merely revealing an error after the set has been dismantled.
Advanced A7 IV lookbook checklist
- Translate the brief into required views, crops, orientations, color, and movement rules.
- Record camera height, focal length, subject mark, light positions, and white balance.
- Choose eye focus or product-detail focus for each frame family.
- Test mechanical and electronic shutter under the actual LEDs or strobes.
- Give movement a repeatable path and use short bursts around the peak.
- Photograph neutral and color references after every lighting change.
- Inspect repeating textiles at full detail and final output size.
- Verify dual-card behavior and make two copies before media reuse.
- Complete the coverage checklist before changing wardrobe or dismantling light.
Frequently asked questions
Is 33 megapixels enough for a fashion lookbook?
It is enough for many print and digital uses when framing and focus are accurate. Confirm final output and crop requirements rather than relying on a generic resolution label.
Should eye autofocus stay active for every frame?
No. Use it when the face leads, and place focus on the product when a nearer garment detail or accessory is commercially important.
Can electronic shutter be used with a studio fan?
It can, but fast fabric and hair movement may reveal skew, and LEDs may band. Test the exact movement and lighting, with mechanical shutter ready as an alternative.
Why do consecutive flash frames vary?
The flash may not have fully recycled. Reduce power, move the source closer, raise ISO carefully, or slow the sequence before changing the established camera exposure.