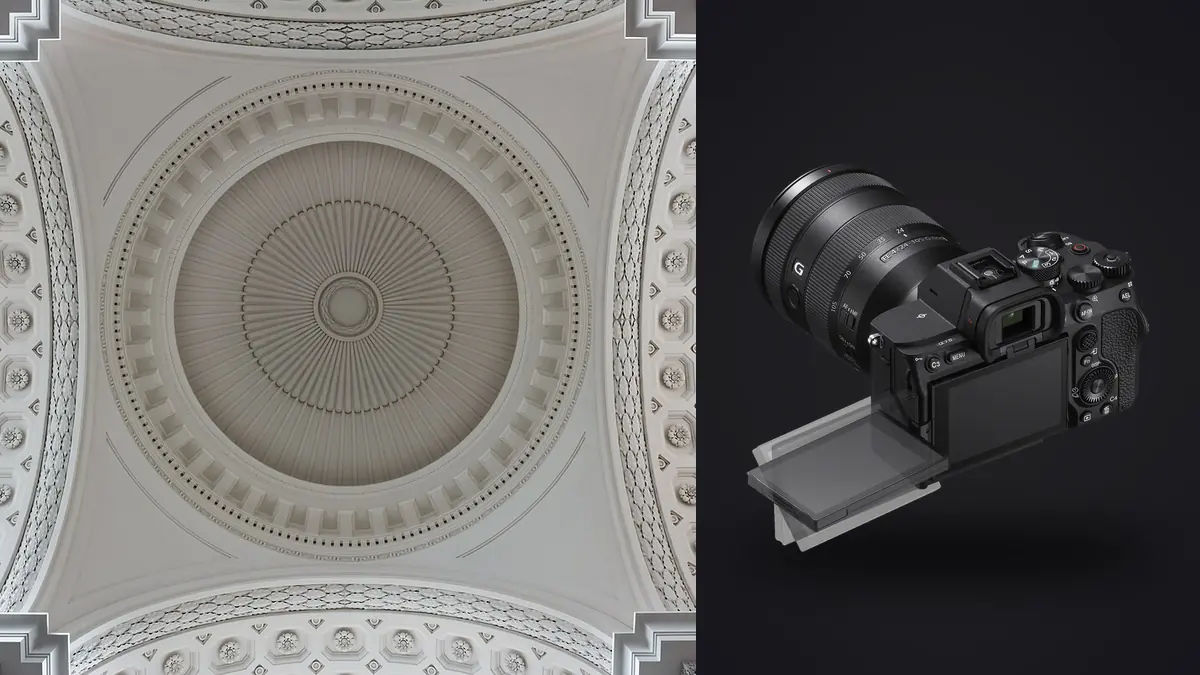
I picked up the A7 IV about eighteen months ago mainly for portrait and event work, and it took a call from a kitchen designer who wanted "clean, bright, magazine-style" shots of six finished projects before I actually pointed it at a room with a window in it. Interiors are a different animal from almost everything else you shoot with a full-frame body. The subject doesn't move, the light is often terrible in three directions at once, and the client will zoom in on the ceiling corner at 400% looking for chromatic fringing you didn't notice on location. This is what I've learned running the A7 IV through that gauntlet on real jobs, not a spec sheet rewrite.
What the sensor actually buys you in a contrasty room
The 33-megapixel sensor in the A7 IV isn't the headline feature for interiors, the dynamic range is. A living room with a wall of west-facing windows at 4pm can easily run twelve stops between the sky outside and the shadowed underside of a sofa. I've shot that scene in a single raw file and pulled the shadows up three stops in post without the noise turning to mush, which is more forgiving than the A7 III I was using before it. It's still not a substitute for proper bracketing on the worst rooms (bathrooms with one small window and a dark vanity are where a single-frame pull starts to show its limits), but for maybe seventy percent of rooms I shoot now, one well-exposed raw frame at base ISO does the job with no blending needed. That said, I don't trust a single frame on anything with visible sky through glass. Blown windows read as lazy to clients even if nobody will ever print the image large enough to notice. I bracket those rooms regardless of how forgiving the sensor claims to be.
Lenses that actually hold up in the corners
Interior work punishes lens corners in a way portraits never do, because the corners are full of straight lines (door frames, ceiling lines, cabinet edges) that make any softening or distortion obvious immediately. My main lens on the A7 IV for this work is the 16-35mm f/2.8 GM II. Wide open corner sharpness at 16mm used to be my complaint with the original GM, and the Mark II is genuinely better there, though I still stop down to f/8 for anything with straight architectural lines running to the frame edge. For genuinely tight spaces (small bathrooms, narrow hallways, stairwells) I've been renting the Laowa 12mm f/2.8 Zero-D more than I expected to. It's manual focus only, which is a non-issue on a tripod with the rear screen zoomed in, and the "zero distortion" claim mostly holds up on straight verticals, which saves real time in post compared to correcting a rectilinear ultra-wide by hand. I haven't found a native Sony tilt-shift worth the money for this work; when a shot needs true perspective control, like a two-story stairwell, I'd rather rent a Canon TS-E and adapt it than buy into a system lens I'd use four times a year.
A bracketing routine that survives a full house
The mistake I made early on was treating every room the same way and bracketing everything at 5 frames, 1 stop apart, out of habit. That's overkill for a bedroom with even light and it's not enough for a great room with a wall of glass. I've settled into a routine based on the contrast range in the room, not a fixed number.
| Room / lighting situation | ISO | Aperture | Bracket set | Notes |
|---|---|---|---|---|
| Bedroom, curtains closed or diffused light | 100 | f/8 | Single frame | Dynamic range rarely exceeds 8 stops, one raw pull is enough |
| Living room, large windows, midday | 100 | f/9 | 3 frames, 2 stops apart | Base, -2 for window detail, +2 for interior shadow |
| Kitchen with mixed daylight and under-cabinet LEDs | 200 | f/8 | 5 frames, 1.3 stops apart | Extra frames because the light sources have different color temps, not just different brightness |
| Bathroom, single small window | 400 | f/6.3 | 5 frames, 1.7 stops apart | Widest aperture of the set because ceiling light is usually weak and ISO 400 stays clean on this sensor |
| Stairwell / two-story foyer | 100 | f/10 | 3 exposure brackets x 2 focus positions | Focus bracketing needed because depth of field at f/10 still can't cover a 4-meter subject distance range |
The stairwell row is the one people underestimate. Even at f/10 on a 16mm lens, a shot with a newel post four feet from the camera and a chandelier fifteen feet up can't be held sharp front to back on a single focus plane. I run a short focus bracket (usually two positions is enough at that focal length) stacked with the exposure bracket, which means a single stairwell shot can generate six to ten raw files before I even move to the next angle.
Stabilization and when the tripod actually matters
In-body stabilization on the A7 IV is rated at 5.5 stops and for handheld work it's genuinely good, I've held usable shots at a quarter second in a dim hallway when I didn't want to set up a tripod for a thirty-second walkthrough shot. But for the final images of an interior, I'm on a tripod for nearly all of them anyway, and not for stabilization reasons. It's about repeatable framing across a bracket sequence and keeping vertical lines dead straight without hand-holding drift between frames. IBIS solves a problem I don't usually have on this type of shoot. Where it earns its keep is the walkthrough and detail shots agents want for social content, quick handheld grabs where setting a tripod would slow down a shoot that's already running long.
Getting white balance right when three light sources disagree
This is the part of interior work that nobody warns you about until you've been burned by it. A kitchen might have daylight through a window (roughly 5500K), warm under-cabinet LEDs (2700K), and cool overhead recessed lighting (4000K) all contributing to the same frame. The A7 IV's auto white balance does a reasonable job of splitting the difference, but "reasonable" isn't good enough when a client's white kitchen counters read yellow-green in the final image. My workaround is boring but reliable: I shoot a gray card under the dominant light source in each room, set a custom white balance off it, and accept that some secondary light sources will render slightly warm or cool relative to the dominant one. Trying to neutralize every light source in a mixed room produces flat, lifeless color. Letting the warm lamp in the corner stay warm while the window light reads clean and neutral looks more like how the room actually feels when you walk into it.
Dealing with the file count once you're back at the desk
A single-family home shoot, twelve to fifteen rooms, brackets on roughly half of them, focus stacks on the stairwell and any room with close foreground furniture, easily produces four hundred to six hundred raw files by the time I'm done. That's not an exaggeration, I counted on my last one. Sorting through that by eye, room by room, used to eat close to two hours before I'd even opened an editor. This is where I lean on imagic now instead of clicking through folders manually. It runs the sharpness scoring locally on the machine, so when I've got a five-frame focus bracket of the same stairwell angle, it flags which frame actually nailed focus on the newel post versus which one drifted, instead of me squinting at four nearly identical thumbnails at 100% zoom. It also clusters the bracket sets and burst sequences together automatically, which matters a lot on a shoot where half your files are near-duplicates by design rather than by accident. Everything runs on the laptop itself, nothing gets uploaded anywhere, which matters more than you might expect if you ever shoot a listing under an NDA before the public announcement. The other piece that's saved actual editing time is the apply_my_style preset feature. I trained it on a batch of my own finished interior edits (the ones I was actually happy with, not my first drafts) and now a fresh set of raw files gets a starting grade that already leans toward my own color and contrast habits rather than a generic preset built for someone else's taste. I still adjust individual frames, but I'm adjusting from something closer to finished instead of from a flat raw file every time. If you want the fuller picture of how the culling side works before you commit to a workflow change, this breakdown of how AI photo culling works covers the mechanics in more depth than I will here.
Where the A7 IV actually falls short for this work
I'll be honest about the limits, because most gear write-ups skip this part. The rear screen, while fully articulating, isn't as bright as I'd like for judging exposure outdoors on a sunny exterior shot, I still chimp with a loupe or duck into shade to check a histogram properly. The menu system, even after Sony's cleanup a few generations back, still buries the focus bracketing settings deeper than they should be for a feature I use on nearly every shoot. And at 33 megapixels, cropping a wide shot down to a tighter composition in post (which you end up wanting constantly, "can I get more of the fireplace") eats into resolution faster than I'd like compared to a higher-megapixel body. None of these are dealbreakers, but they're the honest cost of the trade-offs Sony made putting this camera in a hybrid stills/video body rather than a pure resolution monster.
Frequently Asked Questions
Is the Sony A7 IV enough camera for professional real estate and architectural work, or do I need something higher resolution?
For most listing photography and portfolio work, yes, 33 megapixels is plenty, especially once you factor in that most delivery is web-sized or modest print sizes. Where I'd consider stepping up is large-format architectural print work for a design firm's own marketing, where a 50+ megapixel body gives more room to crop and print oversized without visible softening.
Do I need a tilt-shift lens for interior work, or is bracketed focus stacking on the A7 IV good enough?
For the vast majority of rooms, focus stacking and stopping down handles depth of field fine and skips the cost of a dedicated tilt-shift lens. Where a tilt-shift genuinely earns its keep is correcting converging verticals in-camera on tall spaces like stairwells or double-height living rooms, which saves you from stretching and skewing the file in post and losing resolution at the edges in the process.
How many bracketed exposures should I actually shoot per room?
It depends on the contrast range, not a fixed rule. A shaded bedroom might need one frame. A great room with floor-to-ceiling glass at midday might need five. I'd rather shoot one extra bracket I don't use than come home short a frame and have to reschedule a return visit, which has happened to me exactly once and was enough to change my habits permanently.
What's the fastest way to get through hundreds of bracketed files without losing the sharpest frame in each set?
Automated sharpness scoring and burst/bracket clustering are the two things that actually move the needle here, since manual review at 100% zoom across five nearly-identical frames is where most of the wasted time hides. I've also found tightening the shoot-side habits helps just as much as the software side; these workflow tips cover some of the on-location habits that cut down the pile before you even get to a computer.