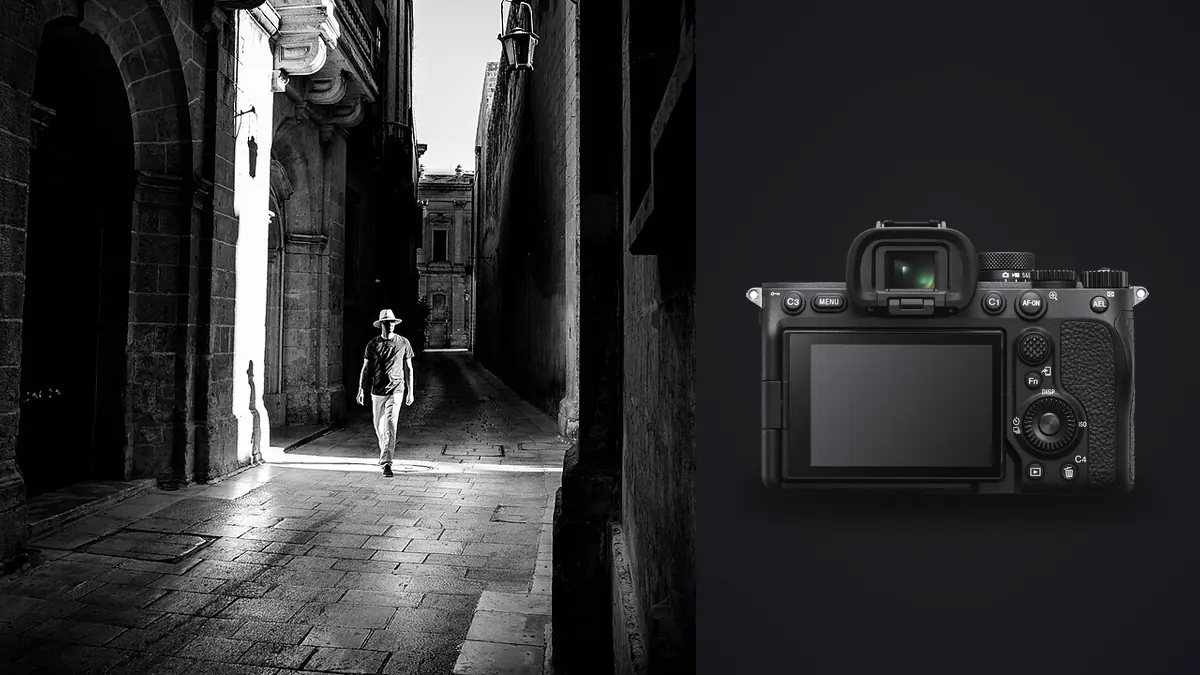
A strong Sony A7 IV street setup should disappear into the act of observing. The camera offers many autofocus areas, subject recognition, custom buttons, exposure modes, and shutter options, but using all of them at once creates hesitation. A documentary photographer needs a small set of controls that respond to changing distance, light, and subject behavior without opening a menu.
The setup below uses three operating states: moving people, a fixed zone, and quiet static scenes. It also preserves a clear path back to manual exposure and mechanical shutter when automation or artificial light becomes unreliable. The aim is fluency, not a universal settings recipe.
Build one baseline around moving people
Set continuous autofocus, human detection, and a flexible area that can follow a person without searching the whole frame. A medium zone or tracking area works well when the subject is separated from clutter. Keep the focus start point visible and confirm it lands on the intended person.
Use manual exposure with Auto ISO when shutter and aperture should remain fixed while light changes. Choose shutter speed for walking motion and aperture for the desired depth. Set an upper ISO from files processed at final output size, not from a generic chart.
Choose a moderate continuous drive for short changes in expression or stride. Maximum rate is rarely necessary for ordinary street movement. A lower rate keeps groups readable and reduces accidental file volume.
Assign a temporary small focus area
Busy scenes can pull broad tracking toward signs, railings, or a closer face. Assign one button to recall a small spot or compact zone while held. Place it on the precise subject, acquire focus, and release back to the normal moving-person setup.
For a static detail, switch to single autofocus if it gives clearer confirmation. The goal is not loyalty to one mode. It is direct access to the mode that matches the subject. Label the control map in a phone note until it becomes automatic.
If the camera repeatedly selects the wrong person in a group, reduce the active area and initiate tracking on the intended face. Subject recognition can identify candidates, but the photographer still chooses who carries the story.
Create a zone-focus fallback
Autofocus can hesitate through glass, in low contrast, or when a subject enters too quickly. Set a manual focus distance for a known sidewalk, doorway, or patch of light. Use enough depth of field to cover a practical zone and wait for the subject to enter.
Focus peaking can help establish the area, but it is not a precise depth measurement. Magnify a static reference at the intended distance and make a test. Traditional depth scales can be generous when a 33-megapixel file is inspected closely.
Assign magnification or manual-focus assist to an accessible control. Zone focus works best with a moderate wide lens and some distance. It becomes unforgiving with a fast aperture used close to the subject.
Put exposure compensation under one finger
Backlight, bright walls, dark coats, reflective windows, and night signs can shift automatic exposure. Keep compensation reachable without changing grip. Use it to protect the important face or highlight, then return it to baseline when the scene changes.
Enable the histogram or zebra warning in a way that does not obscure composition. Check pale skin, white clothing, and signs that need readable detail. Do not judge solely from screen brightness, which changes with ambient conditions.
When the light on the subject is stable but the background changes, switch to full manual exposure. This is common when people move through the same patch of sunlight against different storefronts. Manual settings stop the background from controlling the subject.
Choose aperture for the documentary layer
A wide aperture isolates a subject but makes precise tracking and multi-person scenes harder. A moderate aperture preserves relationships among people, signs, and setting. Choose depth according to what the photograph needs to explain, not because one look is associated with street photography.
At close distance, focus on the near important eye or object and watch overlap. A hand, phone, or railing can enter the plane before the face. Change position or focus area rather than expecting subject detection to infer the narrative.
At night, opening the aperture may be preferable to lowering shutter speed when people move. Stabilization helps camera motion but cannot freeze a pedestrian. Accepting a higher ISO can preserve the decisive gesture.
Configure shutter modes for the environment
Silent electronic shutter can reduce attention in quiet places, but the A7 IV's sensor readout can distort fast movement or show bands under artificial lights. Test it around LEDs, transit displays, and indoor fixtures before using it for an important sequence.
Mechanical shutter is the reliable baseline when motion geometry and light behavior are uncertain. The sound may be acceptable in most public environments. Electronic first-curtain can have its own behavior at fast apertures and shutter speeds, so test the chosen mode with the lens.
Assign shutter-type access to a menu shortcut or custom set rather than searching. A documentary scene can move from daylight street to fluorescent interior quickly. The alternate mode should be one action away.
Use custom modes for repeatable transitions
Save one custom mode for daylight movement: continuous AF, human detection, manual plus Auto ISO, moderate burst, and the preferred shutter. Save another for low-light static scenes with single frame, slower shutter, and a small area. Record exactly which settings each mode recalls.
A custom mode is a baseline, not a lock. Check the top-level exposure and focus indicators after recall. Cameras can retain or discard temporary changes differently depending on configuration, and a firmware update or reset may alter behavior.
Practice switching without looking. Photograph a moving subject, a static detail, and a pre-focused zone in sequence. If the control map causes hesitation, remove an option. Simplicity is an operational feature.
Set buttons around the grip
Keep AF-ON for focus activation if back-button focus suits the photographer. Assign another reachable control to the alternate focus area. Place exposure compensation, ISO behavior, and shutter mode where they can be changed with minimal screen use.
Avoid assigning two nearby buttons to conceptually similar modes that feel identical under gloves. Each control should answer a clear situation: moving person, precise target, or fixed zone. The layout should still be usable with the camera vertical.
Disable touch functions that trigger accidental focus when the screen brushes clothing, or configure them intentionally for waist-level work. The fully articulating screen supports unusual angles but can make casual touch input easier.
Choose one lens as the default
A compact 35mm lens creates an environmental full-frame view and manageable depth. A 50mm lens offers tighter selection and more working distance. A small standard zoom supports assignments that move from wide context to detail. Choose one as the default based on the project.
Carrying several lenses can slow observation and expose the sensor during street changes. Add a second focal length only when it serves a defined visual role. A consistent lens can also give a long documentary project a coherent distance and perspective.
Use a hood for flare control and physical protection, but keep the kit compact. Stabilization does not remove the need for suitable shutter speed when people move. Lens speed, body balance, and minimum focus distance matter more than a long feature list.
Configure display and power for observation
Remove unused overlays from the finder while retaining shutter, aperture, ISO, compensation, battery, card, and focus area. A clear view makes edge entries and relationships easier to see. Keep the level available through a toggle rather than permanently covering the scene.
Set review to manual or brief enough that it does not interrupt observation. Check after a lighting change or important sequence, then return attention to the street. Magnify the intended focus detail rather than judging from a full thumbnail.
Carry a prepared spare battery and reliable cards. Turn off unnecessary radios when not used, and confirm clock accuracy for documentary sequence. Dual card slots can support redundancy, but verify the routing instead of assuming.
Keep ethics inside the operating setup
Fast controls do not remove responsibility. Consider vulnerability, private moments, children, medical situations, protests, and whether a photograph could expose a routine or address. Law varies by location, and ethical publication can demand more restraint than legal capture.
Do not use silent shutter to obtain an image that should not be made. Quiet operation is for minimizing disruption, not bypassing consent or boundaries. If a person objects and the situation permits, respond calmly according to the project's policy and local law.
Record factual context and distinguish observation from inference. A technically efficient camera should create more attention for the situation, not less.
Review the setup through actual files
After a practice walk, group images by focus method and shutter type. Inspect whether misses came from the active area, subject motion, camera motion, or banding. Change one control assignment and repeat. A short evidence loop builds a personal setup faster than copying a menu list.
On Windows or macOS, imagic can score sharpness, exposure, closed eyes, and composition locally while grouping duplicate or burst frames. Use it to navigate technical candidates, then make documentary and ethical selections manually. Photos stay on the computer.
Store the successful setup note with the project and use non-destructive edits through JPEG or TIFF export. More practical systems are available in the workflow and editing guides.
Run a street setup check
- Confirm moving-person and precise-target focus controls.
- Set shutter, aperture, Auto ISO range, and compensation.
- Choose mechanical or tested silent shutter.
- Verify drive rate, card routing, battery, and clock.
- Set the default lens and manual focus zone.
- Clear the display and disable accidental touch actions.
- Make one movement and one artificial-light test.
Repeat the short check after entering a different lighting environment. The purpose is to preserve attention for the scene while the camera remains predictable.
After the walk, note which custom control was never used and which change still required a menu. Remove the unused assignment and promote the recurring change to direct access. A street setup improves through fewer, clearer actions rather than accumulating every available option.
Frequently asked questions
Which autofocus area is best for every street situation?
None. Use a flexible tracking area for separated moving people and a small recalled area for clutter or precise targets. Keep both directly accessible.
Should the Sony A7 IV always use silent shutter on the street?
No. Electronic shutter can show banding under artificial light and distortion with fast motion. Test the scene and use mechanical shutter when it is more dependable.
Is Auto ISO suitable for documentary work?
Yes when shutter and aperture need to remain fixed across changing light. Set sensible limits, keep compensation accessible, and switch to full manual exposure when subject light is stable.