Applying one look to a whole shoot sounds simple until the shoot spans more than one lighting condition, at which point the same preset that looked great on the first ten frames starts producing muddy shadows or blown highlights on the next fifty. Here is how to apply a preset to multiple photos at once without that breaking, using free methods.
The Basic Batch Application Workflow
Most RAW editors, including free ones, support some version of this: edit one representative photo to the look you want, save that set of adjustments as a preset or style, select the rest of the shoot, and apply the saved preset to the whole selection in one action. This is fundamentally different from re-editing each photo individually, and it is what makes a 200-photo shoot manageable in the time it takes to properly edit five.
When One Look Breaks Across Mixed Light
A preset built around a specific exposure and white balance will not automatically adapt to a frame shot under different lighting. The classic failure: a preset tuned for warm, golden-hour outdoor light gets applied to an indoor, tungsten-lit frame and the result looks orange and overexposed, or a preset tuned for bright daylight gets applied to a dim indoor frame and crushes the shadows to near-black. This is not a bug in the preset, it is a mismatch between what the preset assumes about the source exposure and what the frame actually contains. Presets built purely around style (color grading, contrast curve, grain) tend to survive lighting changes better than presets that also bake in specific exposure or white balance corrections meant for one scene.
A Split-Batch Strategy by Scene
The practical fix is grouping frames by lighting condition before applying anything, then applying (and if needed, slightly adjusting) the preset per group rather than across the whole shoot:
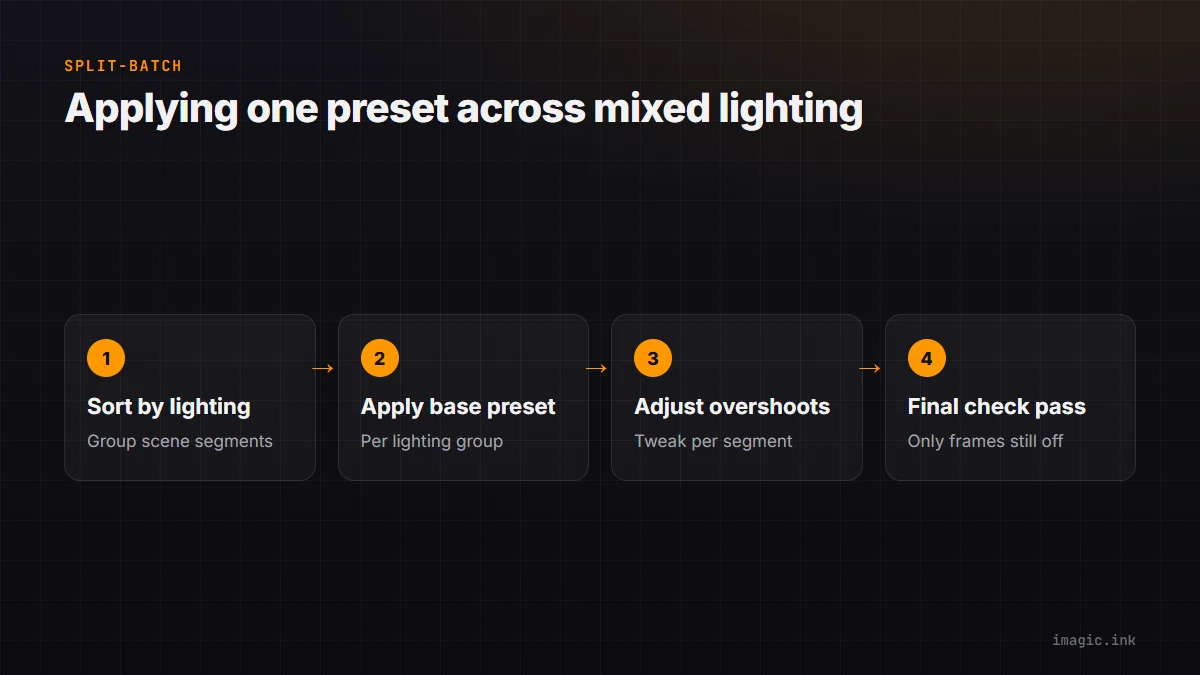
- Sort the shoot into lighting segments: outdoor daylight, indoor ambient, flash-lit, golden hour, and so on
- Apply the base preset to each segment separately, since exposure and white balance starting points differ between them
- Where the base preset overshoots on a segment (too warm, too dark), adjust the preset's exposure or white balance offset for that segment specifically, then reapply to the whole segment rather than each frame
- Do a final individual pass only on frames that still look wrong after the segment-level correction
This keeps the process closer to five decisions (one per lighting segment) than two hundred.
A Consistency QC Pass
Before delivering a batch-edited shoot, it is worth a quick scroll-through at thumbnail size specifically looking for outliers, a frame that looks noticeably warmer, darker, or more saturated than its neighbors. This catches the frames where a preset genuinely did not fit the source exposure, which are easy to miss when reviewing one frame at a time but obvious in a grid view where the mismatch stands out against consistent neighbors.
Where imagic Fits
imagic supports saving a style from an edited photo and applying it across a batch selection, with the flexibility to apply different styles to different segments of a shoot in the same session. Processing is local on Windows or Mac. See Batch Photo Editing Without a Subscription for the broader batch workflow this fits into.
Frequently asked questions
Can I apply different presets to different parts of the same shoot?
Yes, and for mixed-lighting shoots this is usually necessary. Split the shoot by lighting condition first, then apply the most appropriate preset or adjusted variant to each group.
Why does a preset that looked great on one photo look wrong on another from the same shoot?
Usually a lighting or exposure mismatch: the preset's baked-in adjustments were tuned for the first photo's specific exposure and white balance, which the second photo does not share.
Is it free to batch apply presets, or does that require paid software?
Several free and low-cost tools support batch preset application, imagic's 7-day free trial included. The feature itself is common; the differentiator is usually editing quality and speed at volume.
Try imagic free for 7 days, no card required, batch preset application included. Start the free trial.