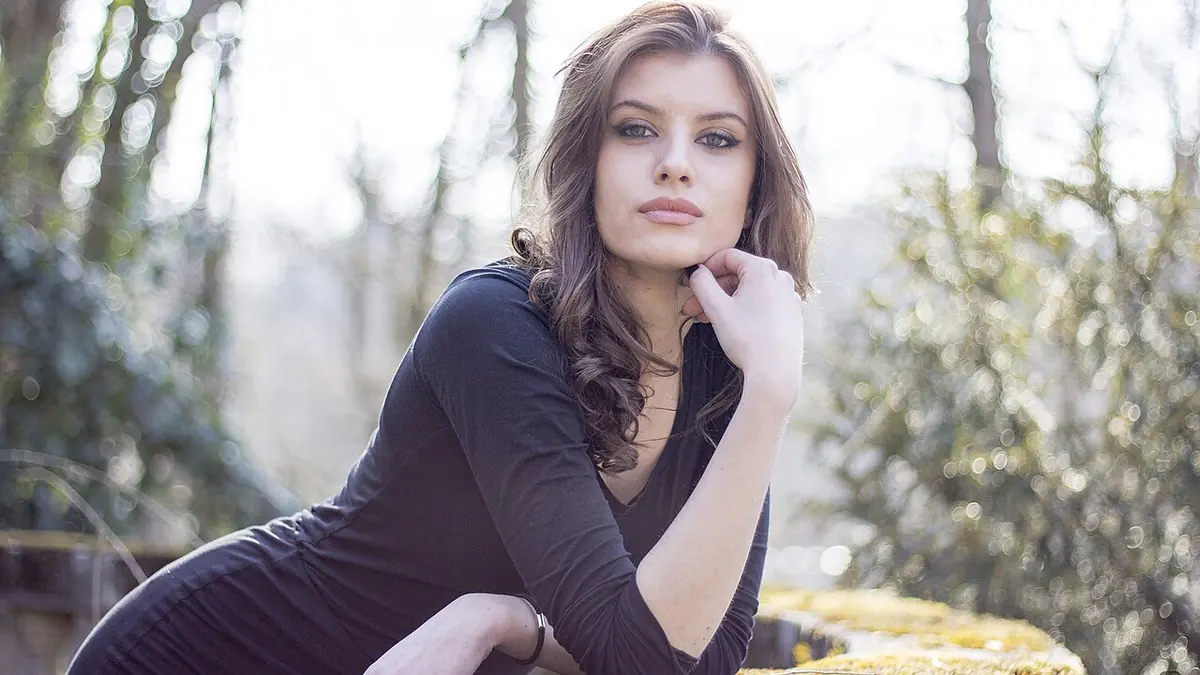
A blink is the first thing most photographers cull for, and the hardest thing for culling software to see. A sharp, well exposed portrait with one eye half shut still looks like a good photo to a sharpness meter. Since version 1.4.5, imagic looks at each eye of your main subject separately, decides whether it is open, half-closed or closed, marks the frame down when it is not, and tells you which eye it was. This guide shows where to see it and what to do with it.
What the eye check looks at
When imagic analyses a photo with faces in it, it takes the largest face in the frame as the main subject and measures both of that person's eyes. Each eye gets one of three states: open, half-closed or closed. Two signals decide it: the shape of the eyelids (how far apart the upper and lower lid are compared with the width of the eye) and a small blink detector that tells a smile squint, where the pupil is still visible, from a real blink, where the upper lid comes down over it.
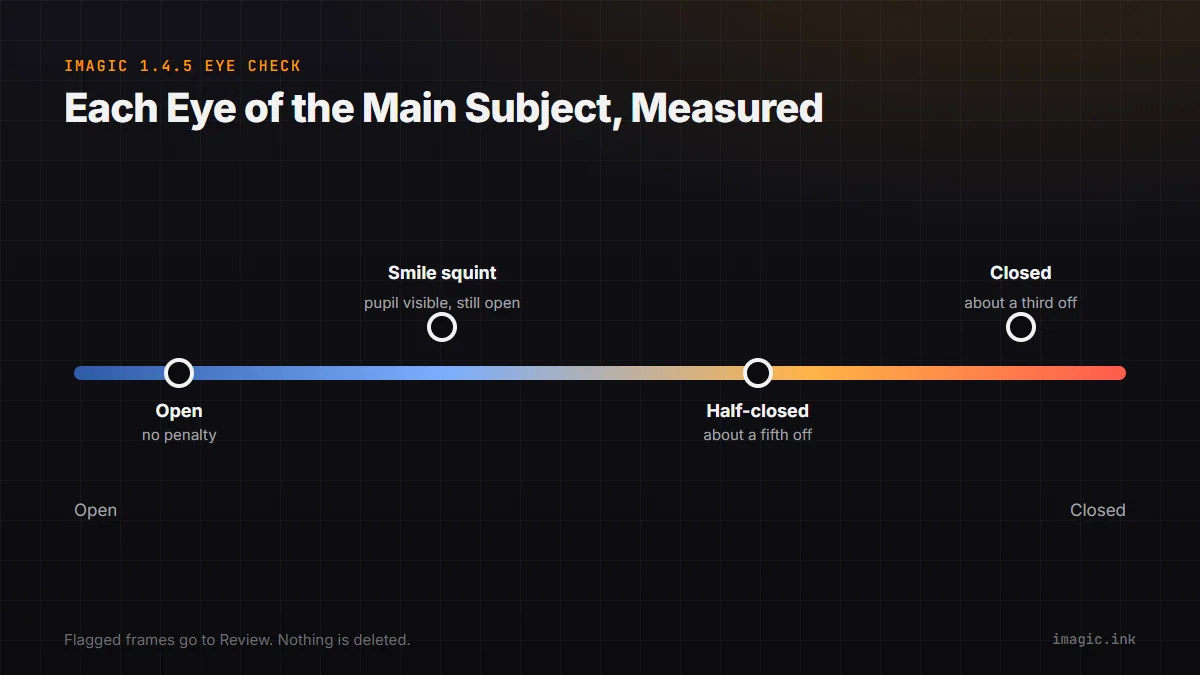
Left and right are the subject's own, not the frame's, so "Left eye closed" means the eye on the right side of your photo. If the head is turned far enough that the far eye cannot be judged, imagic measures the near eye only and says so. If the face is too small or the measurement fails, the check says nothing at all rather than guess.
It all runs on your computer. The check uses a 3.6 MB face landmark model that imagic downloads once, the first time it needs it, and verifies before use. Your photos never leave the machine.
Step 1: Analyse the shoot as usual
There is nothing to switch on. Import the shoot, run the Analyse step, and the eye check runs as part of it, on every licence tier and on the free trial. The one condition is the Subject setting under File > Settings, AI Culling tab. On People: faces count toward the score (the default) faces and eyes are checked. On Action and sports: ignore faces face detection is skipped entirely, so there is no eye check either. That is deliberate: an athlete mid-move is usually turned away or squinting, and the Action mode guide explains why sports culling leans on sharpness and pose instead.
Step 2: See which frames it flagged
On the Review & Cull step, every analysed tile shows a small bar per metric. Photos where the main subject's eyes could be measured have an Eyes bar: green for open eyes, turning orange and then red as the worst eye closes. For the reason in words, open Detailed Culling View. Its reasons column lists the problems first, so a flagged frame leads with a warning such as ⚠ Left eye closed or ⚠ Both eyes half-closed, followed by the Eyes score. Hover a row for the full breakdown, which names each eye, its state and an openness value from 0 (shut) to 1 (normally open).
Step 3: Let the open-eyed frame win the moment
A flagged eye is a real penalty on the photo's overall score, not a footnote: a half-closed eye takes off about a fifth, a closed eye about a third. That is enough to pull a typical keeper out of Keep, so when you shot a short burst of the same moment, the frame where the eyes are open is the one that rises to the top. The blinked frames go to Review, and nothing goes anywhere on disk: Keep, Review and Trash are statuses inside imagic, and your files stay exactly where they are.
Step 4: Overrule it when you disagree
Sometimes a closed eye is the point: a laugh, a quiet moment, a kiss. Double-click a row in Detailed Culling View for the full-size view and decide from the keyboard: K keeps the photo, L trashes it, J or H sends it back to Review, and the arrow keys move between frames. Your call always wins over the score, and imagic learns from the frames you overrule.
Step 5: Re-score shoots you analysed before 1.4.5
imagic stores a photo's score once, when it is analysed, so a shoot you culled on an older version still carries the old verdicts. When that is the case, Review shows a yellow bar saying how many photos were scored by an earlier version of the analyser, with a Re-score them button. Press it and those photos go through the current analyser, eye check included. Keep and trash decisions you made by hand are left alone.
Where it stops
- One face per photo. Only the main subject (the largest face) is checked. In a group shot, a blink at the back of the row is not caught.
- Offline on the very first analysis. If imagic cannot download the landmark model, the check stays silent: no flag and no penalty. Analyse once with a connection and it is there from then on.
- Profiles and tiny faces. A face too small to measure, or turned too far away, is not judged.
More walkthroughs live in the imagic help centre. You can try the eye check on your own shoot with the free trial: 500 exports, no card, and culling and editing never count against it.
Frequently asked questions
Does imagic delete photos with closed eyes?
No. A flagged frame scores lower and usually lands in Review instead of Keep. Nothing is moved or deleted on disk, and any decision can be changed with one key.
Can I use it on the free trial?
Yes. The eye check is part of analysis on every tier and on the trial, and analysis never counts against the 500 trial exports.
Why did a squinting smile not get flagged?
On purpose. The blink detector separates a smile squint, where the pupil is still visible, from a lid that has come down over it, so a laughing subject is not marked down for being happy.
Can an AI agent see the eye verdict?
Yes, on imagic Max or the trial. The get_photo tool returns the photo's cull reasons, including the Eyes entry with each eye's state, so an agent can answer "which keepers have a blink?" from the stored analysis.