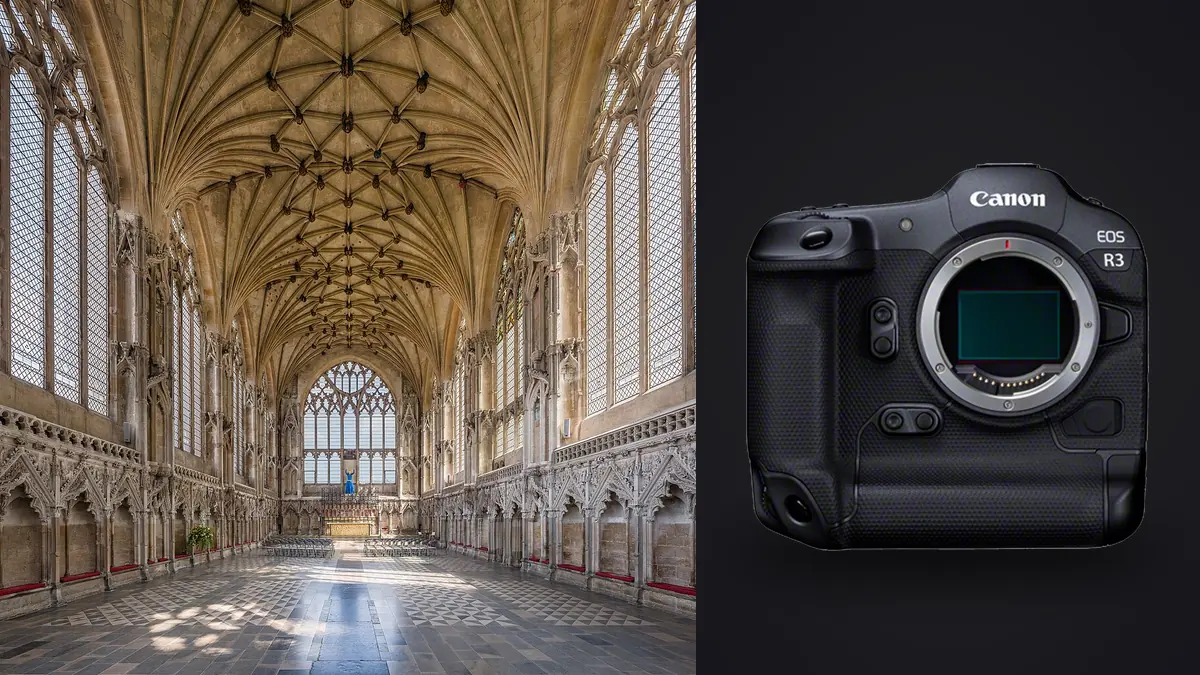
The Canon EOS R3 is a 24.1-megapixel full-frame camera built around speed, durability, autofocus, and an integrated vertical grip. Architecture usually rewards different priorities: careful perspective, low-sensitivity files, repeatable support, broad lens coverage, and enough resolution for the intended print or crop. The R3 can make professional architectural photographs, but many of its headline strengths solve action problems that a static building does not present.
A buying decision should therefore begin with the assignment mix. For a photographer covering architecture alongside events, construction activity, people at work, or fast editorial subjects, the R3 can be a durable all-purpose body. For a dedicated interiors specialist seeking maximum detail in a light tripod camera, its size and resolution deserve closer scrutiny.
Separate an R3 limitation from a capture error
Troubleshooting R3 architectural files starts by testing the suspected cause against a controlled frame. If detail is weak everywhere, verify focus, support, shutter release, and lens condition before blaming 24.1-megapixel resolution. If only vertical edges converge, level the camera and reframe rather than applying a stronger correction first. If corners smear while the center is crisp, compare apertures and focal lengths from the same tripod position. If polished surfaces show bright shapes, find the reflected source by changing the camera or flag position. Resolution limits become relevant only after geometry, movement, focus, lens behavior, and output size have been isolated.
Judge 24.1 megapixels against the deliverable
Resolution is neither automatically sufficient nor automatically inadequate. A well-focused 24.1-megapixel file can support web use, editorial pages, brochures, and many prints. It becomes more limiting when the brief expects very large reproduction, aggressive perspective correction, deep crops from one viewpoint, or detailed composite work.
Perspective correction consumes pixels because the transformed image must be cropped back to a rectangle. An ultra-wide capture made with the camera tilted upward may lose a substantial border after verticals are corrected. Keeping the sensor level, using lens shift where practical, and framing with deliberate margin preserve more of the R3 file.
Ask clients for actual pixel dimensions or print size rather than accepting "high resolution" as a requirement. Also consider whether layouts routinely crop vertical files from horizontal captures. If one frame must provide several orientations, a higher-resolution body may offer useful flexibility. If the photographer composes each orientation in camera, the R3's file can be entirely adequate.
Understand what the integrated grip changes
The built-in vertical grip provides a large battery, duplicated controls, and comfortable portrait-orientation handling. It also makes the body taller and heavier than compact full-frame alternatives. On a tripod, that size is rarely a creative benefit. In a tight bathroom, stairwell, or corner, every centimeter around the camera can affect placement.
The larger battery is valuable during a full location day, especially when using the rear display, long exposures, or frequent review. The robust body also suits construction sites and mixed-weather exteriors when used within manufacturer guidance. These are practical strengths, even if the integrated grip itself does not improve a static frame.
Before buying, mount the heaviest intended wide lens and place the combination on the actual tripod head. Check balance in horizontal and vertical orientation, clearance around knobs, and whether the head can make fine corrections without sag. A body that feels excellent handheld may need a different plate or head for precise architectural work.
Lens and perspective options matter more than burst speed
RF wide-angle lenses provide autofocus and native communication, while adapted EF perspective-control lenses can add shift and tilt when the exact lens and adapter operate reliably. A perspective-control lens lets the camera remain level while the image is shifted to include more ceiling or facade. That usually protects geometry and image area better than severe correction after capture.
Adapted manual lenses require a slower method. Test infinity focus, aperture control, metadata, corner performance, and mount play before an assignment. Use magnified live view for focus and inspect the shifted corners. A lens can be sharp in its centered position and soften as movement approaches the edge of its image circle.
For ordinary zooms, compare distortion behavior and corner quality at the focal lengths actually used. In-camera correction and RAW profiles can help with known optical distortion, but they may crop the field of view. Compose after understanding that correction, especially in a room where every edge matters.
Stabilization is useful, but a tripod still defines the main workflow
The R3's in-body stabilization can support handheld scouting, details, and locations where tripods are prohibited. It cannot guarantee parallel verticals, repeat an identical composition, or make a multi-second exposure immune to body movement. A stable tripod remains the more controllable tool for primary interiors and blue-hour exteriors.
Use a geared head when small pitch and roll changes need to be independent. Keep the center column low, shield the setup from foot traffic, and trigger without touching the camera. Follow Canon and lens guidance for stabilization on a fixed support, then inspect a test frame rather than assuming one setting is universal.
The R3's fully articulating screen is useful when the camera is low, high, or backed against a wall. It also allows the screen to face inward during transport. Check that cables and tripod hardware do not block the hinge when a remote release or other approved accessory is attached.
Fast sensor readout has limited but real architectural value
The stacked sensor supports fast electronic shooting and reduced rolling-shutter effects compared with slower designs. That helps when architecture includes people, moving traffic, flags, water, or construction activity. It is less important for an empty room on a tripod.
Electronic shutter can still interact with pulsing LEDs and moving subjects. Interior fixtures, signage, and display lighting may create bands or frame-to-frame variation. Make a short test sequence under the live lighting. Mechanical shutter remains a dependable alternative when flicker or shape looks wrong.
The R3's high continuous rates can be useful for a designed human moment, such as a person walking through an atrium. For a static scene, a burst only multiplies identical files. Use single-frame release, exposure delay, or a timer and spend the attention on edges, reflections, and light balance.
Consider mixed assignments, not only architecture
| Assignment pattern | R3 fit | Main consideration |
|---|---|---|
| Architecture plus active workplace | Strong | Fast AF and robust handling cover people and process. |
| Editorial interiors and web delivery | Good | Resolution is often sufficient when framing is final. |
| Very large facade prints | Conditional | Confirm output, crop, and detail requirements. |
| Travel interiors with a small tripod | Mixed | Integrated-grip size can work against a compact kit. |
| High-volume event and venue coverage | Strong | One body can handle static spaces and fast activity. |
This mixed-use view is where the R3 makes the most sense. A specialist body optimized only for maximum architectural resolution may be less adaptable on a construction story or opening event. Conversely, buying action capability that never leaves single-frame mode is not automatically efficient.
Plan lighting and color around fidelity
Lock white balance for each source mix and record a neutral reference. Auto white balance can shift when framing moves from a daylight window to warm wood or a colored wall. Consistency across connected rooms often matters more than making each individual frame perfectly neutral.
Use manual exposure when the scene and lights are stable. Protect bright windows and reflective fixtures, but do not expect one exposure to contain every extreme contrast. Scheduling, blinds, practical-light control, fill, or exposure bracketing may reduce the problem. Combining bracketed frames requires suitable external software; imagic does not merge HDR or panoramas.
The R3's multi-function shoe can support compatible accessories, but architecture rarely benefits from a small on-camera flash pointed into a large room. If supplementary light is necessary, plan off-camera placement, safe stands, power, and color matching. Ask permission before moving or powering anything on site.
Account for storage and backup
The camera records to CFexpress Type B and SD media. Configure the pair for backup, separation, or overflow according to assignment risk and card performance. Architecture is repeatable only in a limited sense: access, styling, weather, and light may never align again. Simultaneous recording can be valuable even when the subject is static.
Copy both card sets into a named location folder and make a verified second copy before formatting. Sort by space and viewpoint, then compare nearly identical frames for tiny changes in verticals, reflections, furniture, and people. Automated duplicate grouping should not hide a one-degree correction that materially improves the geometry.
imagic can assist locally with sharpness, exposure, composition, duplicate grouping, and non-destructive adjustments before JPEG or TIFF export. The desktop overview explains the workflow, and Camera Hardware offers related buying guides.
Compare the R3 with body categories, not a single rival
A useful purchase comparison includes three alternatives. A higher-resolution body offers more crop and correction margin but may produce larger files or less action-oriented handling. A smaller general-purpose body reduces travel and tripod bulk while retaining access to the same lens mount. A view camera or specialist medium-format system can provide deliberate perspective and detail at the cost of speed and versatility.
Process representative RAW files from each category through the exact architecture workflow: lens correction, vertical adjustment, shadow and window recovery, final crop, output sharpening, and the largest normal delivery. Compare the finished files at delivery size. Pixel-level inspection without the required correction and crop does not answer the practical question.
Then compare handling on location. Time is not a benchmark claim; it is an observation of which setup allows level framing, vertical changes, card backup, and safe movement in the photographer's real spaces. The R3 earns its place when its durability and mixed-assignment speed outweigh the extra resolution or compactness available elsewhere.
A short rental on a representative location is more informative than handling the body at a counter. Use the intended tripod, widest lens, adapter, remote, and card pair. Make horizontal and vertical room views, perform the normal perspective correction, and carry the kit through a narrow doorway. The test should reproduce decisions the purchase must support.
Include transport in that trial. Fit the body, lenses, support plate, batteries, and media into the actual location bag, then confirm that the complete load can be carried through stairs and public areas without leaving essential backup behind.
Use a purchase-fit checklist
- Collect the largest real output and crop requirements from recent briefs.
- Measure how often assignments combine buildings with fast people or events.
- Test the body and widest lens on the intended support and geared head.
- Confirm native and adapted perspective-control lens behavior.
- Process sample RAW files through the full correction and delivery path.
- Evaluate whether integrated-grip size helps battery and vertical work or hinders placement.
- Compare a complete kit, including cards and support, rather than body specifications alone.
Frequently asked questions
Is 24.1 megapixels enough for interior photography?
It is enough for many web, editorial, brochure, and moderate print uses. Large output, severe perspective correction, or multi-format cropping may justify more resolution.
Does the EOS R3's speed help with buildings?
Not for a static room, but it helps when the assignment includes people, traffic, construction, flags, or an event inside the space. Buy for the full assignment mix.
Can adapted tilt-shift lenses be used?
Compatible EF perspective-control lenses can be considered with an appropriate Canon adapter. Test aperture behavior, infinity focus, corner quality, and mechanical stability before paid work.
Is the integrated grip an advantage on a tripod?
It provides battery capacity and convenient vertical controls, but it also adds height and weight. Whether that helps depends on the support, location constraints, and amount of portrait-orientation work.