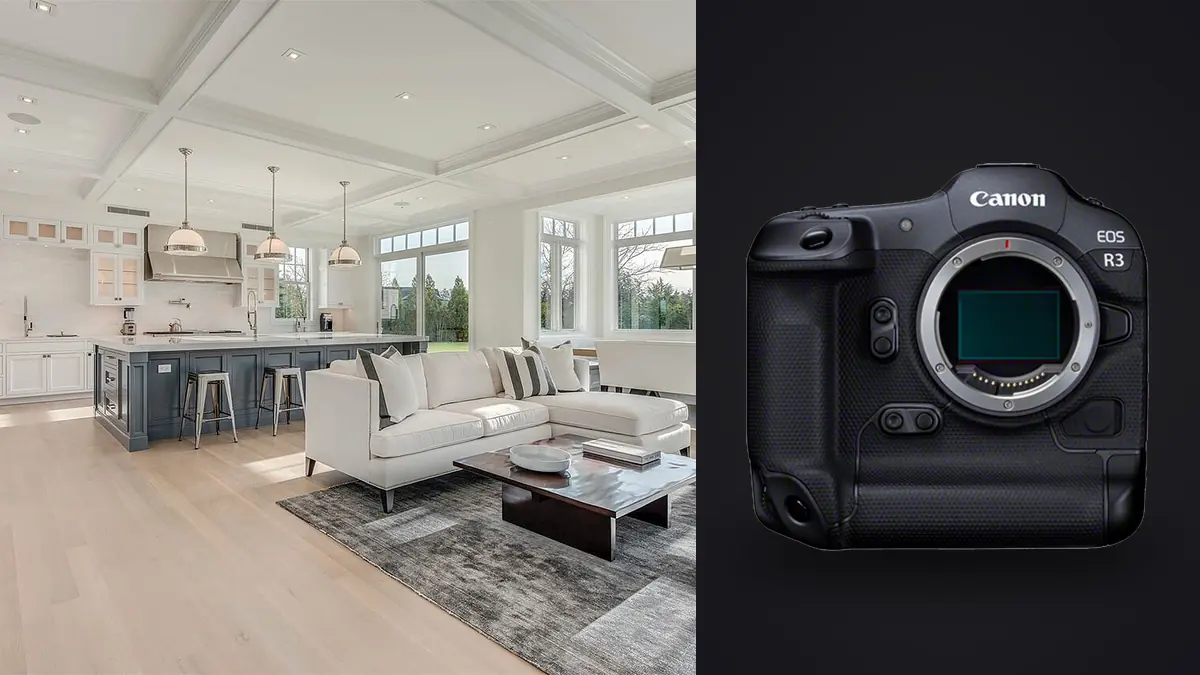
The Canon EOS R3 is known as a fast 24.1 megapixel full-frame camera, but architecture asks it to slow down. The useful questions are whether the lens covers the building cleanly, whether the camera position preserves geometry, how much resolution remains after correction, and when the sun or interior light makes the materials readable. Eye Control AF and a 30 fps electronic mode are not central to those decisions.
This Lens and Location Guide treats the R3 as a precise viewpoint recorder. It covers native RF lenses, adapted Canon EF tilt-shift options, exterior and interior scouting, tripod access, and a capture plan that respects property rules and final output.
Define corrected output before choosing the viewpoint
Ask for final dimensions, aspect ratios, print uses, and whether the client needs straight verticals, natural perspective, or a deliberate dramatic angle. Pointing the camera upward creates convergence and later correction stretches and crops the frame. A 24.1 megapixel source can serve many web, editorial, and moderate print uses, but heavy correction reduces the available result.
Overlay the final crop on scout frames. Include margin for lens profile correction, rotation, vertical adjustment, and alternate layouts. A lens that barely fits the facade may leave no usable corner after correction. Moving farther away with a less-wide lens often improves edge geometry, provided access and foreground permit it.
For interiors, list the hero view, secondary room relationships, material details, and any view through windows or doors. The widest frame is not always the most informative. A sequence of a balanced room view and two precise details may describe design better than one stretched corner-to-corner image.
Build an RF and adapted lens plan
| Lens class | Useful role | Planning concern |
|---|---|---|
| Ultra-wide RF zoom | Constrained interiors and large near facades | Edge stretching and unwanted ceiling or floor |
| Wide RF zoom | General interior and exterior coverage | Camera level may not include tall structures |
| Standard zoom or prime | Details, elevations, and natural room relationships | Requires more working distance |
| Adapted EF tilt-shift | Optical shift and controlled verticals | Manual operation, adapter, and image-circle limits |
| Short telephoto | Facade details and compressed urban layers | Atmosphere and obstructions across distance |
Canon EF TS-E lenses can be used through an appropriate Canon EF-EOS R mount adapter, subject to the current compatibility guidance for the exact lens and adapter. Test mechanical clearance, shift orientation, tripod balance, and metadata before the assignment. A shifted image can darken or soften near the edge of the image circle, so inspect the required movement rather than assuming the maximum is clean.
Use native wide lenses when speed and portability matter, then keep the camera level and correct only the remaining geometry. Use shift when the brief demands precise verticals and the location supplies enough setup time. Neither path excuses a poor viewpoint that hides the building's entrance, circulation, or relationship to the site.
Scout exterior camera positions across the light
Walk the full public and permitted perimeter. Record facade orientation, sun path, nearby reflections, trees, vehicles, signage, utility lines, construction, and where pedestrians enter the frame. Identify a primary elevation, a three-quarter view that explains depth, and one contextual position that connects the building to its surroundings.
Return at the intended production time or use a reliable sun-position tool. Front light describes color and elevation clearly, side light reveals surface relief, and backlight can simplify shape or expose interior glow. Reflective glass may show a more interesting sky away from the direct sun, but it can also reveal the photographer, tripod, or restricted property.
Check legal standing space and tripod rules. A public pavement may still require a permit for obstruction or commercial equipment. Do not step into traffic, landscaped beds, neighboring property, rail corridors, or construction zones for a cleaner angle. Use a spotter when working near vehicles or busy pedestrian routes.
Choose camera height before focal length indoors
Camera height changes how much floor, ceiling, and furniture surface is visible. A position around mid-room height often feels balanced, but the correct choice depends on counters, seating, artwork, and the intended viewer. Set height first, level the camera, then choose the focal length that includes the required boundaries.
In a small room, retreat through an open doorway if permission and adjoining space allow it. Check that the doorway does not vignette the lens or introduce a reflection. Avoid pushing an ultra-wide lens into a corner solely to make the room appear larger. That treatment can distort furniture and misrepresent circulation.
Use doors, columns, and aligned edges as composition anchors. A few centimeters of lateral movement can remove a lamp from a doorway, separate chair legs, or reveal a designed sight line. Mark the successful tripod position and height so bracketed or later light-painted components remain aligned.
Plan windows, practical lights, and mixed color
Decide whether windows should show an exterior view, become bright atmosphere, or be excluded. If the view matters, schedule the room when interior and exterior brightness are closer, add controlled light, or make a restrained bracket sequence. More frames are not automatically better when curtains, trees, screens, or people move.
Survey installed LEDs, tungsten lamps, daylight spill, and reflected wall color. Switch off sources that do not contribute, replace bulbs only with permission, and capture a neutral reference under the final mix. Electronic shutter can band under pulsed fixtures, so test a plain wall at the intended speed and keep a mechanical or electronic-first-curtain fallback.
The R3's autofocus is more than adequate for static rooms, but manual magnification can be useful for a material detail or a lens shifted away from its usual optical center. Focus where the composition needs it. If foreground and background cannot both meet the brief at a sensible aperture, make a controlled focus sequence for later work in suitable software.
Coordinate access, styling, and the shot order
Confirm arrival, parking, lift access, power, furniture movement, alarms, cleaning, occupants, and the time the location must be restored. Ask when public areas are quiet and whether staff or residents can be moved. An empty building is not always desirable; a carefully placed person can explain scale and function when releases and the brief support it.
Schedule exterior views around sun, then interiors around occupancy and window direction. Photograph spaces before heavy crew traffic changes textiles or surfaces. Keep a room-completion checklist so no required detail is forgotten after furniture returns or guests arrive.
- Record exterior context and access while the site is clear.
- Make the hero elevation during the planned light window.
- Capture primary interiors from marked level positions.
- Complete room relationships before moving furniture for details.
- Record materials, fixtures, signage, and circulation elements.
- Verify window views and any bracket or focus components.
- Restore the property and photograph its final condition.
Use supports that respect the property
A stable tripod, geared or precise head, remote release, level display, spare battery, and lens shade solve most support needs. Use clean foot covers or protective pads on delicate floors. Secure cables and keep cases away from public paths. Ask before attaching clamps, tape, suction mounts, or lighting to any surface.
Wind can vibrate a raised tripod and move foliage during exterior brackets. Lower the center column, shelter the setup without creating an unsafe sail, and use a shutter delay. On balconies or rooftops, follow edge barriers and load restrictions. Never extend equipment beyond a parapet without an approved safety system.
Record the focal length, camera height, compass direction, and approximate position for hero frames. Those notes support seasonal reshoots and project phases. They are more reliable than trying to reconstruct perspective from the final JPEG.
Map reflections before the building becomes busy
Glass facades, polished stone, mirrors, screens, metal panels, and glossy joinery can show the camera position even when the photographer is not obvious in the live view. Walk laterally while watching each reflective plane, then mark the zone where the tripod, crew, and lights disappear or become easy to control. A circular polarizer may reduce some non-metallic reflections, but its effect varies with angle and can make a broad sky uneven on a wide lens.
Interior mirrors need a complete sight-line check from every shifted or bracketed position. Move cases, spare stands, protective shoe covers, and people out of the reflected field before capture. If a reflection is part of the design, compose it intentionally and confirm what private rooms, artwork, security equipment, or identifying information it reveals. Permission to photograph one room does not automatically cover every area visible through glass.
For dusk exteriors, scout where interior lights, street lamps, passing headlights, and illuminated signs will appear in the facade. Ask facilities staff which lights can remain stable during the exposure window and whether blinds or room access can be coordinated. The strongest position at noon may become cluttered after dark, so record a separate dusk viewpoint rather than treating light as the only variable. Note when exterior fixtures switch on automatically and whether facade lighting cycles through colors. Allow setup time before the short balance between sky and interior brightness, then agree on a cutoff instead of chasing a sky that has already gone black. If several elevations are required, prioritize the one that depends most on ambient balance and move to controlled interiors afterward for efficient coverage.
Keep the local review honest about geometry
Copy and verify CR3 files before formatting cards. imagic desktop can scan supported files, analyze locally, and store reversible culling and editing decisions. It does not merge HDR, panorama, focus stacks, or layers, so route those selected components to dedicated software.
Automated quality analysis may undervalue a dark bracket component or a frame intended only for a window blend. Review grouped captures by viewpoint and purpose. Reselecting only changes rankings from stored scores; stale files require a freshness check and reanalysis. Export applies stored edits to new files without rewriting the RAW.
Compare corrected verticals, room proportions, edge stretching, color, and final pixel dimensions against the brief. A clean export cannot repair a location choice that concealed the architecture. More equipment planning is available in Camera Hardware.
Frequently Asked Questions
Is 24.1 megapixels enough for architecture photography?
It can be enough for many web, editorial, and moderate print uses. Test a representative corrected file because strong perspective correction and cropping reduce the final dimensions.
Can Canon EF tilt-shift lenses work on the EOS R3?
They can be adapted with an appropriate Canon EF-EOS R adapter, subject to current compatibility guidance. Test the exact lens, adapter, shift range, and support before production.
Where should the camera be placed for an interior?
Choose a height and lateral position that explain the room honestly, keep verticals controlled, and separate important furniture edges. Select focal length only after that viewpoint is established.