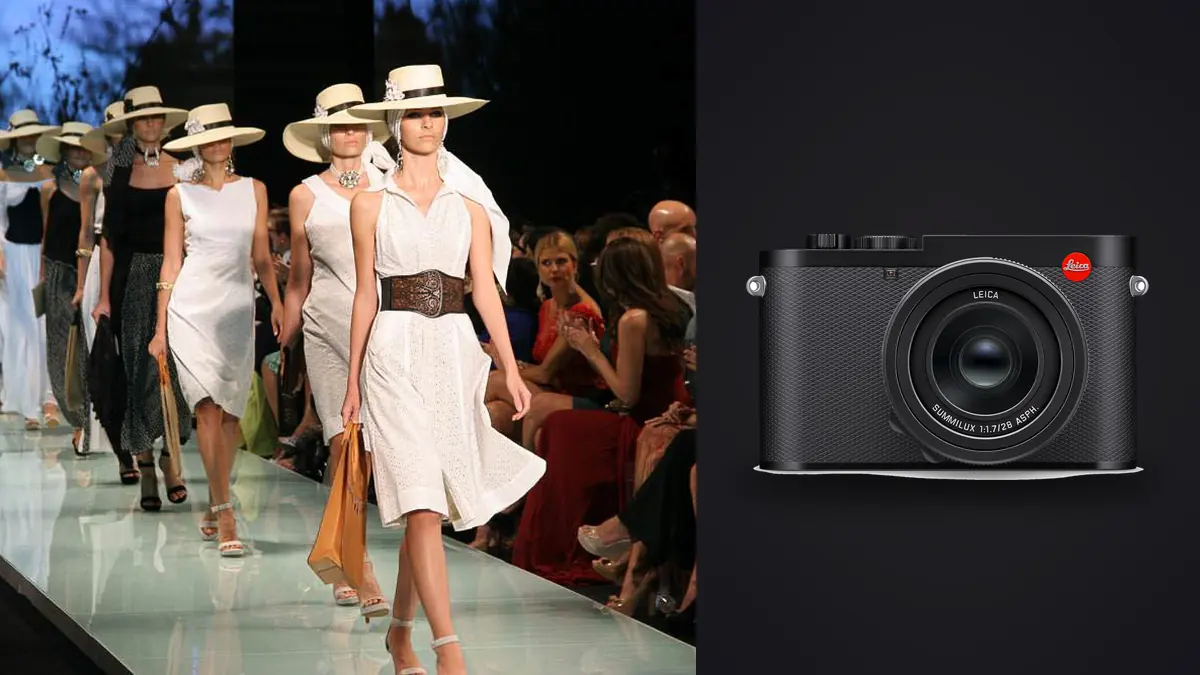
I set myself a mock 14-look e-commerce lookbook last autumn with a brief that said "bring something small and fast, we're moving between four setups in one afternoon." My usual kit is a two-body, three-lens setup. I brought the Q3 instead, mostly out of curiosity, and ended up using it for the whole day. That's not a review-site conclusion, it's just what happened. The fixed 28mm lens, which I expected to be the camera's biggest liability on a job like this, turned out to be the thing that kept the day moving.
This isn't a spec dump. It's what actually changes when you shoot a commercial lookbook with a fixed-lens 60-megapixel camera instead of a conventional zoom-and-body combo, and what happens after the shutter closes, because on a lookbook day the shooting is maybe forty percent of the work.
Why a fixed 28mm camera gets booked for lookbook work at all
Lookbooks are a specific kind of shoot. You're not chasing one hero image, you're producing a consistent set, usually 10 to 20 looks, sometimes more for a full seasonal drop, all needing to feel like they belong together. Speed between looks matters more than on most other commercial jobs because the model, stylist, and often the client are all standing around waiting for setup number six while you're still tweaking setup number five. The Q3's appeal here isn't image quality on paper, plenty of cameras out-resolve it or match it. It's that there's nothing to fumble. No lens change when the stylist swaps a full-length coat for a cropped jacket that needs a tighter frame. No hunting through a bag for the 35mm when you meant to grab the 50. You walk closer, you walk back, or you reach for the crop dial on the top of the lens barrel. On a day with four locations and a two-hour call sheet, that adds up to real time, not marginal convenience.
The fixed-lens problem, and how the crop modes actually hold up
The honest version of this: a 28mm prime is a genuinely awkward focal length for classic three-quarter fashion portraits if you're standing where you'd normally stand with a 50mm or 85mm. You either walk in close enough that perspective distortion starts doing unflattering things to a model's proportions, or you crop hard in post and throw away resolution you paid for. The Q3's answer is its in-lens digital crop modes, which use the 60.3MP sensor's resolution headroom to simulate 35mm, 50mm, 75mm, and 90mm framing without touching the glass. It's not the same as optical zoom, you're cropping a bayer sensor, not gathering more light through a longer lens, but because the base file is so large, the cropped files still carry real resolution. I stopped thinking of it as "digital zoom" (which sounds like a phone camera trick) and started thinking of it as pre-cropping in camera, with the framing visible in the viewfinder before I press the shutter, rather than guessing at a crop later in Lightroom. Here's roughly how each mode could be used across a lookbook day, and what the resolution cost looks like:
| Crop mode | Approx. effective resolution | What I used it for | Retouch/crop headroom left over |
|---|---|---|---|
| 28mm (native, uncropped) | ~60 MP | Full-length looks, walking shots, anything showing the environment or set | Enormous. Room to reframe entirely in post if the client wants a tighter crop later |
| 35mm crop | ~40 MP | Three-quarter looks where I wanted a touch more presence without stepping in | Still enough for a full lookbook page or a large print |
| 50mm crop | ~19 MP | Half-body and near-portrait framing for hero shots and covers | Fine for web, e-commerce, and most print sizes, but you're not cropping much further |
| 75mm crop | ~8 MP | Detail shots, a collar or a hemline, when I didn't want to switch to macro focus | Web-resolution territory, I wouldn't put this on a billboard |
| 90mm crop | ~6 MP | Rare, only for a candid detail I genuinely couldn't get any other way | Treat it as an emergency option, not a planned shot |
The practical takeaway from that table: for anything going into a printed lookbook or a large hero placement, I stayed at 28mm and cropped later, or used the 35mm mode at most. The 50mm crop was my workhorse for the tighter half-body shots a product detail page would need. Past 75mm, I treated the crop modes as a convenience for web thumbnails, not as a real substitute for a longer lens.
Macro focus for the shots a lookbook actually lives or dies on
Buyers looking at a lookbook care about fabric, stitching, hardware, the zipper pull, the weight of a knit. The Q3's macro switch on the lens barrel drops minimum focus distance down to roughly 17cm, and it's a physical ring turn, not a menu setting, so you can go from a full-length shot to a close detail of a button placket in about two seconds without breaking the flow of the shoot. This is a different tool from the crop modes above. Crop modes reframe an existing distance; macro mode lets you get physically closer and resolve texture that a crop from further away simply won't show, no matter how many megapixels you throw at it. On a lookbook day, macro mode might come up maybe fifteen times, mostly for jewelry and a shoe detail a brief specifically calls for. It's not a feature I'd build a whole shoot around, but when the brief calls for it, having it built into the lens instead of needing a separate macro lens in the bag is a real time saver.
Color out of camera, and why consistency matters more than any single frame
A lookbook isn't judged shot by shot, it's judged as a set. If look four was shot at 2pm in direct sun and look eleven was shot an hour later under cloud cover, the client will notice if the skin tones or the whites of a garment shift between them, even subtly. This is where I've found the Q3's color science genuinely useful as a starting point, the DNG files carry a rendering that needs less correction to get skin tones sitting naturally than some other systems I've shot on, but "less correction" still means correction, and it still means a consistent grading pass across the whole set. For a lookbook specifically, I don't grade each image individually if I can help it. I build the look on the first few hero frames, then apply it consistently across the rest. That's the part of my workflow that changed most when I started using imagic's apply_my_style feature, which trains a preset off edits I've already made rather than a generic filter. I run it against the rest of the set after the first pass, then go back in for the handful of frames that need individual attention, usually the ones with mixed lighting between two setups. It's not magic, it's closer to a smart starting point that gets me to "consistent" faster than building each look from a blank slate.
The real bottleneck: what happens to a few thousand 60MP files
Here's the part that doesn't show up in camera reviews. A 60.3MP DNG off the Q3 runs somewhere around 75 to 90MB uncompressed, depending on scene complexity. Picture a lookbook day: between bursts for fabric movement, walking shots, and the usual "just in case" frames, you come home with just under 3,100 exposures. That's over 230GB before a single edit, and somewhere in that pile were maybe 90 to 120 frames that would actually get shown. Sorting that by hand, frame by frame, is how a one-day shoot turns into a three-day post-production slog. This is genuinely where the file volume of a high-resolution fixed-lens body bites you if your culling workflow hasn't caught up to your camera. I run the full take through imagic before I open Lightroom at all. The sharpness and focus scoring flags which frames in a burst are actually sharp on the eyes and the garment (with a model mid-turn on a fabric-flow shot, more frames are soft than you'd think), and the duplicate and burst clustering groups the near-identical frames from continuous shooting into single clusters instead of making me click through each one individually. Everything runs locally, on the laptop, which matters more than it sounds on a job like this, most lookbook contracts come with an NDA on the unreleased collection, and I'd rather not have a few thousand unreleased images touching a cloud service at all. If you haven't looked at how that kind of local scoring actually works under the hood, this breakdown of AI photo culling covers the mechanics better than I can in a paragraph here. That step alone took what used to be a half-day of scrolling down to about 40 minutes of review, mostly spent confirming the software's picks rather than hunting for them myself.
Tethering and getting looks signed off between setups
Commercial lookbook work almost always has someone other than the photographer approving frames on the day, a stylist checking the drape, an art director checking the crop, sometimes the client themselves standing behind a laptop. The Q3 tethers over USB-C to Capture One or Lightroom, and separately has wifi tethering through the Leica FOTOS app for a faster look-and-approve workflow on an iPad without a cable running across the set. I used the cable tether for the studio portion of the day and switched to FOTOS wifi tether for the location portion, where a cable running to a laptop on a cart wasn't practical. The wifi transfer is noticeably slower for full-resolution files, so for on-the-spot approval I had it sending smaller JPEG previews rather than the full DNG, then pulled the actual RAWs later over USB-C back at the studio. If your shoot depends on instant full-res tethered review, budget for the cable. If you just need someone to nod at a preview before you move to the next look, the wireless option is good enough and a lot less cable to manage around a model and a rack of clothes. For more on tightening up the gaps between capture and review on a shoot day, these workflow tips cover a few habits I picked up the hard way on earlier jobs.
Battery life and the unglamorous logistics of a full shoot day
The BP-SCL6 battery is CIPA-rated around 350 shots, which sounds alarming for a day where you might trip the shutter 3,000 times, but that number assumes constant EVF use and chimping every frame. In practice, shooting mostly through the EVF with the rear screen off between checks, I got closer to 500-600 frames per battery, still meaning I burned through five batteries across the day. I charge via USB-C now, which means a power bank on the equipment cart keeps two batteries topping up while three are in rotation, instead of needing a wall outlet and a dedicated charger cradle for each one. It's a small logistics detail, but on a location shoot without easy outlet access, it's the difference between stopping to swap batteries and never thinking about it.
Where the Q3 doesn't make sense for this kind of work
I don't want to oversell this. If a lookbook brief specifically calls for a compressed telephoto look, tight headshots from twenty feet back with heavy background blur, the Q3's crop modes will get you resolution but not the actual optical compression a longer lens produces. And if you're a two-photographer team splitting wide environmental shots and tight detail work simultaneously, one fixed-lens body doing both jobs is a bottleneck, not a convenience. I'd also think twice about it for a lookbook with heavy product-only flat lays, a dedicated macro lens on a system camera will out-resolve the Q3's macro mode for pack shots and jewelry catalogs specifically. Where it earned its place was exactly the shoot I described at the top: one photographer, a fast-moving call sheet, looks that needed both environmental and close framing, and a brief that cared more about turnaround than about pixel-peeping the difference between a native 28mm frame and a lens swap. That's a specific, common shape of commercial lookbook job, and it's worth being honest that the Q3 isn't the right tool for every version of it.
Frequently Asked Questions
Can a fixed 28mm lens really cover a whole lookbook, or do I need a second body?
For most e-commerce and social-facing lookbooks, yes, using the native frame for full-length looks and the crop modes for tighter shots covers the range clients typically ask for. I'd bring a second body only if the brief specifically requires compressed telephoto looks or you're shooting solo while another photographer needs a different focal length simultaneously.
How many usable frames should I expect from a full shoot day on the Q3?
On my 14-look day I shot just under 3,100 exposures and kept around 100 after culling and edits, roughly a 3-4% keeper rate once you count burst frames and safety shots. That ratio is fairly normal for lookbook work generally, the volume just feels larger because each Q3 file is so much bigger than a typical mirrorless RAW.
Do the digital crop modes actually hurt image quality enough to matter for print?
Up to the 50mm crop, I haven't run into an issue. Past 75mm you're down to single-digit megapixels, which is fine for a web gallery or a thumbnail but not something I'd send to a print run without a very good reason.
What's the fastest way to get through a few thousand Q3 RAWs without blowing the turnaround deadline?
Front-load the culling before you touch grading. I run every frame through imagic's local sharpness scoring and burst clustering first, which groups near-duplicate frames and flags the genuinely sharp ones, before opening anything in Lightroom. It's a one-time purchase rather than another subscription stacked on top of your existing editing tools, and because it processes everything on the machine instead of uploading to a cloud service, it fits a lot more comfortably with the NDAs most commercial lookbook contracts carry.