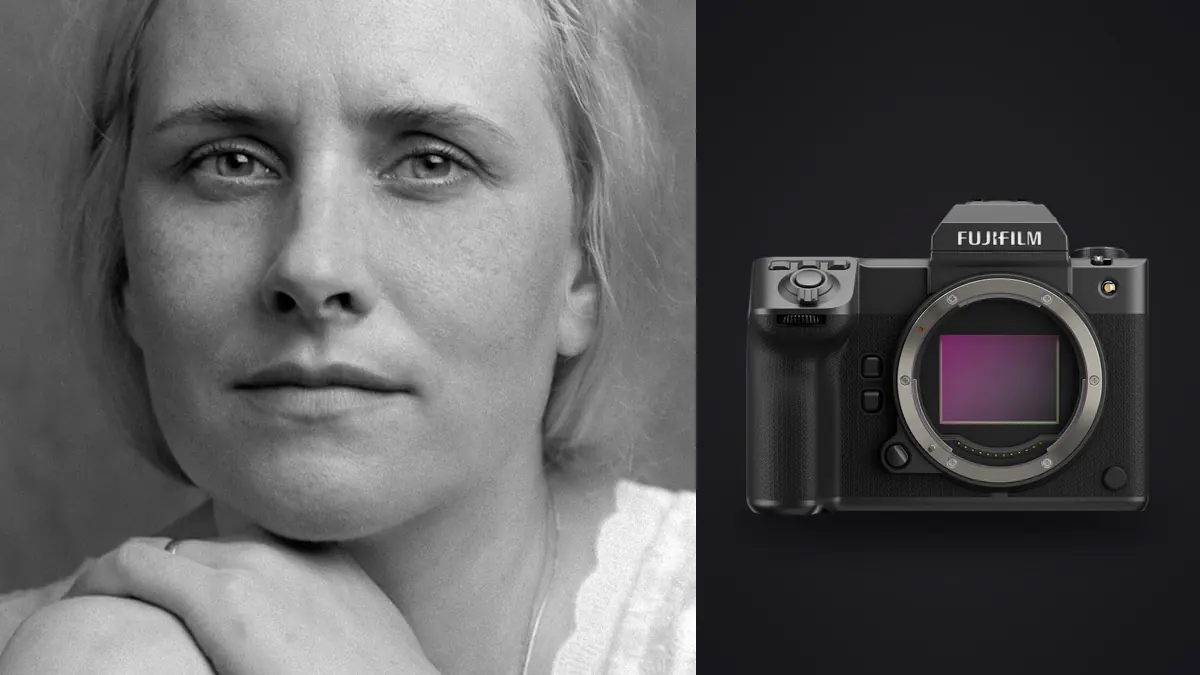
The Fujifilm GFX 100 II can make exceptionally detailed boudoir files, but the camera needs room to work. Lens choice changes photographer distance, perspective, background coverage, and how much physical space the subject experiences around the set. Window direction, ceiling height, mirrors, door control, and private file-handling space are therefore part of the optical plan.
This Lens and Location Guide starts with the intended portrait and works backward to a suitable room, camera position, and G-mount lens. It treats comfort and privacy as location requirements, not administrative notes. The goal is a short, tested set of viewpoints that lets the session flow without forcing a high-resolution camera into an unsuitable corner.
Measure the room before choosing a G lens
Record the usable camera-to-subject distance, not merely the wall-to-wall dimension. A bed, sofa, radiator, wardrobe, or locked doorway can remove several useful steps. Allow space behind the camera for the photographer to move safely and in front of the subject for a light, reflector, or stylist. Measure ceiling height if a raised source or standing full-length frame is planned.
Also measure subject-to-background distance. Pulling a bed or chair away from a wall can reduce hard shadows, soften background detail, and create room for a backlight. In a hotel or rented home, confirm what furniture may move and who is responsible for returning it. Photograph the original arrangement before changing anything.
| Lens class | Useful role | Space warning |
|---|---|---|
| Wide to moderate wide | Environmental and full-room portraits | Close distance can exaggerate near body parts |
| Normal | Full, three-quarter, and seated coverage | Needs enough retreat for full-length framing |
| Short portrait | Waist-up work and calm proportions | May push the camera into a wall in small rooms |
| Long portrait | Headshots and compressed background detail | Requires substantial working distance |
| Close-focus option | Hands, fabric, jewelry, and room details | Minimum focus and light clearance still apply |
Use actual G-mount options from the kit to test these roles. Focal length labels alone do not account for furniture, desired crop, or the larger-than-full-frame sensor's field of view. Make reference frames from the proposed camera marks and inspect body proportions at the frame edges before confirming the location.
Use working distance to protect proportions and comfort
A wide lens used close can enlarge the nearest knee, hand, shoulder, or foot. That may suit a deliberately graphic portrait, but it should not happen because the room prevented retreat. For calm proportions, increase distance and use a normal or short portrait focal length. Keep faces and limbs away from extreme corners when a wider environmental view is necessary.
Working distance also affects communication. A long portrait lens may create flattering compression, yet force the photographer across a large suite and make quiet direction awkward. A very close wide view may feel intrusive. Discuss the planned distance with the subject, especially for intimate poses, and choose a lens that supports clear conversation without entering personal space unexpectedly.
The 102 megapixel source offers crop latitude, but cropping should refine a planned composition rather than compensate for the wrong viewpoint. A severe crop narrows output choices and magnifies motion, focus, and skin texture. Frame enough room for the agreed delivery ratios, then leave a controlled margin for straightening and final layout.
Build camera marks around beds, chairs, and mirrors
Assign each set one primary camera mark and one alternate. For a bed, the primary might align with the long side for full-length shape, while the alternate works from the foot for symmetry. For a chair, choose height and angle by the face and torso rather than by the furniture alone. Test whether the camera path crosses light stands, loose fabric, or the subject's route between poses.
Mirrors require a ray-path check from the exact lens position. Move the camera laterally and vertically until crew, doorway, light source, and private room details leave the reflection. A longer focal length can isolate a clean portion of the mirror; a wider lens may reveal the entire set. Mark the successful position so it can be restored after a lens change.
Use camera height deliberately. A lower position can lengthen a standing pose but may emphasize the nearest legs. A high viewpoint can simplify bedding and body lines, provided there is a safe platform and enough ceiling clearance. Never improvise an unstable chair or furniture climb. If the room cannot support the intended height safely, change the composition.
Scout window direction and artificial light
Visit at the hour the session will occur or use reliable sun-position planning. A north-facing window may give steadier indirect light, while direct sun can move rapidly across the room and create narrow bright patches. Note nearby buildings, trees, curtains, and reflective glass that alter the expected direction. Plan the most daylight-dependent set first when the usable window interval is short.
Move a diffused source close enough to become large relative to the subject and feather it across skin. Check whether the chosen lens position blocks that source or casts the photographer's shadow. White walls can provide soft fill; colored walls can contaminate skin. Pack neutral fabric, flags, or a reflector when the room surfaces cannot be controlled.
Test installed LEDs and dimmed lamps at the intended shutter mode. Pulsed fixtures can create banding or frame-to-frame variation. Decide which practical lights remain visible, which illuminate the subject, and which should be switched off. Record a neutral reference after the final mix is established.
Choose backgrounds that survive high resolution
The GFX 100 II records small creases, wall marks, lint, and tangled cables. Scout the background at the aperture and distance planned for production. A busy texture that seems soft to the eye may remain prominent in the file. Increase subject-to-background distance, change lens position, simplify objects, or use light to reduce attention before planning retouching.
Review every frame edge for personal documents, medicine, family photographs, room numbers, and reflections. Remove identifying objects at capture. A neutral area for robes, wardrobe, and personal belongings keeps them off the shooting set and reduces the risk of accidental inclusion.
Match background tone to wardrobe and skin without relying on a preset. Pale fabric against bright bedding can lose shape, while dark clothing against an unlit wall can merge. A small location test with representative fabric reveals whether separation requires a different angle, additional fill, or another set.
Match lens changes to the set sequence
Arrange the session so each lens stays mounted through a coherent group of pictures. Begin with the environmental view while the room is fully prepared, move to the normal or short portrait lens for the main pose sequence, and finish with close details. Repeatedly changing back and forth slows the pace, exposes the sensor to dust, and invites the camera mark to drift.
Keep the spare lens capped on a stable surface outside the subject's route. An assistant can prepare the next lens while the photographer confirms the final frame of the current set. After the change, remake one reference frame from the marked position and check the edges, mirror, and background before asking the subject to resume.
Plan one fallback composition for each lens. If direct sun disappears, the wider lens can describe a softer room rather than forcing a failed high-contrast concept. If a long lens no longer fits after furniture moves, switch to a seated crop with the normal lens. A fallback tied to the room preserves momentum without improvising intrusive distance.
Sound and temperature also affect location use. Street noise may make quiet direction difficult, air conditioning can move hair or fabric, and a cold room can undermine comfort. Note those conditions during the scout and schedule pauses. The best optical position is not useful if the subject cannot remain comfortable there.
Record the tested focal length, camera height, and approximate distance for every approved set. These notes prevent a later wardrobe change or lighting adjustment from turning a successful viewpoint into guesswork. Add a quick reference frame so another crew member can restore the same geometry.
Make privacy part of the floor plan
Confirm who controls the location, who can enter, whether maintenance or housekeeping has access, and how windows and doors will be secured. Set a closed-set boundary and designate a private changing area that is outside every lens and mirror path. Place the client monitor where only authorized people can see it.
Choose a file station away from public corridors and casual view. Disable automatic transfers that conflict with the agreement. At wrap, copy the cards to a restricted folder and make a verified second copy. The imagic desktop workflow can scan and analyze locally, with culling statuses that do not delete the original RAW files.
Automated analysis can organize sharpness, exposure, closed eyes, composition, and related frames, but it cannot decide which intimate expression should be shown. Review all statuses yourself. A learned style requires an existing profile, and export is the stage at which stored edits are rendered into new files. More privacy-aware processing topics appear under AI and Technology.
Create a location-day shot map
- Start with the window-dependent set while the predicted light is available.
- Use the widest planned view after all identifying objects and reflections are checked.
- Move through full, three-quarter, waist-up, and detail coverage without random lens changes.
- Reset the camera mark whenever furniture or lighting moves.
- Reserve long-lens portraits for the part of the room with the greatest safe retreat.
- Capture a new neutral reference after any source or curtain change.
- Photograph the restored room before leaving and verify that all private items are collected.
Carry only the lenses that have a defined role. A compact two-lens plan often covers an environmental view and a flattering portrait distance without turning the room into a storage area. Keep backup equipment outside the subject's movement path but reachable by an assistant.
The location succeeds when it gives both subject and photographer enough room to work calmly. The GFX 100 II rewards deliberate light and distance, but its resolution cannot replace privacy, safety, or a viewpoint that suits the person.
Frequently Asked Questions
Which GFX lens is best in a small boudoir room?
There is no universal choice. Measure the usable retreat, test body proportions at the frame edges, and select the least-wide lens that still produces the required full or environmental view.
How should mirrors be checked during a location scout?
Inspect them from every marked camera height and lens position. Look for crew, lights, doors, personal details, and parts of the room that were invisible from beside the subject.
Can a 102 megapixel crop replace a longer portrait lens?
A moderate crop can refine framing, but it does not change perspective or restore comfortable working distance. Choose the camera position for proportions first, then crop only within the delivery margin.