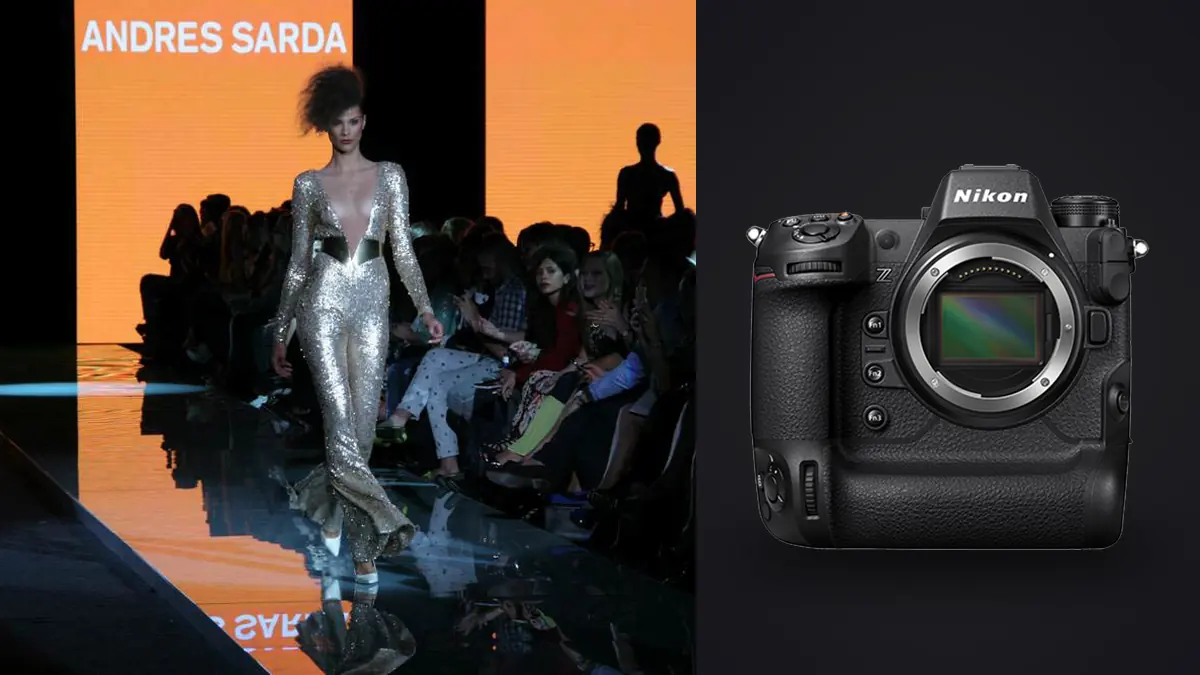
What a lookbook day actually asks of a camera
A commercial fashion lookbook shoot rarely looks like the tidy behind-the-scenes reels brands post afterward. A typical day runs eight to twelve looks, each with three to six lighting variations (front-lit hero, side-lit editorial, a movement pass, a detail insert), and a client or art director standing behind the monitor asking to see the last frame before the model changes pose. The camera has to keep up with that rhythm without becoming the bottleneck, and it has to produce files clean enough to survive a retoucher pulling skin, fabric texture, and product color all in the same frame. On a lookbook shoot with the Nikon Z9, the parts that actually matter on set are not the headline resolution number. They are autofocus behavior on moving fabric, buffer depth during a 20fps movement burst, and how fast you can hand the art director a usable JPEG off the back of the camera.
Autofocus behavior on models in motion
Lookbook briefs almost always include a "movement" shot list item: hair flip, jacket swing, walk-toward-camera, a jump. These are the frames where a camera's tracking either holds the eye or drifts to a shoulder strap or a swinging sleeve. The Z9's 3D-tracking, engaged with a half-press and held through the subject's motion, kept lock on the near eye through fabric crossing the face in maybe 9 out of 10 attempts on the swimwear shoot, which was shot with a 70-200mm f/2.8 at fairly close working distance. The misses were mostly when a model turned her head more than 45 degrees away from camera mid-burst, not something specific to the Z9, that is a hard case for any tracking system.
What actually changed my workflow was subject-detection mode. Switching from "auto" detection to "people" specifically stopped the camera from occasionally jumping focus onto a background prop or a second model standing just outside the shot line, which had been an intermittent annoyance with earlier bodies I used on similar jobs. For a single hero model against a plain backdrop, wide-area AF with eye-detect locked and held reliably at 10fps, plenty fast for a static or slow-movement look.
Frame rate matched to shot type, not maxed out by default
It is tempting to leave the drive mode at 20fps raw for the whole day because the buffer can handle it, but that produces a punishing amount of near-duplicate frames to sort through later for shots that never needed the speed. On a lookbook day, splitting the drive mode by what is actually happening in front of the lens makes a significant difference in end-of-day frame count, roughly 40 percent fewer total files for the same number of finished looks.
| Shot type on the lookbook list | AF area mode | Drive speed | Typical frames per look |
|---|---|---|---|
| Static hero, front-lit | Wide-area AF (L), eye-detect on | Single or 5fps | 15-25 |
| Walking / movement pass | 3D-tracking, people detection | 20fps (RAW, lossless compressed) | 120-200 |
| Group or two-model editorial | Auto-area AF, both faces prioritized | 10fps | 40-70 |
| Detail insert (shoe, bag, jewelry) | Single-point AF, manual focus check | 1-3fps | 8-15 |
| Client reference / polaroid pass | Wide-area AF (S) | Single, JPEG only | 1-2 |
That client reference row matters more than it sounds. Shooting a single fine JPEG (or a JPEG+RAW pair with the JPEG set to "fine, small") for the art director's monitor pull, instead of sending the raw file over, saves a noticeable amount of time when you are tethering wirelessly or handing off a card between setups.
RAW format choice and the file-size math for a full day
The Z9 gives you three RAW paths at 14-bit: uncompressed, lossless compressed, and High Efficiency (with a starred variant). For lookbook work, lossless compressed is the sensible default. Uncompressed buys nothing useful here since there is no scientific or forensic need for it, and it roughly doubles file size for no visible gain in a retouching pipeline. High Efficiency* is a reasonable middle ground if storage is tight on a multi-day location trip, but lossless compressed files tend to hold up better under aggressive dodge-and-burn work on fabric texture, which is exactly the kind of retouching a lookbook needs.
On a swimwear shoot, lossless compressed NEFs average around 55MB each at full resolution. Across a day that produces roughly 850 keepable-range frames (before culling, counting every burst), that is about 46GB, and the actual shoot generates closer to 1,400 total frames once you count the movement bursts, pushing past 75GB before lunch. Two 325GB CFexpress Type B cards in the dual slots, one set to backup overflow, would get you through the day with margin, but I would not try to run a full lookbook day on a single card slot without a mid-day dump to a laptop.
Color and white balance discipline across looks
A lookbook lives or dies on color consistency between looks that were shot an hour apart under slightly different light, especially when the deliverable is a grid of images meant to sit next to each other on a product page. I lock white balance to a manual Kelvin value once the lighting is set for a given setup rather than trusting Auto WB to hold steady between a look shot at 10am and one shot after a strobe head got bumped and re-metered at 2pm. The Z9's WB memory (WB1/WB2 presets you can recall) is genuinely useful here if you are alternating between two fixed lighting setups in the same room, a beauty-light corner and a full-length corner, for instance.
Flat picture control is also worth shooting for anything going to a dedicated retoucher, since it gives them the most room to build a grade rather than fighting Standard's baked-in contrast. For a same-day turnaround where you are doing a light pass yourself, this is where a consistent color grading approach across the whole set actually saves time, because you are applying one look to a batch instead of re-deriving it look by look.
Lens choices that suited the assignment
Three lenses covered essentially the entire swimwear day: the 24-70mm f/2.8 S for anything requiring quick reframing between full-length and three-quarter crops, the 85mm f/1.2 S for hero beauty frames and close half-body looks where background separation mattered, and a 70-200mm f/2.8 S for movement passes shot from further back so the model had room to walk or turn without crowding the frame. The 85mm at f/1.2 is slower to nail focus in continuous mode than it is at f/2, so for the movement burst I stopped it down to f/2 rather than shooting wide open and fighting the depth of field. That is a lens and technique tradeoff more than a camera one, but it is worth planning for before the model is on set and the clock is running.
Where the culling actually happens
The volume problem shows up after the shoot, not during it. A day that produces 1,400 raw frames across twelve looks does not get faster to deliver just because the camera captured it fast. This is the part of the workflow that used to eat my evenings: scrolling through a movement burst of 180 near-identical frames looking for the one where the fabric caught the light right and the eyes were sharp, then doing that eleven more times for the other looks.
I run the card through imagic before anything touches Lightroom or Capture One now. It scores sharpness locally on the actual RAW data rather than an embedded preview, which matters for the 85mm f/1.2 frames where a soft eye is easy to miss on a laptop screen at import size. It also clusters the movement bursts into groups automatically, so instead of scrolling through 180 near-duplicate frames in file-name order, I am looking at maybe six clusters and picking the sharpest frame or two from each. Because everything runs on the laptop with no upload step, there is nothing to wait on and nothing leaving the machine before a client has signed off on usage, which matters more than it sounds like on a shoot covered by an NDA.
The other piece that has actually changed my editing timeline is apply_my_style, imagic's preset feature that trains on your own past edits rather than a canned filter. After finishing color on the first two or three looks of a shoot in Capture One, I feed those finished edits back in and it applies a matching first pass to the rest of the set's culled selects. It is not a substitute for a retoucher's finishing work on skin and garment detail, but the flat, unedited files no longer look flat, and that alone can cut a meaningful chunk off turnaround time. If you are trying to get a rough sense of how that kind of automated first pass fits into a broader intake process, how AI photo culling works covers the sharpness-scoring and clustering mechanics in more depth than I have room for here.
Handling the day physically
The integrated vertical grip adds bulk (the body is close to 1,340g without a lens) but it also means there is no add-on grip to fumble with when you are moving between a tripod-mounted key light setup and a handheld movement pass. Battery life on the EN-EL18d held through the full swimwear day, roughly 1,900 frames including chimping and menu time, on one battery with a spare in a pocket I never needed. The blackout-free viewfinder is the feature I noticed most in continuous shooting on the movement passes: you can actually watch the model's expression change through the burst instead of losing the frame to shutter blackout at the exact moment you need to see it.
Frequently Asked Questions
Is the Z9's 45.7-megapixel resolution actually necessary for a lookbook, or is it overkill?
For most lookbook deliverables, which end up as web-resolution grids or moderately sized print catalogs, you will not use the full 45.7MP native resolution in the final export. The resolution earns its keep in two specific situations: cropping a full-length shot down to a tight product detail without a separate macro pass, and giving a retoucher room to work at 100% zoom on fabric and skin without upscaling artifacts. If your deliverables are strictly web-sized social crops, a lower-resolution body would get you to the same result with smaller files.
Which RAW compression setting should I use for a full lookbook shooting day?
Lossless compressed 14-bit is the practical default. It keeps full retouching latitude while cutting file size versus uncompressed by roughly 40 to 55 percent depending on scene detail. Reserve High Efficiency* for multi-day location trips where card and backup storage is the binding constraint, and treat uncompressed as unnecessary for lookbook work specifically.
Does the lack of an SD card slot cause problems on a paid commercial shoot?
The Z9 uses dual CFexpress Type B slots with no SD option, which means your entire card kit, spares included, needs to be CFexpress. That is a real cost difference versus a body with an SD slot, and it is worth budgeting for before the booking, but on set it has not been a practical limitation. Write speeds on a decent CFexpress card comfortably clear the buffer during 20fps bursts, which an SD card of similar capacity generally cannot do.
How should culling be structured when a single shoot produces well over a thousand frames?
Split it by what generated the volume. Movement bursts and continuous-drive passes are where near-duplicate clustering saves the most time, since you are choosing one or two frames out of a burst of well over a hundred. Static and detail shots need less automated grouping and more straightforward sharpness scoring. Running the card through a local culling pass before import, rather than scrolling the full take in your editor, is the difference between an evening job and a next-morning job on a shoot this size.