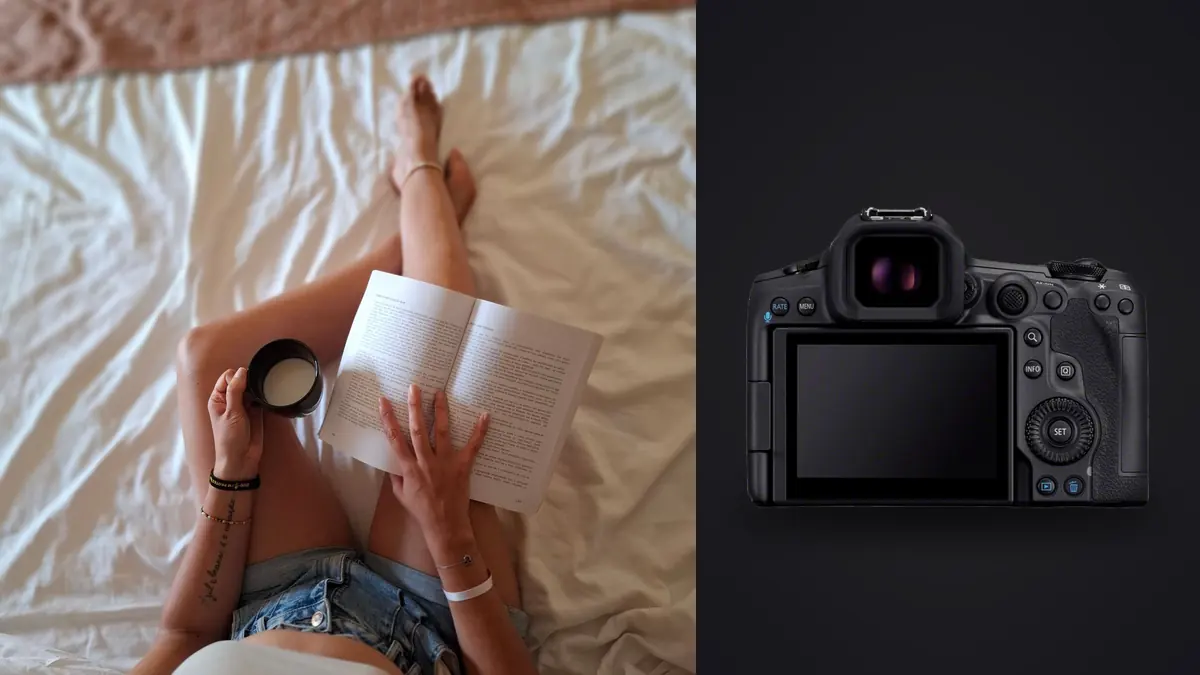
The Canon EOS R5 Mark II records detailed full-frame files that can reveal fine fabric, eyelashes, skin texture, and small lighting errors. In boudoir work, that resolution is useful only when the light supports the subject and the privacy process supports the trust of the session. A technically polished image is not successful if it falls outside agreed boundaries or travels through an unapproved service.
This advanced checklist centers on lighting decisions: how to prelight, protect highlights, separate mixed sources, control reflections, and maintain continuity while poses change. Camera settings, autofocus, movement, and local post-production are included where they affect the light. The setup should remain adaptable to the person and space rather than forcing every session into one visual formula.
Begin with a privacy-aware lighting brief
Agree on image scope, areas of the room, wardrobe boundaries, who may be present, and how promotional permission differs from private delivery. Define a simple way to pause or withdraw a setup. Consent is active during the session and should not be treated as a one-time signature that authorizes every idea.
Lighting choices affect privacy. A mirror may reveal a changing area, assistant, identifying photograph, or doorway outside the intended set. A bright window can expose the location. Walk the frame at the widest likely view and remove or cover details that do not belong.
Disable automatic cloud transfer unless a specific secured workflow has been approved. Keep cards controlled and determine who can see live previews or workstation files. The lighting brief, shot list, release, and file-retention agreement should point to the same intended use.
Prelight with objects, not waiting people
Use a mannequin, chair, stand, or clothed assistant to establish source direction, modifier distance, background brightness, and cable paths. Mark the useful posing area. This allows technical testing before the subject is asked to remain in place.
Test the light on pale cloth, dark fabric, reflective material, and a skin-tone reference where possible. The goal is not a perfect substitute for a person. It is to find clipping, spill, reflections, and unsafe equipment placement early.
Record one clean lighting diagram or phone photograph for each setup. Include source height, angle, distance, modifier, flag, reflector, and practical lamps. If the session returns to a setup later, reconstruction should not depend on memory.
Shape window light before adding equipment
A window can be a large soft source when the subject is close and the opening is diffused. Moving farther into the room makes it smaller relative to the subject and increases contrast. Turn the body and face independently to control where light falls across skin and garment.
Direct sun patches can create bright areas that exceed the rest of the room. Sheer diffusion, blinds, or a change in timing can soften them. Do not attach material to a hot fixture or unstable window treatment. Secure every modifier safely and preserve an exit route.
Use a white reflector for gentle fill or black fabric as negative fill when the room itself bounces too much light. Move the fill rather than treating it as an automatic accessory. A reflector near the face changes catchlights, skin brightness, and the apparent shape of the jaw.
Choose flash or continuous light from the action
Flash can provide strong motion control and repeatable output at a fixed distance. Continuous light shows the result directly and can support a slower conversational pace. The choice should follow movement, room brightness, subject comfort, and the desired relationship with practical lamps.
With flash, use a shutter mode and timing supported by the R5 Mark II, trigger, and flash system. Start with manual power on a marked pose for consistency. TTL can help as distance changes, but pale bedding, dark walls, and reflective lingerie can shift its decision. Monitor each setup rather than assuming the metering will preserve a ratio.
With continuous LEDs, test for flicker and color stability at the planned shutter speeds. Photograph a neutral wall through a short sequence and compare frames. If bands or changing color appear, adjust shutter timing or use a stable fixture. Electronic shutter readout cannot guarantee compatibility with every lamp.
Protect skin highlights without making skin flat
Forehead, cheek, shoulder, and collarbone highlights give skin shape, but broad clipping removes texture and can be difficult to repair. Use the histogram, highlight warning, and channel view as guides. A tiny specular point can remain white; a large patch should retain transition when the final style needs detail.
Change source angle, size, or distance before lowering the whole exposure. A larger close source creates a broader, softer transition. Moving a source to the side deepens shape. Feathering the edge of a modifier across the subject can reduce a hotspot without changing background exposure as much.
Darkening every highlight in post can make skin dull. Capture a controlled luminous range, then make restrained non-destructive adjustments. Review at normal output size as well as high magnification so the high-resolution file does not encourage excessive correction of natural texture.
Keep fabric texture and skin in the same exposure plan
White lace, satin, sequins, and dark velvet respond differently. A meter reading that protects skin may still clip a reflective garment or bury black-on-black detail. Place the material in its final orientation during the test, because a turn can send a specular reflection directly into the lens.
Use light angle to reveal weave. Side light describes raised texture; frontal fill reduces it. A polarizer may alter some reflections but can affect materials unevenly and will not control metallic highlights in the same way. Test the complete pose range before relying on it.
For dark material, create edge separation or a controlled sheen rather than lifting the entire shadow range. The garment should remain dark while its construction remains legible. A background with slightly different tone or color can separate silhouette without adding a visible rim light.
Control mixed color before RAW development
Window daylight, warm bedside lamps, and decorative LEDs can place different color on each side of the body. One white-balance slider cannot make all sources neutral. Decide which source establishes skin color and whether the others should be matched, blocked, dimmed, or retained as creative accents.
Photograph a neutral reference at the subject position for every lighting state. Use a fixed white balance within that state so changing wardrobe or background does not steer automatic color. A reference does not remove atmosphere; it gives a consistent point for later decisions.
Watch individual color channels under saturated light. A red source can clip red-channel skin detail while the overall histogram appears below the edge. Lower or diffuse the colored source, reduce exposure, or mix in neutral light until important texture returns.
Place catchlights and shadows with intention
Catchlights reveal source position. One large source can create a clean shape, while several uncontrolled lamps may fill the eyes with competing points. Decide whether that complexity supports the scene. Move or flag practical lamps that create distracting reflections.
Nose and chin shadows should describe form without crossing important features awkwardly. Small changes in source height or face angle can correct them. Do not solve every shadow by adding frontal fill, which can remove dimensionality from the entire scene.
Hands and feet may sit closer to the source than the face and become brighter through inverse-square falloff. Reposition the source farther away for more even coverage, feather it, or adjust the pose. Correcting only the face exposure can leave the extremities visually detached.
Set autofocus and depth for the lit pose
Use eye detection within a restricted AF area for a single clear face. Hair, lace, mirrors, and foreground fabric can redirect tracking, so assign a small point override. Verify the actual iris after changing lens, distance, aperture, or light.
A wide aperture may leave the far eye, hands, or garment detail outside depth. Align important features, stop down, or increase distance. The R5 Mark II's resolution makes small plane errors visible, but the correct depth remains an artistic decision tied to the pose.
For a stationary pose under flash, single autofocus can provide a stable plane if neither camera nor subject moves afterward. For breathing, turns, or movement through a marked area, continuous autofocus is more appropriate. Shutter speed or flash duration must still freeze the movement.
Use movement as a lighting stress test
Rehearse a turn, fabric lift, hair movement, or transition between marks. Watch whether the subject leaves the useful light, whether a bright shoulder rotates into the source, and whether shadows move across the face. Expand or reposition the light rather than asking for an unnaturally precise path when the visual goal is fluidity.
Make a short burst around the peak gesture. The highest drive rate is unnecessary for most controlled portrait motion and can outpace flash recycling. If later frames darken, reduce flash demand or slow capture before changing exposure globally.
Review gesture first, then focus, then lighting continuity. The sharpest frame may have the least useful fabric shape, while a slightly different instant may satisfy the brief. Keep an alternate when expression and garment movement tell different parts of the story.
Inspect mirrors, edges, and practical lamps
Before final capture, scan each mirror and reflective surface for the camera, stand, cable, doorway, and private object. Move or flag the reflection at capture. High resolution can reveal a small identifying detail that the rear screen misses.
Practical lamps can clip into featureless shapes or create flare. Lower their output, change bulb, diffuse safely, or adjust the lens angle while preserving their role. Remove unnecessary protective filters when they create doubled reflections.
Check the entire frame after magnified eye focus. Focus zoom narrows attention and can hide a stand entering a corner. Return to full view before the exposure sequence begins.
Keep the high-resolution workflow private and selective
Copy CR3 originals to a controlled folder and a separate verified backup before card reuse. Keep working edits non-destructive and avoid exporting more frames than the agreement requires. File names and metadata should not include intimate descriptions or unnecessary personal information.
imagic can locally group bursts and assess sharpness, exposure, closed eyes, and composition on Windows or macOS. Its apply_my_style feature can use a profile learned from the photographer's own edited work as a starting point. Neither function decides consent, retouching boundaries, or which frames the subject is comfortable receiving.
Use the tips and workflow guides for related session planning and the desktop page for the local non-destructive route to JPEG or TIFF. Follow the written retention, encryption, access, and deletion policy after delivery.
Advanced lighting checklist
- Permission: confirm scope, room boundaries, access, and promotional use separately.
- Prelight: test direction, safety, spill, and reflections before the subject enters.
- Source: choose window, flash, or continuous light from movement and comfort.
- Highlights: protect meaningful skin and fabric texture by shaping light first.
- Color: establish a neutral reference and control mixed or saturated sources.
- Focus: verify the intended iris and enough depth for the pose.
- Movement: rehearse the path through light and respect flash recycling.
- Privacy: inspect reflections, keep processing controlled, and limit exports.
Frequently asked questions
Should boudoir skin highlights ever clip?
A tiny point reflection can be white, but broad skin areas should usually retain a tonal transition. Change light angle, size, distance, or feathering before simply lowering every tone.
Is flash or continuous light better with the R5 Mark II?
Flash offers strong motion control and repeatability, while continuous light shows the result directly. Choose according to movement, room conditions, subject comfort, and tested flicker or synchronization behavior.
Can high resolution replace careful lighting?
No. It records fine texture and also reveals clipping, focus error, glare, and uneven color. Light placement and exposure determine whether the extra detail is useful.