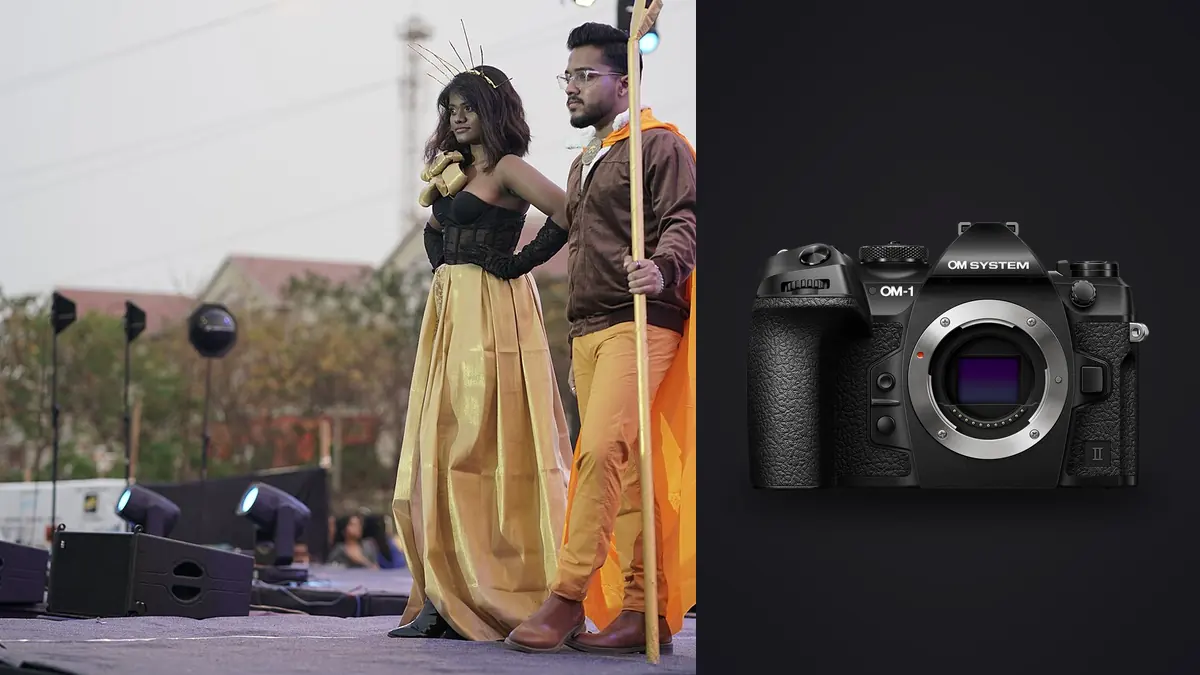
A commercial lookbook succeeds when every required view is present, garment color and texture stay credible, and the camera remains consistent while styling changes. The OM System OM-1 Mark II brings a compact Micro Four Thirds system, a stacked sensor, effective stabilization, and configurable subject detection to that work. Its smaller sensor can provide useful depth with portable lenses, but it also rewards careful exposure when files will be cropped or shadows lifted.
This advanced technique checklist is built around production control rather than maximum feature use. Computational modes, extreme bursts, and deep automation are valuable only when the moving model, flash system, and delivery format support them. Establish a repeatable baseline, then add one technique for a specific visual need.
Translate the brief into a shot matrix
List each garment, variation, and mandatory view before the set is built. Common columns include full length, front, back, side, three-quarter, detail, movement, and accessory. Add the intended background, crop orientation, and whether the frame is catalog-clean or editorial. This matrix prevents an energetic sequence from replacing a required reverse view.
Assign filenames or slate numbers to looks without putting private or speculative information in the path. Photograph a visible slate at the start of each garment and synchronize any second camera. Keep a check column for capture and another for quality control; a frame can exist but still need correction.
Decide the final aspect ratio and layout before composing. Leave copy space where the design needs it and keep enough margin for responsive web crops. The camera's native frame should be used deliberately rather than assuming every image can be repaired by trimming later.
Use Micro Four Thirds depth as a production tool
At equivalent framing and display, Micro Four Thirds can provide greater depth of field than a larger format at the same marked aperture. That can keep both eyes, garment surface, and accessories readable without closing the aperture excessively. It is useful for catalog work where fabric details across the body matter.
Shallow separation remains possible with a fast lens, close subject distance, and a distant background. Do not choose an aperture only to imitate another format. Set depth according to the product. A layered collar, extended sleeve, or bag held forward may need more coverage than a flat standing pose.
Very small apertures introduce diffraction and demand more light. Test one full-length and one detail frame at the intended output size. If texture softens globally, open the aperture and align the camera more carefully with the garment plane.
Build a lens plan around proportions
A normal prime or standard zoom gives a natural full-length perspective when enough distance is available. A short telephoto can simplify the background and flatter portrait distance, while a wider lens suits environmental fashion only when edge stretching is controlled. Keep hands, shoes, and the model's face away from extreme corners when using a wide view.
Mark camera position and focal length for repeatable catalog framing. If a zoom is used, tape or record the chosen setting so every look does not drift. A prime removes focal-length variation but may force camera movement that changes perspective. Choose the compromise that the set can support.
Carry a close-focusing option for stitching, jewelry, fabric weave, and fastener details. Confirm that the lens renders the whole material honestly rather than sharpening only one narrow plane. A detail frame should explain construction, not simply demonstrate magnification.
Configure two exposure states, static and movement
Save one custom mode for static lookbook frames and another for walking, turning, or fabric motion. The static mode can use single AF or controlled continuous AF, a moderate drive setting, and the aperture needed for product depth. The movement mode should raise shutter speed, enable AF-C, and use a short burst around the intended gesture.
Manual exposure is repeatable under fixed lights. With changing daylight, manual shutter and aperture with Auto ISO can preserve motion and depth, provided the upper range and compensation are controlled. Do not leave an automatic setting unexplained in a color-critical production.
Make a reference frame after switching modes and again after changing light distance. A custom mode restores saved values, but it cannot know that a modifier moved or the model stepped off the mark.
Tune autofocus for people without surrendering selection
Face and eye detection is a useful starting point for one model against a clean set. Limit the AF area when a mirror, printed face, assistant, or foreground accessory can compete. Begin tracking on the intended eye and assign a reachable control to a smaller area for partial profiles.
For two models at different distances, autofocus can select only one plane. Arrange them within the available depth, stop down, or make separate frames. A box around each face does not mean each will be critically sharp.
Review magnified eyes after the first live pose, then check garment edges for movement. If eyes are crisp and a sleeve smears, shutter time is the issue. If the background is crisp, acquisition failed. If no detail is clean, inspect camera movement, support, and lens condition before rebuilding AF settings.
Control electronic shutter and artificial light
The stacked sensor supports fast electronic operation, but pulsing LEDs can still produce brightness bands or color variation. Photograph a neutral surface through the planned shutter range and compare consecutive frames. Use flicker controls where appropriate, change shutter time, or choose a stable source if variation remains.
Flash work should use a shutter mode and timing supported by the OM-1 Mark II, trigger, and flash system. Manual flash is repeatable on a fixed mark. TTL can accommodate distance changes, but reflective or very dark garments can alter its decision. Monitor the first frame of every new material.
High-resolution multi-shot modes combine multiple sensor positions and are poorly suited to a moving model or changing fabric. They may be useful for a static set or product detail under controlled conditions, but they should not be the default lookbook capture. Any composite mode needs a careful artifact check.
Preserve color through each styling change
Photograph a neutral and color reference at the model position for every distinct lighting setup. Keep a fixed white balance within that setup so a red coat or blue background does not steer automatic color. The reference is a starting point; it does not remove intentional lighting design.
Watch saturated fabrics by channel, not only through the overall histogram. Red, blue, or magenta material can lose texture in one channel while average brightness appears safe. Reduce exposure or reshape light until important weave remains. A specular sparkle can clip, while a broad garment region should not.
Colored backdrops reflect onto skin and pale clothing. Increase subject-background separation, flag spill, or add neutral fill before trying to correct a gradient later. A global white-balance adjustment cannot remove different color from opposite sides of a garment.
Direct movement around repeatable marks
Rehearse a walk, turn, coat swing, or fabric lift before recording it. Mark start and finish, specify the direction of gaze, and identify the visual peak. Use a short burst around that point rather than holding the fastest drive rate through the entire action.
Keep movement comfortable and safe for the footwear and garment. A long hem, narrow platform, or stiff construction may limit the action. The stylist should confirm that repeated movement will not damage the piece. Technical ambition does not override product care or model safety.
Compare the sequence for garment shape first, then expression and focus. The sharpest frame may hide the design or place a sleeve awkwardly. Keep an alternate when two gestures communicate distinct features.
Use stabilization where it solves the correct problem
In-body stabilization can steady handheld static frames and make a compact location setup practical. It does not freeze a walking model, hair, or fabric. Choose shutter time from subject movement and use stabilization to reduce the remaining camera motion.
On a tripod, follow current OM System and lens instructions for stabilization behavior. Use a remote release or self-timer for static details, secure the plate, and check for head sag. Do not assume a computational hand-held mode is appropriate merely because stabilization is strong.
For a consistent catalog series, tripod height and camera angle often matter more than mobility. For editorial variation, handheld movement can add energy. Decide which mode the brief needs rather than drifting between them.
Run set-side quality control before changing looks
- Coverage: check every required angle and detail against the matrix.
- Focus: magnify the intended eye and the garment feature that carries value.
- Motion: inspect hair, hands, hems, and accessories independently.
- Color: confirm reference frame, saturated channels, and background spill.
- Exposure: protect pale fabric and reflective trim without crushing dark material.
- Framing: compare camera height, margins, and focal length with the reference look.
- Files: verify card recording and remaining capacity before the next garment.
- Reset: restore the correct static or movement mode after any experiment.
Move from set to final delivery
Copy cards into protected originals and a separate verified backup before reuse. Group each look and movement burst before rating individual frames. imagic can locally analyze supported OM System ORF files, group near-duplicates, and assess sharpness, exposure, closed eyes, and composition without uploading the shoot.
The final selection still needs a garment-accuracy and brief-completeness pass. Use non-destructive edits, match color by lighting setup, and export the requested JPEG or TIFF variants. The tips and workflow category contains related production guidance, while the desktop page outlines local culling and learned personal-style application.
Inspect fine patterns before the set changes
Tight weave, mesh, pinstripes, and small repeated prints can interact with the sensor sampling and RAW rendering. Inspect a full-length frame and a detail at high magnification for false color, stair-stepped edges, or unstable texture. Change camera distance, aperture, or angle slightly if a pattern produces an artifact.
Do not assume extra sharpening will restore a fabric that already aliases or blurs at capture. It can make the artifact more visible. Keep a reference frame with the garment filling more of the image when exact construction matters, and test the chosen RAW decoder before the sample leaves the set.
If a pattern changes appearance after resize, compare the full-resolution master and delivery derivative. Output resampling can create or remove interference, so quality control must include the final dimensions rather than only the editing preview.
Frequently asked questions
Is the OM-1 Mark II suitable for commercial lookbooks?
Yes when its lens options, output size, and workflow match the brief. Its portable system and useful depth can support consistent work, while careful exposure protects files that need heavy cropping or adjustment.
Should High Res Shot be used for a moving model?
Usually not. Multi-shot high-resolution modes combine separate captures, so movement in the model, fabric, hair, or light can create artifacts. Reserve them for controlled static subjects after testing.
Does stabilization replace a fast shutter for fashion movement?
No. It reduces camera motion but cannot freeze a turn, walk, swinging coat, or moving hair. Set shutter speed for the subject and let stabilization handle photographer movement.