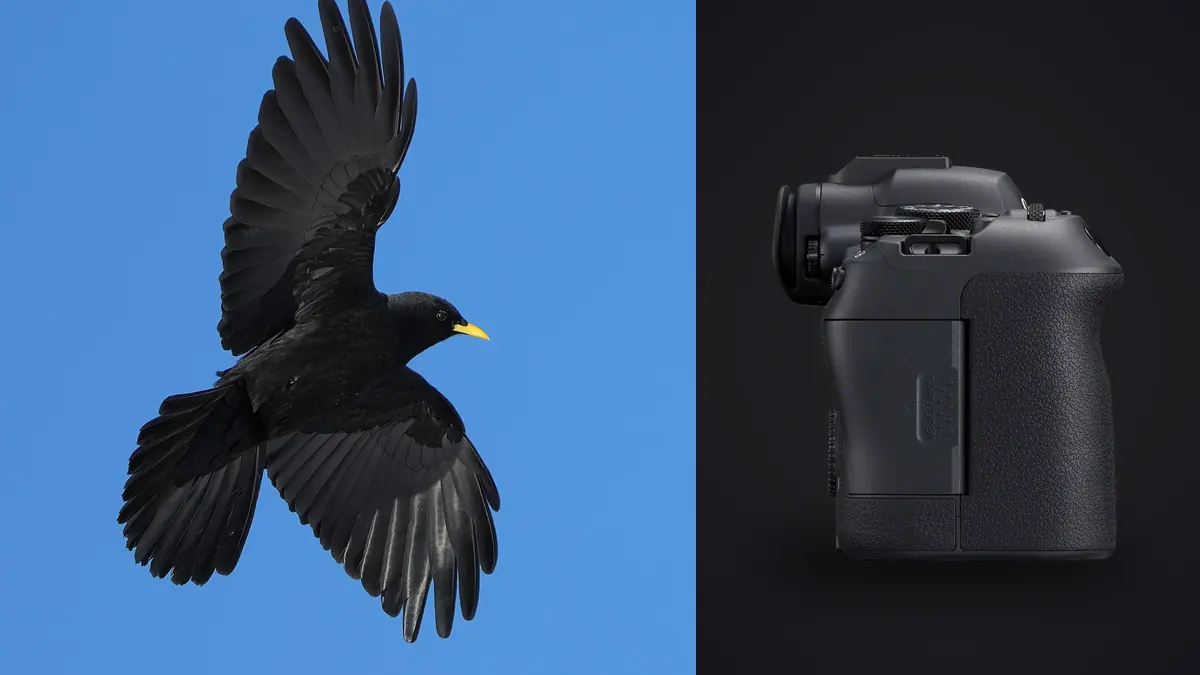
I've had a Canon R6 Mark II strapped to a gimbal on a riverbank hide more mornings than I'd like to admit, waiting on ospreys, and I've also chased barn swallows over a hay meadow where nothing about the flight path is predictable. Those are two completely different autofocus problems and the R6 II handles them differently well. This is what I've actually landed on after burning through a lot of card space finding out what doesn't work.
The autofocus system is good, but it needs correcting
Canon's animal detection AF on the R6 Mark II is a real step up from the original R6, and it will find an eye on a perched hawk from a distance that still surprises me. In flight it's a different story. Against open sky it locks fast and holds well. Against a busy background (reeds, a tree line, water with glare) it will sometimes jump off the bird and lock onto whatever has the most contrast, which is often not the bird at all.
Two things fix most of that. First, I keep Subject to Detect on Animals rather than the newer combined settings some bodies offer, because in dense foliage the R6 II's whole-body priority is more reliable than eye priority alone, it doesn't hunt for an eye that's obscured by a wing. Second, I've stopped trusting the default AF area. Whole Area AF sounds convenient but on a small bird against a cluttered background it gives the camera too much freedom to grab the wrong thing. I run Spot AF or 1-point expanded to a small zone, and I actively steer that point with the joystick rather than letting the camera guess. It's more work but the keeper rate is noticeably better.
AF Case settings that actually match bird behavior
Canon's Case 1 through 4 presets get recommended as a package deal, but I treat them as starting points I tune, not fixed recipes. The table below is what I actually dial in depending on what's flying that day, not the stock Canon descriptions.
| Flight scenario | Base Case | Tracking Sensitivity | Accel/Decel Tracking | Switch Subject |
|---|---|---|---|---|
| Raptor soaring/gliding, open sky | Case 1 | 0 (default) | 0 | 0 |
| Gulls or herons crossing in front of you | Case 2 | +1 | 0 | 0 |
| Swallows/swifts, erratic low flight | Case 4 | +2 | +2 | -1 (resist switching) |
| Bird bursting out of reeds toward you | Case 3 | +1 | +1 | 0 |
| Mixed flock, birds crossing each other | Case 5 | -1 | 0 | -2 |
The setting that matters most and gets ignored is Switch Subject. Push it negative and the camera commits to the bird it already has, which is what you want in a flock where a second bird might cross the frame at the wrong moment and steal focus. I learned this the hard way photographing brent geese in a skein, where the default setting kept hopping between birds mid-burst and I ended up with a card full of sharp geese in the wrong position in the frame.
Mechanical shutter versus the 40fps electronic mode
The R6 Mark II does 12fps on the mechanical shutter and up to 40fps electronic with a full AF/AE readout between frames, no viewfinder blackout, which is genuinely useful for BIF. But 40fps is not a free lunch. Two things bite people who switch to it without thinking:
Rolling shutter distortion. Fast wingbeats against a bright background can show a slight banana warp on the wingtips at 40fps because the sensor readout isn't instant. It's subtle, and mostly shows up on species with very fast wing cycles like small waders, less so on something like a heron with a slow flap. Mechanical shutter doesn't have this problem at all.
Buffer depth. In CRAW the R6 II will give you a genuinely usable run at 40fps before it slows, but if you're shooting full RAW and holding the trigger down through an entire flight sequence you will hit the wall, and once the buffer fills, frame rate drops hard and you can lose the moment you actually wanted. I shoot CRAW for anything that isn't going straight to a large print, specifically because it buys buffer room without a visible quality hit at normal print sizes.
My actual habit: mechanical 12fps is my default for anything with a slow, predictable wingbeat (raptors, herons, most gulls). I switch to electronic 40fps only for genuinely fast, short bursts, a kingfisher launching off a perch, a duck taking off explosively off water, where the extra frames between wingbeat positions actually matter for picking the exact wing position I want.
Glass that actually reaches the bird
The body is only half the equation. I've shot BIF with three different lens setups on this camera and they behave differently enough that it's worth laying out plainly rather than pretending one is obviously best.
| Lens | Effective reach | Max aperture | Handheld all day? | AF speed on this body |
|---|---|---|---|---|
| RF 100-500mm f/4.5-7.1L | 500mm native | f/7.1 at long end | Yes, comfortably | Fast, no complaints |
| RF 800mm f/11 | 800mm fixed | f/11 | Yes, surprisingly light | Fine in good light, hunts in overcast/dusk |
| EF 400mm f/2.8 III + EF-EOS R adapter | 400mm (560mm w/ 1.4x) | f/2.8 | No, needs a gimbal | Excellent, best AF speed of the three |
| RF 100-500mm + RF 1.4x extender | 700mm native | f/10 at long end | Yes | Noticeably slower to lock than bare 500mm |
The RF 800mm f/11 gets recommended as a cheap reach solution and it genuinely is, but f/11 means you need decent light or you're pushing ISO harder than you'd like, and I've had it hunt for focus on a bird against flat grey cloud when the 100-500 locked instantly on the same bird a second later with the extender off. If your birding is mostly early morning or you're in the tropics with strong light most of the day, it's a good deal. If you're doing a lot of dawn or dusk activity, that f/11 catches up with you.
The adapted EF 400mm f/2.8 surprised me. Canon's RF mount gets all the marketing attention but that old EF glass, adapted, autofocuses on the R6 II about as fast as anything I've used, and the extra stop and a half of light over the RF 100-500 at its long end matters more than the numbers suggest once the sun starts dropping.
Exposure choices that actually hold up against sky
Birds against bright sky will fool evaluative metering into underexposing the bird every time, because the meter is trying to bring that bright background down to middle grey. I shoot manual exposure with auto ISO for BIF, set my shutter speed and aperture for the subject, and let ISO float. For a bird crossing the frame at a moderate pace I start at 1/2000s, for something fast and erratic like a tern diving I go to 1/3200s or faster. Aperture I keep around f/6.3-f/8 depending on the lens, not wide open, because depth of field on a bird in flight is thinner than people expect and you want enough margin that a slight front/back focus miss on the head doesn't ruin the shot. I also dial in +2/3 to +1 exposure compensation over what the meter wants when the bird is against open sky, otherwise you get a correctly exposed sky and an underexposed bird, and pulling shadow detail back on a small, dark, feathered subject at high ISO is never as clean as getting it right in camera.
What a real session actually produces, and dealing with it
Here's the part nobody puts in the settings guides. A decent 20-minute session photographing ospreys fishing, shot at 12fps mechanical with the occasional 40fps burst on the strike itself, produces somewhere around 1,500 to 2,500 frames. Most of them are near-duplicates of each other, six or eight frames of the same wingbeat position with only the eye direction changing, plus a long tail of frames where the bird was slightly out of the focus zone entirely. Sorting that by eye is where BIF sessions actually go to die, and it's the reason I run everything through imagic before I touch Lightroom. It runs entirely on the machine, no upload queue, which matters when I'm reviewing a session at a hide with no signal. It scores sharpness locally on the actual eye/head region rather than just overall frame contrast, which catches the difference between a technically sharp frame where the bird's eye is a half-inch soft and one where it's genuinely nailed, something that's brutally hard to judge quickly across 2,000 near-identical frames on a laptop screen. It also clusters the burst sequences and near-duplicates together automatically so I'm choosing between six similar frames instead of scrolling past all of them individually. Once I've got my keepers pulled out, I lean on the apply_my_style preset, trained on my own past edits, to get a fast first pass across the whole set before I go in on the two or three hero frames by hand. For a session that size, that's the difference between an editing afternoon and an editing evening. If you're new to how automated culling actually separates sharp from soft at the pixel level, I went into more depth on that in how AI photo culling works, and there's a broader rundown of where the real time sinks are in a wildlife workflow in 10 tips for a faster photo workflow.
Small settings that punch above their weight
A few things I don't see mentioned enough. I keep AF-On back-button focus mapped and leave the shutter button doing exposure only, which stops accidental focus hunts when I'm just tracking a bird waiting for it to do something interesting. I also turn off Touch & Drag AF entirely in the field, because with a big lens on a gimbal my nose brushes the screen constantly and it kept relocating my AF point without me noticing until I reviewed the shot. Dual card slots I run as overflow rather than backup during a session, RAW/CRAW filling one card and spilling to the second, because BIF bursts eat card space fast and I'd rather not swap cards mid-flight sequence over a nesting site I might only get one pass at. One more thing worth knowing before you buy into 40fps as the headline feature: it's electronic shutter only, and electronic shutter on this body will also pick up banding under certain artificial lights, though that's rarely a factor for outdoor birding. It's really the rolling shutter and buffer tradeoffs above that decide whether 40fps helps you or just fills your card faster with frames you'll delete anyway.
Frequently Asked Questions
Is 40fps electronic shutter worth using for most birds in flight, or should I stick to 12fps mechanical?
For slow, predictable flyers like herons, raptors gliding, or large gulls, 12fps mechanical gives you plenty of frames per wingbeat cycle and avoids both rolling shutter artifacts and the faster buffer fill. Save 40fps for genuinely fast, short actions, a launch off a perch, a strike on water, where you need the extra frames to catch one specific wing position.
Why does the animal eye AF keep grabbing the background instead of the bird?
Usually it's the AF area setting, not the detection algorithm. Whole Area AF gives the camera too much latitude to pick the highest-contrast subject in frame, which against reeds, branches, or choppy water often isn't the bird. Switching to Spot AF or a small expanded zone that you actively steer with the joystick fixes most of these misses.
Is the RF 800mm f/11 actually a viable birding lens on the R6 Mark II, or just a novelty?
It's genuinely usable, especially handheld given how light it is for its reach, but the f/11 aperture means it needs decent light to autofocus quickly and keep ISO reasonable. In strong morning or midday light it performs well. At dawn, dusk, or under heavy cloud, it starts to hunt and you'll be running higher ISO than you'd like.
How many keeper shots should I realistically expect from a flight sequence?
From a burst where the bird was actually in the AF zone the whole time, a well-tuned Case setting typically gets somewhere around a third to half the frames genuinely sharp on the eye. Across a full session including the misses and partial sequences, the real keeper rate is much lower, often under ten percent, which is exactly why sorting the raw take efficiently afterward matters as much as the settings you shoot with.