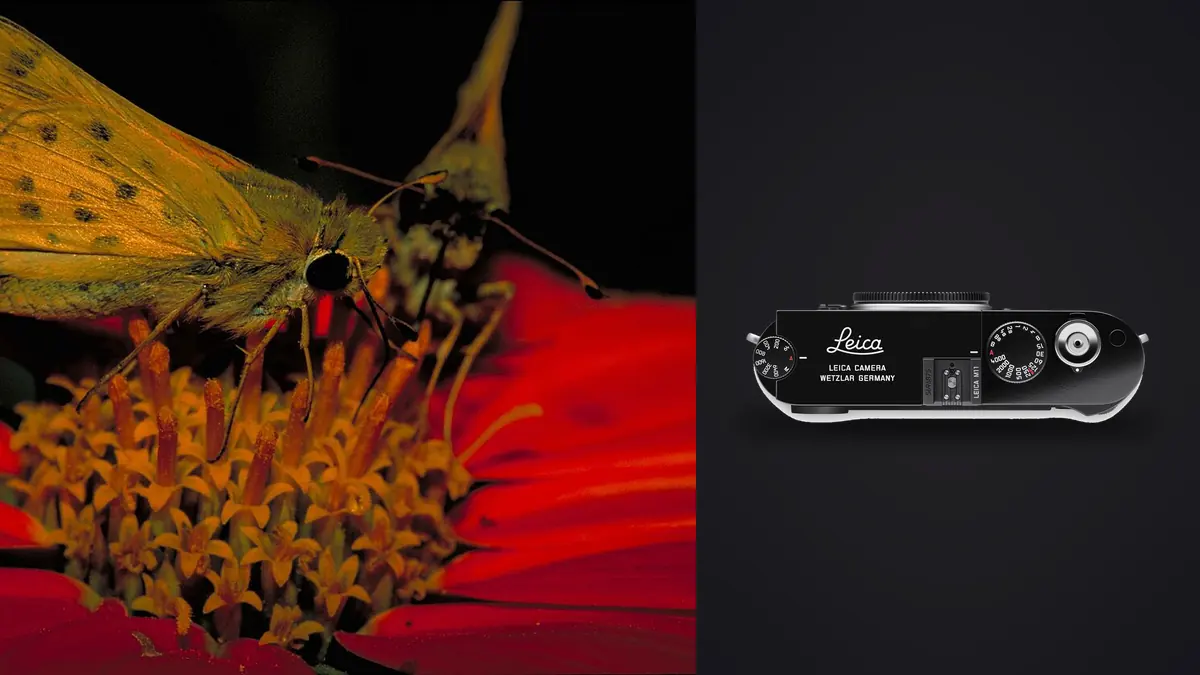
The first time I put an M11 on a tripod six inches from a hoverfly, I understood pretty quickly why almost nobody writes about this combination. Rangefinders were built to let you frame a scene fast and shoot from the hip, not to chase a moving insect at 1:1 magnification where a half-millimeter of focus error ruins the shot. And yet the M11 is what I owned, I already had a drawer of M-mount glass, and I wasn't about to buy a second system just to photograph beetles in my own garden. So I spent the better part of a summer figuring out what actually works, what's a waste of money, and where this camera simply isn't the right tool. This is that write-up.
Why the M11 Fights You on Macro
The core problem isn't the sensor. The 60-megapixel BSI sensor in the M11 resolves plenty of detail for insect work, and the triple-resolution DNG option (60/36/18MP) is genuinely useful here because you can shoot at 18MP for casual test frames and switch to full resolution when you've got a cooperative subject worth cropping hard into. The problem is the focusing system itself. A Leica rangefinder couples the lens to a mechanical patch that stops being useful at somewhere around 0.7 meters. Below that distance, the two images in the viewfinder simply don't converge in a way you can trust, so for anything closer, which is essentially all insect macro work, the rangefinder patch is dead weight. You're focusing manually by eye on a screen or through an accessory finder, the same as you would on a view camera, except the insect is alive and does not care that you're only halfway through your focus rack.
There's also no in-body stabilization and no autofocus of any kind, which matters more at macro distances than it does for a 50mm street shot. At 1:1, camera shake that's invisible at normal distances becomes obvious, and a dragonfly's wings move faster than your shutter finger reacts. None of this makes the M11 unusable for insects. It makes it a camera that demands a specific approach, and that approach starts with the lens.
The Native Route: Macro-Elmar-M 90mm and the Adapter
Leica does actually sell a purpose-built answer to this: the Macro-Elmar-M 90mm f/4, paired with the separate Macro-Adapter-M. On its own, the 90mm focuses down to about 0.77m and gets you roughly 1:3.3 magnification, useful for larger subjects like dragonflies or big moths but not enough for something like a jumping spider's face. Click the Macro-Adapter-M onto the lens mount and it physically shifts the lens forward, extending it closer to the sensor plane and unlocking 1:2 magnification. The adapter also carries its own small optical finder that clips into the accessory shoe, because at that distance the rangefinder frame lines in the main viewfinder are no longer accurate for framing, only the clip-on finder is. It's an elegant piece of engineering and it's the only macro solution Leica designed specifically for this body. It's also expensive relative to what it does, and honestly, 1:2 is a modest maximum magnification by dedicated macro-lens standards. For big showy subjects it's plenty. For anything the size of an aphid, you'll want more reach than this setup gives you.
Framing Without the Rangefinder
Working with the clip-on finder takes some adjustment if you've spent years trusting the main viewfinder. You compose through the small accessory finder, focus by feel and by checking the rear screen, and accept that there's a short learning curve where your first few sessions produce a lot of slightly-off framing. It gets faster with repetition, but it's never as immediate as normal rangefinder shooting.
Live View and the Visoflex 2: Where the Real Focusing Happens
For anything beyond 1:2, or for using non-native macro glass, you're leaning entirely on live view. The M11's 2.95-inch rear touchscreen supports focus peaking and magnified zoom, and both are essential at macro distances where depth of field can be under a millimeter. I found peaking alone unreliable on fine insect hair and compound eye texture, it tends to highlight edges inconsistently at extreme close focus, so I lean on the magnified view and confirm critical focus by eye at 100% or higher before committing to a frame. The optional Visoflex 2 electronic viewfinder helps a lot outdoors, where the rear screen washes out in direct sun. It's not cheap, but if you're doing this regularly and shooting anywhere other than open shade, it earns its keep within a few sessions just by making focus confirmation possible at noon.
Adapting Other Macro Lenses
The Macro-Elmar isn't the only path, and for a lot of shooters it isn't the best value. Leica's older R-mount macro lenses, like the APO-Macro-Elmarit-R 100mm f/2.8, can be mounted via the R-Adapter-M and will get you to true 1:1 magnification with the right extension. You give up any rangefinder coupling entirely (you were relying on live view anyway at these distances) and gain a full stop of magnification over the native M solution, often for less total spend on the used market. There's also a growing crop of budget third-party M-mount macro lenses, from makers like TTArtisan and 7Artisans, offering native 1:1 magnification without any adapter at all. Optically they're not going to match Leica glass wide open, insect eyes and antennae show it if you pixel-peep at 60MP, but stopped down to f/8 or f/11 for depth of field, which is where you'll be shooting most macro insect work anyway, the gap narrows a lot. If you're not sure macro insect photography is going to become a regular part of your work, this is the cheapest way to find out before committing real money to the Leica-branded path.
| Setup | Max magnification | Focus method | Approx. cost | Best for |
|---|---|---|---|---|
| Macro-Elmar-M 90mm f/4 + Macro-Adapter-M | 1:2 (1:3.3 without adapter) | Rangefinder to 0.77m, then clip-on finder | ~$4,000-4,800 combined | Shooters who want an all-native Leica kit |
| APO-Macro-Elmarit-R 100mm f/2.8 + R-Adapter-M | 1:1 with matched extension | Live view / Visoflex only | ~$1,800-2,500 used | True 1:1 without buying the newest Leica lens |
| TTArtisan / 7Artisans 100mm f/2.8 macro (native M) | 1:1 | Live view / Visoflex only | ~$300-450 new | Testing the workflow before spending real money |
| Extension tubes on an existing M lens (e.g. 50mm Summicron) | ~1:4 to 1:2 depending on stack | Live view, no rangefinder coupling | ~$60-150 | Occasional close-ups without buying a dedicated lens |
Field Technique for Actual Live Insects
Everything above assumes a cooperative subject, and insects are rarely cooperative. A few things that changed my keeper rate more than any piece of gear did. Shoot early, before the air warms up. Insects are ectothermic, so a bee or beetle at 6am is sluggish and sometimes dew-covered, giving you several extra seconds per approach that you simply don't get at 2pm. By late morning the same subject is airborne the instant your shadow crosses it. Stop down further than instinct suggests. At close to 1:1, the effective aperture narrows due to bellows extension, so an f/4 lens can behave closer to f/8 in practice. Depth of field at these magnifications is often under a millimeter even at f/8, so I default to f/11 and add light rather than try to shoot wide open and hope. Bring your own light. Because there's no TTL flash metering tied to autofocus distance the way there is on most DSLR and mirrorless macro systems, flash exposure here is manual trial and error. A small diffused flash or twin-light setup lets you shoot at f/11-f/16 without grinding your shutter speed down to something that turns every wingbeat into a blur. Accept that focus stacking is manual. The M11 has no automated focus bracketing mode, so if you want a stack, you're racking focus by hand between frames and merging afterward. It works, but it's slow, and it only really makes sense for stationary subjects like a resting moth, not anything actively moving.
Handling the Frames Afterward
Here's the part nobody mentions when they talk about macro insect work: the volume problem. A single ten-minute session chasing one dragonfly with manual focus racking can leave you with 150-300 frames, most of them near-duplicates a fraction of a millimeter apart in focus, because you didn't know which one nailed the compound eye until you got home and looked. Scrolling through that at full resolution on a laptop screen is its own kind of tedious, and it's easy to pick the wrong frame because early fatigue makes everything at 100% start to look about the same. This is where I actually lean on imagic rather than my own eyes for the first pass. It's a local, one-time-purchase culling tool, and its sharpness and focus scoring runs entirely on-device, so a folder of 250 near-identical macro frames gets ranked by measured focus accuracy rather than by how tired I am at frame 200. The duplicate and burst clustering groups those manual-focus-bracketed sequences together automatically, so instead of flipping through every single frame in order, I'm reviewing maybe 15 clustered groups and picking the sharpest one or two from each. Because everything runs locally with no cloud upload, none of this depends on an internet connection either, which matters when I'm processing a card in a field cabin with no signal. If you want the mechanics of how that focus scoring actually works under the hood, we cover it in more detail in how AI photo culling works. Once the culling pass is done, grading a big insect series consistently is its own chore, since lighting and background color shift a lot between a shaded fern and a sunlit flower head. I've gotten used to running imagic's apply_my_style preset, trained on my own previous edits, across the surviving frames as a starting point rather than grading each one from a blank slate, then adjusting individual outliers by hand. It's not a substitute for actually looking at each photo, but it cuts the boring, repetitive part of the edit down substantially. For a broader look at building out a full grading pass beyond that starting point, see our color grading guide.
Where the M11 Isn't the Right Tool
I want to be straight about this rather than pretend the M11 is secretly great at everything. If macro insect photography is going to be the majority of your shooting, not an occasional side project alongside street or travel work you already do on this system, a modern mirrorless body with in-body stabilization, focus peaking that's actually reliable at extreme magnification, and a native autofocus macro lens will get you a dramatically higher keeper rate for less money and less frustration. The M11 makes sense here specifically because you already own the glass and the body for other reasons, and you'd rather adapt your existing kit than carry two systems. If you're starting from zero with insects as the actual goal, buy into that other system first and consider the M11 route later if you fall in love with rangefinder shooting for everything else you do.
Frequently Asked Questions
Can the Leica M11 autofocus for macro insect shots?
No. The M11 has no autofocus of any kind, on any lens, at any distance. For macro work specifically, the rangefinder patch itself stops being reliably usable below roughly 0.7 meters, so you're focusing manually through live view or an accessory finder for essentially all insect photography, regardless of which lens you're using.
What's a realistic keeper rate shooting live insects this way?
It depends heavily on the subject and time of day. On a cool morning with a slow-moving, dew-covered subject, I'll get a usable frame roughly one in every eight or so attempts. Chase an alert wasp on a warm afternoon and that number drops closer to one in thirty. Manual focus on a moving target is genuinely difficult, and no amount of gear changes that math much.
Do I need the Visoflex 2, or is the rear screen enough?
The rear screen works fine in shade or overcast conditions. In direct sunlight, which is exactly when a lot of insect activity peaks, it's hard to judge critical focus on the LCD. The Visoflex 2 solves that by putting a magnified, glare-free view right at your eye. It's an added expense, but if you're shooting macro outdoors regularly rather than occasionally, it's worth the cost.
Is the M11 a sensible first camera for getting into insect macro photography?
Honestly, no, unless you already own the M system for other reasons. If insect macro is your primary goal and you're choosing a camera from scratch, a mirrorless body with stabilization and a native autofocus macro lens will get you results faster with far less frustration. The M11 route makes sense as an addition to a kit you already use and love, not as a starting point.