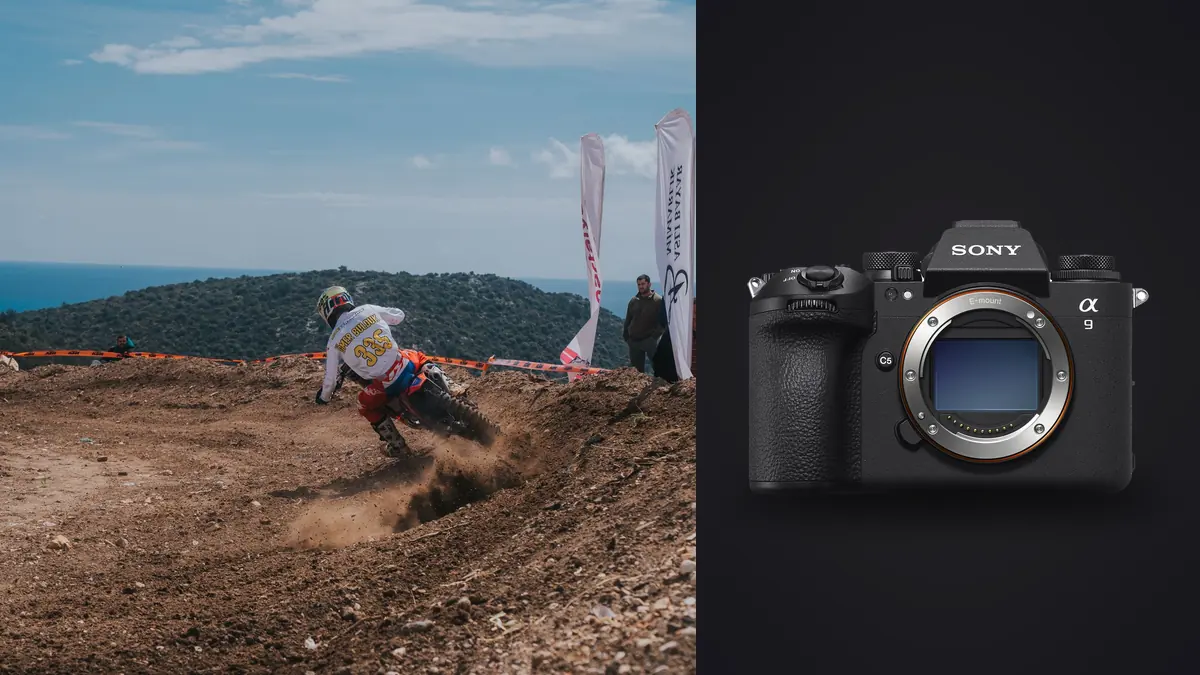
A Sony A9 III can respond quickly, but track photography is still governed by geometry. The lane, runway, sector, official boundary, sun direction, and background determine whether the lens can see the decisive phase cleanly. A fast body at the wrong position produces a detailed record of an obstruction.
This Lens and Location Guide maps event types to working distance and E-mount lens roles. It treats autofocus and shutter choices as support for a planned sightline, not as substitutes for one. Venue rules, athlete safety, and official instructions always outrank the picture, even when the action appears to be finished.
Build an access map before a lens list
Request the credential map, field-of-play restrictions, movement windows, and any rule about remote cameras. Mark sprint finish lines, jump runways and landing areas, throwing sectors, distance-race curves, mixed zones, podium positions, and routes used by officials. Do not infer access from photographs of another meet.
Walk approved boundaries while the venue is quiet. Identify rail height, advertising boards, officials' chairs, timing equipment, television cameras, sun direction, and spectator backgrounds. A position that looks open before competition may be occupied by essential staff once an event begins.
Give every essential picture a primary and fallback position. The fallback should use a lens already available or allow a safe change during a scheduled gap. Crossing an active area to rescue a composition is never an option.
Assign each zoom or prime a defined distance band
A standard zoom can cover arrivals, warm-up, team interaction, environmental views, and close finishes when access is near. A medium telephoto zoom can isolate athletes across lanes and adapt as they approach. A long prime or zoom can reach distant curves and field events, but it narrows acquisition and magnifies haze, heat shimmer, and support movement.
Measure usefulness by subject scale at the accredited position, not by the longest focal-length number. An athlete who fills the frame too early may lose feet, equipment, or context at the decisive instant. Leave room for a finish lean, outstretched arm, hurdle, pole, or sand spray.
Check minimum focus distance, focus limiter, converter compatibility, stabilization behavior, hood clearance, and physical balance. A lens that looks ideal on a specification sheet may not focus close enough at the mixed-zone barrier or may be too narrow to acquire a runner approaching head-on.
Plan sprint positions around finish geometry
A head-on finish emphasizes faces, lane separation, and the lean, but access is often tightly controlled and officials may stand nearby. A side position shows stride and line crossing but can stack athletes together. A diagonal angle can balance both while introducing more background. Choose the story before the race.
Preframe with room beyond the line because athletes do not stop immediately. Keep clear of their runoff and any path for medical or timing staff. If using a low angle, verify that the camera and support remain behind the approved boundary and cannot become a trip hazard.
For relay exchanges, the decisive zone is longer than one mark. A zoom can follow the incoming runner, handoff, and departing athlete; a prime may require choosing one phase. Study earlier heats and note which lane assignments change the background and distance.
Treat jumps and throws as different location problems
Long and triple jump offer a repeatable runway, takeoff point, flight, and landing. A side angle describes body shape and sand impact; a front or diagonal view may show expression but needs approved placement away from the pit. Pole vault and high jump add vertical framing and uprights that can obstruct faces.
Throws require strict sector discipline. Remain in authorized zones and follow officials even when an athlete appears inactive. A long lens may isolate face and implement from outside the sector, while a wider remote position requires explicit permission and safe installation.
Preselect orientation and leave space in the direction of movement. Observe whether judges, cages, standards, or sponsor boards enter the frame at different phases. One clear event-specific composition is better than moving unpredictably among unsafe marginal views.
Use background and light to choose between positions
Compare the same event from several permitted angles before competition. Grandstands can create color and pattern; an open sky can isolate; a dark tunnel can frame an entrance; a bright advertising board can distract or provide context. Longer focal lengths may simplify a distant background but also reduce the ability to show venue scale.
Track where direct sun, stadium shadow, and reflected light fall over the schedule. The best morning sprint location may place faces in shade by afternoon. Create exposure and white-balance starting points for each known light zone, then choose whether a position remains worth using.
Artificial stadium lighting can interact with electronic capture. Make a shutter-time test under the installed fixtures and inspect complete frames for bands or color variation. Use current Sony guidance for relevant anti-flicker controls and supported combinations.
Match support to movement and public space
A monopod can reduce fatigue with a long lens at a fixed boundary while allowing rapid height and direction changes. A tripod may suit an approved remote or distant static position but occupies more ground. Handholding can be practical near a finish or mixed zone where support would obstruct others.
Keep straps, legs, and bags behind the working line. Do not spread equipment into athlete, official, broadcast, or spectator routes. Set head tension so the lens moves smoothly without falling when released, and check every clamp after changing position.
Stabilization can reduce camera movement but does not stop the athlete. Follow lens instructions for panning and support modes. Practice the complete body-and-lens movement for several minutes, because fatigue changes framing and horizon discipline.
Plan weather and atmosphere into lens choice
Rain can add reflection and spray while reducing contrast and creating drops on the front element. Use compatible covers that preserve controls and ventilation, keep cloths accessible, and choose a hood that protects without obstructing. Wet surfaces also change athlete safety and event timing, so expect position plans to move.
Heat shimmer can make distant subjects soft regardless of lens sharpness or autofocus. A closer permitted position, lower path through heated air, wider environmental frame, or different event time may improve the result more than another camera setting. Inspect static background detail to identify atmosphere.
Wind affects long lenses, banners, dust, and jumping or throwing schedules. Keep support stable, secure covers, and avoid hanging items that swing. Maintain a compact fallback kit if the long-lens position becomes impractical.
Use event rhythm to limit lens changes
Study the timetable and group compatible pictures. Cover several heats from the finish with one lens, move during an authorized break, then photograph a field event from another position. Frequent changes at the boundary increase missed starts, dust exposure, and the chance of blocking colleagues.
Carry a second body only if it solves a clear role, such as standard environmental coverage alongside a long action lens. Configure clocks and file naming so sequences remain sortable. A second camera adds weight and responsibility as well as flexibility.
Rehearse the move between positions with all equipment. Confirm that gates remain open, credentials are visible, and bags comply with venue policy. Build time for security checks and crowded passages into the plan.
Connect each sequence to a field note
Record event, heat, lane, athlete identification source, and approximate position where accurate captioning matters. Do not guess an identity from uniform alone. Photograph a scoreboard or official start list only where permitted, and verify results against an authoritative source before publication.
Short bursts around a known phase preserve meaningful variation without hiding the event in repetition. Review an early sequence for focus plane, shape, banding, and framing. If every miss shares the same obstruction, change position or lens role rather than increasing burst density.
Respect injury, distress, minors, and private medical treatment. Being credentialed does not remove editorial responsibility. Follow organizer restrictions and seek qualified guidance for sensitive publication decisions.
Plan awards, mixed-zone, and portrait locations separately
Podium ceremonies create a fixed front, sponsor background, officials, and athletes at several heights. A standard or medium telephoto zoom can move from the complete group to individual reactions, but the permitted press line determines whether either fits. Arrive before the ceremony and verify where trophies, flags, and microphones will stand.
A mixed zone is closer, less predictable, and often crowded with reporters. Choose a compact lens that focuses at the actual barrier distance and leaves room for microphones and gestures. Keep gear inside the assigned footprint and do not block interviews. Confirm whether photographs are allowed throughout the zone.
An arranged athlete portrait after competition needs a separate background and consent process. Identify shade, neutral walls, team branding, and a location that does not interrupt recovery or transport. A fast portrait should still respect medical, media, and schedule priorities.
Use a position-to-lens matrix
| Position | Lens role | Main constraint |
|---|---|---|
| Close finish line | Standard to medium telephoto zoom | Runoff space and changing subject distance |
| Outer curve | Medium or long telephoto | Lane overlap and atmospheric distance |
| Jump runway | Flexible telephoto | Vertical framing and official sightlines |
| Throwing boundary | Long lens from authorized zone | Sector safety and cage obstruction |
| Mixed zone | Compact standard zoom or prime | Close focus and crowded working space |
Fill this matrix with the actual focal lengths after scouting. Its purpose is to eliminate redundant lenses and expose a missing required view before arrival.
Review ARW groups without losing event context
After verified copies, imagic can scan Sony ARW files and analyze them locally. It scores technical qualities and groups similar frames, while culling changes status rather than deleting an original. Use that as a reversible technical pass.
Human review must compare face, body position, lane separation, equipment, finish result, and caption accuracy. A lower-ranked frame may be the only clean handoff or decisive finish. If scoring appears outdated, check freshness and reanalyze stale items; reselecting only ranks stored values.
The desktop overview explains local, non-destructive review, and the workflow and editing guides cover related delivery systems. Keep lens and position notes with the contact sheet so the next venue map reflects real obstructions.
Frequently Asked Questions
What lens is best for a track finish?
It depends on accredited distance, angle, lane spread, and the desired amount of venue context. Test whether the frame still contains feet, arms, and the finish lean at the closest point.
Can a longer lens overcome heat shimmer?
No. It often magnifies atmospheric distortion. A closer safe position, a different air path, a wider composition, or cooler conditions may help more.
Should every event be covered from the same location?
No. Sprints, relays, jumps, throws, and distance races have different paths and safety zones. Use the timetable to move only during approved windows.