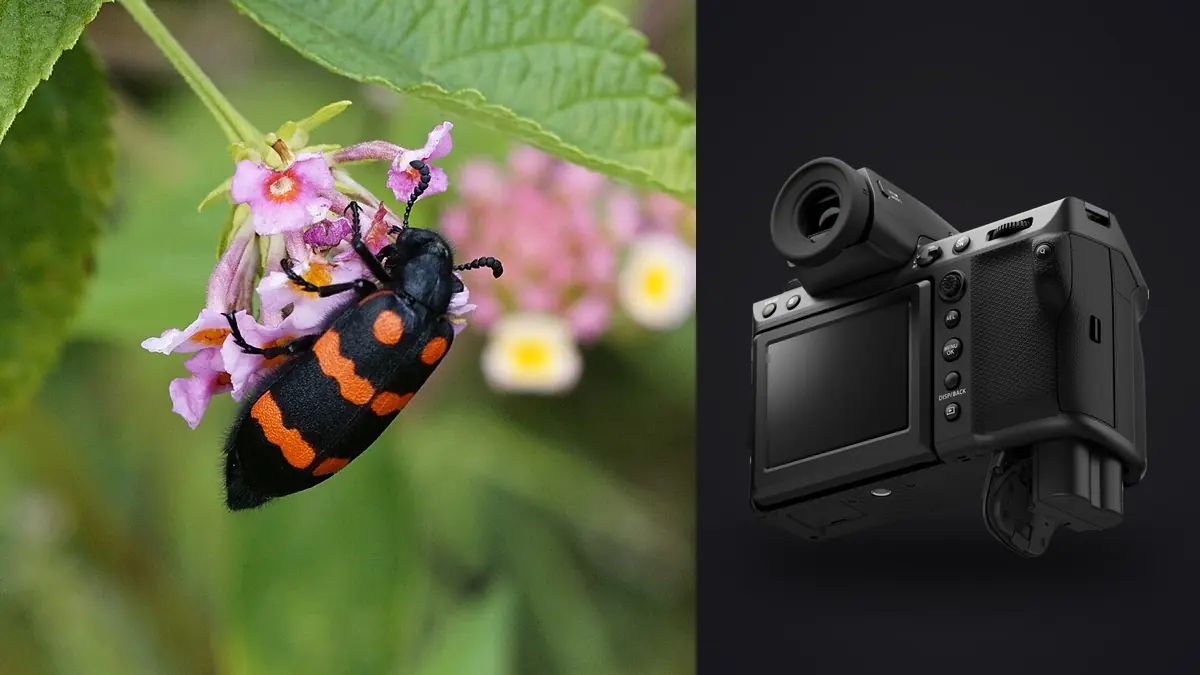
The Fujifilm GFX100 II brings a 102-megapixel large-format sensor, in-body stabilization, and modern autofocus to macro photography, but magnification exposes every weakness in technique. Depth of field becomes thin, tiny support movement becomes visible, and a highly detailed file can record subject vibration as faithfully as fine texture. The camera rewards preparation more than speed.
This advanced guide is aimed at controlled plants, textures, product-like natural subjects, and insects that can be photographed without disturbance. It combines single-frame technique, focus bracketing for later stacking, and a field checklist. Stacking is completed in separate software; this review workflow does not merge the source frames.
Set realistic magnification with the GF lens system
The GF 120mm macro lens reaches half life-size reproduction on the sensor rather than native 1:1. That is substantial for many flowers, larger insects, jewelry, and texture studies, especially with a high-resolution sensor. It is not the same framing as a true 1:1 macro lens on the same format.
Extension tubes can increase magnification by reducing the focusing distance, but they also reduce the available distance range and light. Confirm compatibility and working distance with the exact lens. A setup that fills the frame may place the front element or diffuser too close for a living subject.
Do not equate pixel count with optical magnification. Cropping can tighten composition, but it cannot restore detail lost to motion, poor focus, or weak lens performance. Decide final output and subject size before choosing tubes or an extreme crop.
Use geometry to create depth before stopping down
At close distance, depth of field remains narrow even at smaller apertures. Rotate the camera so the sensor plane follows the important surface. A butterfly wing, leaf, mineral face, or label can gain much more apparent depth from alignment than from another two stops of aperture.
For a three-dimensional insect, choose the anatomical priority. A side view can align eye, thorax, and wing edge. A head-on view may keep both eyes close to one plane while allowing the abdomen to soften. The image does not need every part equally sharp if the focus choice is clear.
Use the tilting screen or viewfinder magnification to inspect alignment. Move the support or subject plane in tiny increments, then refocus. A geared head or focusing rail can make those adjustments more controlled than loosening a ball head.
Balance diffraction against required depth
Closing the aperture increases depth while diffraction reduces fine contrast. The GFX100 II's high pixel density makes the tradeoff visible during close inspection, but final output matters. An aperture that looks slightly softer at extreme zoom may still produce the strongest complete print because more of the subject is coherent.
Make an aperture test at the intended magnification. Keep light, focus point, and support fixed. Compare the key detail at delivery size, then inspect transition areas. Choose the frame that meets the photograph's purpose rather than the one with the sharpest isolated pixel.
If no single aperture covers enough depth, consider focus bracketing on a static subject. Do not force a tiny aperture and heavy sharpening to imitate a stack. Each method has a distinct look and set of failure modes.
Configure a controlled focus bracket
Stabilize the camera and subject, use manual exposure and fixed white balance, and remove automatic lighting changes. Set the first focus point on the nearest required detail and the last beyond the farthest detail. The camera can automate focus steps, but the photographer must choose boundaries and spacing.
Step size depends on magnification, aperture, and subject depth. Too large leaves soft gaps; too small creates unnecessary frames and processing. Make a short test stack and inspect the combined result in dedicated software before committing to a long series. Save a known baseline by lens and working distance.
Leave frame space because alignment can trim edges. Avoid elements that cross the subject at very different depths when possible; they can create blending artifacts. Review source frames for a moving antenna, wind-shifted petal, or changing reflection before attempting the merge.
Light the subject without flattening it
A large diffuser close to a small subject creates soft light and controlled reflections. Place the key to reveal surface shape, then use a white card for fill rather than surrounding the subject with equal light. Texture needs direction. Highly reflective shells and wet leaves may require changing angle more than changing power.
Manual flash is consistent for a fixed camera-to-subject distance. Set ambient exposure for the desired background, then add flash to the subject. Confirm synchronization with the chosen shutter and trigger. At lower flash power, shorter duration may freeze small movement more effectively, but output and recycle behavior should be tested.
Continuous light simplifies preview and focus bracketing, although it may require longer exposures and can warm or disturb living subjects. Use the lowest practical intensity and stop if behavior changes. Never cool, restrain, or manipulate wildlife merely to make a photograph.
Control vibration at 102 megapixels
Use a rigid tripod, secure head, and stable ground for static work. Raise the center column only when necessary. A focusing rail should lock without play. Trigger the exposure remotely or with a timer and allow time after touching the camera, rail, or subject support.
In-body stabilization is valuable handheld, but it does not stop wind or insect movement. Its behavior on a locked support should be tested with the actual lens and shutter. Inspect a sequence rather than relying on one frame, because intermittent vibration can affect only part of a bracket.
Outdoors, shield a flower with a reflector or body position without touching it, and wait for a lull. A wooden deck, bridge, or shared hide can transmit footsteps. Move to firm ground or coordinate pauses with others. Large files make subtle vibration easy to see after the opportunity is gone.
Focus on living insects without causing harm
Observe before approaching. Identify feeding routes, rest points, and signs of stress. Move slowly from the side, avoid casting a sudden shadow, and maintain enough working distance. If the insect stops normal behavior, leaves repeatedly, or displays defensively, back away.
Single-point autofocus can work on a clear eye, while magnified manual focus suits a still subject. Continuous autofocus may help with slow movement, but a busy plant can attract the active area. Limit the focus zone and take short sequences at natural pauses.
Focus bracketing is rarely appropriate for an insect that is moving independently. Even tiny antenna changes create blending problems. Prefer one decisive frame with a clear focus priority, or accept that depth is part of the subject's movement.
Manage color and exposure in detailed files
Reflective scales, beetle shells, pale petals, and dew can clip locally. Use highlight warnings, inspect color channels, and adjust light angle before lowering the whole exposure. A small specular reflection can describe gloss, but a broad empty patch hides the very detail the sensor was chosen to record.
Set a fixed white balance under controlled light and capture a neutral reference when color accuracy matters. Iridescent subjects change color with angle, so the reference should guide the light source without erasing the physical effect. Record the lighting position for repeatability.
Do not over-sharpen a 102-megapixel source. Focus, lens contrast, and output resizing already contribute to visible detail. Apply noise reduction and sharpening after the final selection, then evaluate at intended print or screen size.
Cull brackets and bursts without breaking groups
Keep every bracket together through ingest. Use sequence folders or visible separators and record which frames belong to the foreground, background, or test. Removing one apparently soft source before stacking can create a depth gap. Reject only after the role of each frame is known.
A local app such as imagic can score sharpness, exposure, closed eyes, and composition, then group similar files on Windows or macOS. It does not stack focus brackets. Use its local review as navigation, select the valid source sequence manually, and combine it in dedicated software.
For single-frame insect bursts, compare the intended eye, body plane, leg overlap, antenna position, and behavior. Keep one technically strong file and any genuinely different behavioral moment. Non-destructive edits preserve the original RAF while a learned personal style can be applied only after it has been trained from the photographer's own edits.
Run the practical macro checklist
- Subject: confirm ethical access, desired magnification, and required output.
- Lens: verify working distance, tube compatibility, and best aperture range.
- Geometry: align the sensor with the important subject plane.
- Support: lock tripod, head, rail, and remote release.
- Light: position diffusion, protect highlights, and fix white balance.
- Focus: choose one frame or bracket boundaries and step size.
- Movement: wait for stillness and stop if wildlife behavior changes.
- Review: inspect focus, vibration, clipping, and sequence completeness.
Save successful values with a diagram of distance and light placement. More technical workflow context is available in the AI and technology guides.
Separate field macro from controlled tabletop work
A living insect outdoors sets the pace and may leave at any moment. Prioritize ethical distance, one clear focus plane, a mobile diffuser, and a short sequence. Do not attempt a long bracket when wind, behavior, or changing light makes the sources inconsistent.
A mineral, plant cutting obtained responsibly, watch component, or product-like texture on a table allows a different method. Lock the GFX100 II to a rail, control background and reflection, mark focus boundaries, and make a test stack. The stable subject justifies more frames because alignment and light can remain constant.
Keep these two kinds of work in separate ingest groups. A field burst is culled for behavior and anatomy; a controlled bracket is evaluated for sequence completeness and blend artifacts. Mixing them under one rating method can remove a source frame that the stack still needs.
Do not bring a wild insect indoors or restrain it to imitate a tabletop subject. If a natural subject cannot be photographed without manipulation, accept the single-frame limit or choose a non-living practice target. Advanced technique includes knowing when not to apply the most elaborate method.
Label any tabletop specimen, reproduction, or arranged material accurately in captions and records. A controlled image should not be presented as spontaneous field behavior. The distinction protects natural-history credibility and helps a later editor choose the appropriate context.
Frequently asked questions
Does the GF 120mm macro lens reach 1:1 magnification?
No. It reaches half life-size reproduction on the sensor. Extension tubes can increase magnification, but they reduce focusing range and working distance.
Can the GFX100 II merge a moving insect focus bracket reliably?
A moving insect changes between frames and can create blending artifacts. Use a single well-timed exposure unless the subject remains genuinely still and undisturbed.
Can this review workflow combine macro focus stacks?
No. It can assist local culling and grouping, but focus-stack alignment and merging require dedicated software. Keep the complete source sequence together.