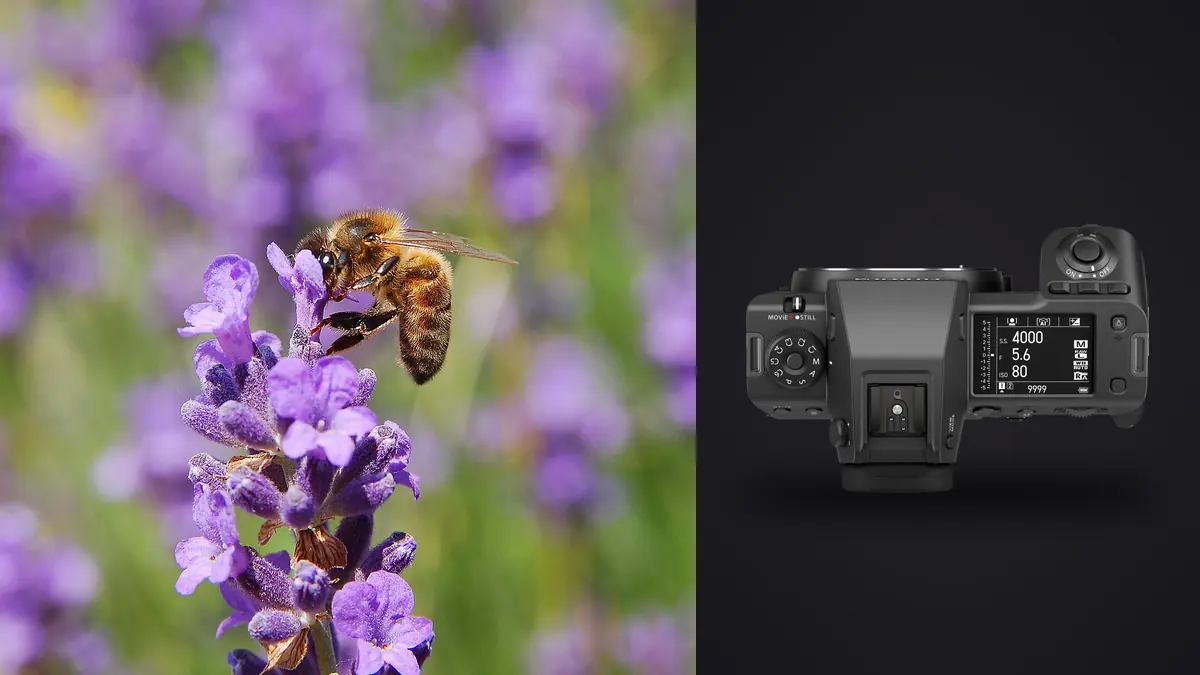
Insects do not care about your megapixel count. They care about how fast you move, how much shadow you throw across the leaf, and whether your lens hunts for half a second too long before it locks on. So when I strapped a Fujifilm GFX 100 II onto a macro rig for a summer of chasing damselflies, jumping spiders, and one memorably bad-tempered hornet, I expected sensor size to be the headline story. It wasn't. The real story turned out to be lens working distance, diffraction, and what a 102-megapixel raw file does to your evening once the light is gone. Here's what actually mattered in the field, not what's printed on the spec sheet.
Why a medium format body even makes sense in a bug patch
The GFX 100 II carries a 44 x 33mm sensor at 102 effective megapixels, a jump from full frame that photographers usually describe with a crop factor around 0.79x (a 120mm lens behaves roughly like a 95mm lens would on a 35mm body, in terms of field of view). For insect work, that resolution buys you something specific: the ability to shoot a jumping spider's face at a sane working distance and still crop hard into the eye cluster afterward without the file falling apart. A lot of what gets called "macro" photography online is really a moderate telephoto shot cropped aggressively in post, and 102 megapixels lets you do that honestly instead of shipping a soft, upsampled mess.
The trade-off shows up the first time you carry the rig into a field at 5am. The body alone is a bit over a kilogram, and once you add the GF120mm Macro and a flash bracket, you're hauling close to two kilograms one-handed while crouched over a puddle trying not to spook a dragonfly. This isn't a system I'd recommend to someone who wants to cover five miles of trail shooting handheld all day. It's a system for someone working a small patch of meadow methodically, willing to trade mobility for the ability to print a weevil's snout eight feet wide without it looking like mush.
Lens choices that actually make sense on this body
Fujifilm's native macro lineup for GF mount is thin compared to Canon or Nikon's full-frame options, so the real decision usually comes down to three practical setups rather than a wide shelf of choices.
| Lens | Magnification | Working distance at max mag | Effective focal length (35mm terms) | Approx. weight |
|---|---|---|---|---|
| Fujinon GF120mm F4 Macro R LM OIS WR | 1:1 | ~13.5 cm | ~95mm | 980g |
| Laowa 65mm f/2.8 2x Ultra Macro APO (GFX mount) | 2:1 | ~5 cm | ~51mm | 700g |
| GF120mm Macro + GF1.4x TC WR | ~0.9:1 | ~19 cm | ~133mm | 1170g combined |
| Adapted full-frame 100mm macro (manual helicoid adapter) | Up to 1:1, adapter-dependent | ~15 cm | ~79mm | usually 600-700g |
The GF120mm F4 Macro, the lens you'll reach for most
This is the obvious default, and for good reason. Weather sealing matters when you're on your belly in dewy grass at dawn, and the optical stabilization takes the edge off handheld framing even though it does very little once you're past about 0.5x magnification, physics being physics. At true 1:1, a 13.5cm working distance is workable for slow, patient subjects like caterpillars, leaf beetles, and most moths, but it's tight for anything that treats your lens hood as a threat. Dragonflies in particular will tolerate a slow approach to about 20-25cm and then bolt the moment you close that last gap, so the GF120 alone leaves you fighting for every centimeter on the twitchier species.
Laowa's 65mm 2x, for when 1:1 isn't enough magnification
The Laowa is fully manual, no autofocus, no electronic aperture control, and at 2:1 the working distance drops to roughly 5cm, which puts your lens hood close enough that you're basically breathing on the subject. That rules out anything mobile or defensive. It earns its keep on cooperative or immobile subjects: a mosquito that's landed to feed, a torpid moth on a cold morning, or specimen work where the insect isn't going anywhere. Because there's no autofocus, a focusing rail becomes close to mandatory rather than optional, but the lens itself is a fraction of the price of adding more GF glass, which makes it a reasonable way to test whether extreme magnification work is even something you enjoy before committing to pricier native options.
Stretching working distance with the teleconverter
Stacking the GF1.4x teleconverter onto the GF120 buys back some of the distance the native lens gives up, pushing effective working distance out to around 19cm while magnification stays close to 1:1. The cost is about a stop of light and noticeably slower autofocus hunting once you're under tree canopy or in flat overcast conditions. In good open light it's barely noticeable. In the shade of a hedgerow chasing a robber fly, you'll feel every bit of that hunting, and I've missed shots to it more than once.
The diffraction math nobody wants to hear about
Here's the part that surprised me most. On a sensor packing 102 megapixels into 44 x 33mm, the pixel pitch is small enough that diffraction softening becomes visible under close inspection earlier than most photographers expect, generally starting to nibble at fine detail from around f/8 and becoming clearly visible by f/11. By f/16, an aperture plenty of full-frame macro shooters treat as a safe default for depth of field, you're already giving back a meaningful chunk of the resolution advantage you bought the sensor for in the first place.
The frustrating part is that medium format also needs more stopping down to hit the same depth of field as full frame at equivalent magnification, because a larger sensor at the same reproduction ratio produces shallower depth of field at a given f-stop, not deeper. So you're pushed toward smaller apertures by the format itself, right into the range where this particular sensor is least forgiving. In practice that means treating f/8 to f/9 as your working aperture and leaning on focus stacking to build depth, rather than chasing coverage with a single frame at f/16 or f/22 and accepting the softness that comes with it. It's a genuinely different calculation than the one full-frame macro shooters are used to making.
Stacking a subject that won't hold still
The GFX 100 II has a built-in focus bracketing mode, letting you set a step size and frame count (up to 999 frames) and have the body walk focus through the scene automatically. It works beautifully on anything that isn't going anywhere: dead specimens, pinned reference material, or torpid insects on a cold morning before ambient temperature climbs high enough for them to fly, roughly before 9 or 10am depending on the species and the weather. Nudge a cold moth onto a twig at 7am and it'll often sit for a full bracketed sequence without moving a leg.
For anything actively foraging, mating, or generally being an insect, in-camera stacking mostly doesn't survive contact with reality. A dragonfly shifts its wing position between frame six and frame seven and the stack falls apart at the blend stage. For live, active subjects I've had better luck accepting a single frame and choosing my angle carefully, shooting along the plane of the insect's body or wing rather than across it, which buys more usable sharp area within the depth of field you actually have than any amount of extra stopping down. When stacking does work, the sequence still needs a dedicated blending pass in something like Helicon Focus or Zerene Stacker afterward, and a 40-frame stack at full resolution adds up to real storage fast, often several gigabytes for a single finished image.
What 102 megapixels does to your evening
Compressed raw files off the GFX 100 II run somewhere around 100-120MB each. A single stacking sequence for one flower head or one beetle can run 30 to 60 frames, which turns one subject into several gigabytes before you've made a single keep-or-reject decision. A productive morning chasing multiple subjects across a handful of stacks can leave you with 700 or 800 raw files and 60-80GB of data to sort through before you even know which sequences are usable. That sorting step is genuinely where a session either wraps up at a reasonable hour or drags into the night.
I've been running these through imagic for exactly that reason. It scores local sharpness per frame and clusters burst and stack sequences together, so I'm not manually flipping through fifty near-identical frames of a beetle's back trying to figure out which three actually nailed focus on the eyes. Because it processes everything locally on the laptop rather than pushing 100MB+ raw files through a cloud queue, there's no upload wait standing between the shoot and a first honest pass at what's sharp, which matters more with files this size than it does with a typical 24-megapixel event shoot. Once I've picked a keeper or the source frames for a stack, I run imagic's apply_my_style preset, trained on my own past macro edits, to get a first-pass color and contrast treatment that's already close to what I'd land on manually rather than starting from a flat default look on every single frame. If you want a clearer sense of how sharpness scoring like that actually works under the hood before trusting it with a season's worth of insect files, it's worth reading through how AI photo culling actually evaluates focus, since the difference between software that's genuinely measuring sharpness and software eyeballing exposure histograms matters a lot more once your average session is measured in tens of gigabytes.
Flash, diffusion, and not blowing out an exoskeleton
A beetle's elytra is basically a tiny mirror, and a bare flash at close range turns that mirror into a single hot specular blob that ruins the shot. A twin-flash bracket mounted around the GF120's filter thread, paired with a diffuser bigger than feels necessary (cut from a translucent food container works better than the small stock diffusers that ship with most macro flash kits), spreads that reflection into something the eye reads as texture instead of glare. Dropping ambient exposure a stop or two below what the flash provides also helps freeze the inevitable twitch of an insect's legs or antennae mid-exposure, since the flash duration is doing most of the work of stopping motion rather than your shutter speed alone.
A short field checklist
A few settings I dial in before I've even found a subject, rather than fiddling with them once something's in frame and about to fly off:
- Base ISO 80 whenever the flash setup allows it, to keep noise out of shadow detail on dark exoskeletons.
- Electronic (silent) shutter by default outdoors, since the mechanical shutter's clack is loud enough to visibly startle dragonflies and some larger moths at close range.
- Single-point AF rather than subject-detection modes, which are tuned for birds and mammals and get confused by a leaf edge sitting right next to a thin insect leg.
- Back-button focus, so a half-press doesn't reset focus every time I recompose slightly for a stack.
- f/8-f/9 as the default working aperture for stacked sequences, f/11 as the ceiling before I'd rather add another stacking frame than stop down further.
None of that is exotic, but it's the difference between a rig that's ready the instant something lands and one you're still adjusting after the moment's gone. If you're mapping out a broader macro or field workflow beyond just this camera, imagic's pricing page is worth a look too, since it's a one-time purchase rather than another subscription stacked on top of storage and stacking software costs that already add up fast in this genre.
Frequently Asked Questions
Is the GFX 100 II too heavy to shoot handheld insect macro for a full day?
For a full day of mobile, walk-and-shoot macro, yes, it's a lot to carry compared to a mirrorless full-frame or APS-C body with a lighter macro lens. It works better suited to sessions where you're working a defined area, a garden bed, a pond edge, a specific meadow, rather than covering long distances. Plan on shorter, more deliberate sessions and a proper strap or harness rather than a neck strap alone.
Does the 1.4x teleconverter cost too much light for macro flash work?
Less than you'd think, since flash output is adjustable and easily compensates for the roughly one stop lost. The real cost shows up in autofocus behavior, not exposure: contrast-detect hunting gets noticeably slower under the teleconverter in low-contrast or shaded scenes, which matters more when you're trying to lock onto a fast-moving subject than it does for anything stationary.
Can I adapt a full-frame 100mm macro lens instead of buying into GF glass?
Yes, with a helicoid or standard mount adapter, and it's a reasonable way to test the system before committing to native lenses. The catch is image circle: most full-frame macro lenses aren't designed to cover a 44 x 33mm sensor at every focus distance, so you can see vignetting creep in outside of high-magnification territory. You also lose autofocus and any weather-sealing continuity between adapter and lens, so treat it as a budget entry point rather than a long-term setup.
Is 102 megapixels actually useful for subjects this small, or is it mostly marketing?
It depends entirely on your output. For large prints or scientific documentation where you need to crop into fine structural detail (wing venation, compound eye facets), the extra resolution is genuinely useful. If your final destination is a web gallery or social media, a 24-45 megapixel body with a comparable macro lens will produce a visually indistinguishable result while generating a fraction of the file volume per session, which is worth weighing honestly before you commit to hauling this much data home from every outing.