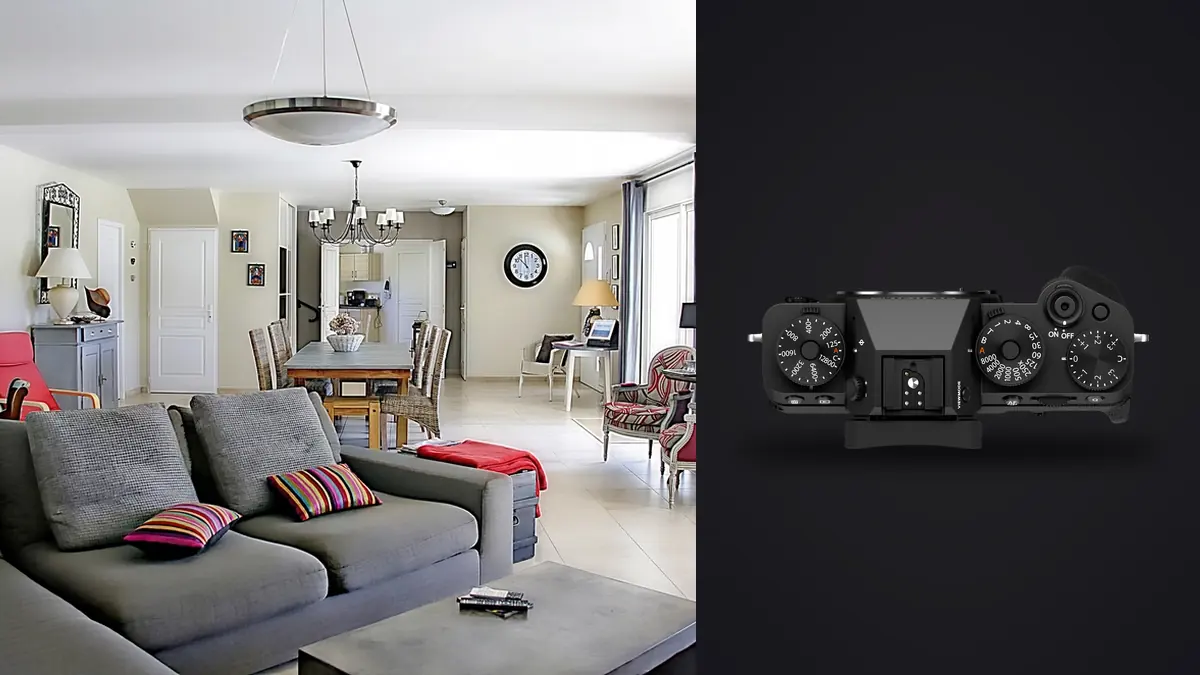
I picked up an X-T5 body about eight months ago for a mixed bag of reasons: it was smaller than the full-frame kit I'd been hauling around, the 40-megapixel sensor sounded useful for print-sized interior work, and honestly I was curious whether Fujifilm's colour science would save me time on the lifestyle shots that always get bundled into an architecture job. What I didn't expect was how much the camera would change how I approach a shoot day in a house or a commercial space. Some of that is good. Some of it means adjusting habits you might have built around Canon or Nikon full-frame bodies.
This isn't a spec sheet rehash. It's what actually changes when you point an X-T5 at a stairwell, a kitchen island, or a hotel lobby for a living, and where the gaps are that nobody mentions in the marketing copy.
The Sensor Size Argument, Settled by Actual Rooms
APS-C gets treated like a compromise in most gear discussions, but interior work is one of the few genres where the smaller sensor genuinely helps in specific situations and genuinely hurts in others, and it's worth being honest about both.
The helpful part: depth of field. In a cramped ensuite or a narrow hallway, you're often shooting at f/8 to f/11 anyway to keep foreground and background sharp, and APS-C gets you there with slightly less diffraction penalty than you'd expect, because the pixel pitch on the 40MP X-Trans sensor is fine enough that stopping down to f/11 doesn't murder resolution the way it would on an older 24MP APS-C chip. I routinely shoot interiors at f/9 without worrying about softening.
The unhelpful part: the crop factor tax on wide lenses. A 10mm lens on the X-T5 gives you roughly 15mm full-frame equivalent field of view, which sounds fine until you're in a genuinely tight room and you need the geometry of a 12mm on full frame. You end up buying wider glass than you would on a full-frame body just to compensate, and wider glass means more correction work later because barrel distortion and converging verticals get worse the wider you go.
Dynamic range is the other thing people ask about, since interiors almost always mean a bright window next to a dim room. The X-T5's sensor handles a blown-out window better than I expected at base ISO 125, especially if you're bracketing anyway (more on that below), but it is not a substitute for shooting a proper exposure blend when the light ratio between inside and outside is more than about 4 stops. On an overcast day you can often get away with a single RAW file and heavy shadow recovery. On a sunny day with south-facing windows, you're bracketing no matter what camera you own.
Lenses: Where the X-T5 System Gets Complicated
This is the part that actually determines whether the camera works for you. Fujifilm doesn't make a native tilt-shift lens for the X mount, full stop. If your work leans heavily into architectural exteriors where you need genuine perspective control rather than software correction, that's a real limitation, and the workaround (adapting a Canon TS-E via a mechanical adapter, or shooting a Cambo Actus-style view camera setup) adds bulk and cost that partly cancels out the reason you bought a small mirrorless body in the first place.
For interiors specifically, though, software correction in Lightroom or Capture One handles verticals well enough that I rarely miss a tilt-shift lens indoors. It's exteriors, especially tall buildings shot from street level, where the lack of one stings.
Three lenses cover almost everything I shoot indoors:
- The XF8-16mm f/2.8 is the one I reach for in genuinely small rooms, bathrooms, closets converted to home offices, stairwells. It has zero filter thread because of the bulbous front element, which is annoying if you want a polarizer, but the sharpness at f/8 is excellent corner to corner.
- The XF10-24mm f/4 is lighter, takes 72mm filters, and is my default for anything that isn't a closet. It's not as optically perfect as the 8-16 wide open but stopped down for interior work you won't see the difference in a listing photo or even a magazine spread.
- The XF16-55mm f/2.8 comes out for detail shots, material close-ups, furniture, fixtures, the kind of secondary images that round out a set for an interior designer's portfolio.
I'll be blunt about the 8-16: it's heavy for an APS-C lens, close to 800 grams, and on some days I question whether I should have just bought a full-frame body with a 16-35mm instead. But the image quality at the edges of the frame, where architectural distortion is least forgiving, keeps me from switching back.
Pixel Shift Multi-Shot: Worth the Hassle or Not
The X-T5 can combine 20 frames into a single 160-megapixel composite using sensor-shift technology, processed afterward in Fujifilm's free Pixel Shift Combiner software. For interior and architectural work this sounds tailor-made, since you're usually on a tripod anyway and resolution sells prints and large-format marketing material. In practice it's more situational than the spec sheet suggests.
It works beautifully in a static room with nothing moving: an empty conference room, a staged bedroom with no fabric swaying, a museum gallery after hours. The resulting file has a level of texture detail in things like stone countertops and wood grain that a standard 40MP RAW simply doesn't capture. It suits a case like a boutique hotel that wants oversized lobby prints, where the client would notice the difference immediately compared to the standard files from an earlier shoot.
It falls apart the moment anything moves. Curtains breathing from an HVAC vent, a ceiling fan, trees visible through a window, even foot traffic in an adjacent hallway that shows through a doorway, all of it creates shimmering or ghosting artifacts in the composite. You also can't do it handheld or with strobes firing in a normal sync pattern, and the 20-frame capture takes a few seconds during which the room needs to sit completely still. On a residential shoot with a stylist still fussing over a throw pillow, that's rarely realistic. I'd say I use pixel shift on maybe one room in ten.
| Capture mode | Approx. file size | Tripod required | Best use on an interior shoot |
|---|---|---|---|
| Standard 40MP RAW | ~80 MB | No | Everything: general rooms, lifestyle shots, anything with movement nearby |
| Pixel Shift Multi-Shot (160MP) | ~600 MB before compression | Yes, and room must be still | Static hero shots for print or oversized marketing, materials/texture close-ups |
| Focus bracketing (in-camera) | Multiple 80 MB files, stacked later | Recommended | Deep rooms where foreground furniture and background window both need to be sharp at wider apertures |
| Exposure bracketing (3-9 frame AEB) | Multiple 80 MB files, blended later | Recommended | Any room with a bright window and a high interior/exterior light ratio |
Focus Bracketing Instead of Stopping Down to f/16
The other in-camera feature that gets underused for this genre is focus bracketing. Rather than shooting a deep interior at f/16 and accepting diffraction softness, you can rack focus across a defined number of steps and stack the results afterward in Photoshop or Helicon Focus. This matters more than people think in a room with a foreground object, like a console table or an armchair, that sits close to the lens while the rest of the room recedes toward a window twelve feet away. Shot wide open at f/4, a single frame simply can't hold both in focus. Stacking six frames at f/5.6 keeps the lens in its sharpest range while still delivering front-to-back clarity.
The tradeoff is obvious: you're now generating six, eight, sometimes twelve extra files per angle, on top of whatever exposure brackets you're also pulling for the window. A single room can easily produce thirty to forty RAW files by the time you've covered a couple of compositions with both techniques. Multiply that across a twelve-room house and you're looking at four hundred-plus files by the end of a shoot day, most of which are near-duplicates that differ only in focus distance or exposure value.
This is where I've actually changed my post-production habits. I run everything through imagic before I open Lightroom, mostly because it clusters those focus and exposure brackets automatically instead of me scrolling through visually near-identical frames trying to remember which one had the sharpest foreground. The duplicate and burst detection was built for exactly this kind of file explosion, not just for wildlife or sports shooters firing continuous bursts. On a recent renovation shoot I came home with 380 frames and had a culled, ranked set in under fifteen minutes, which used to be a lunch-break-eating task.
What a Shoot Day Actually Looks Like
A few practical notes that don't show up in review articles because they only matter once you've done this for a living for a while.
Battery life is fine but not generous when you're tethering. The NP-W235 battery gets you through a normal half-day residential shoot without issue, but if you're running tethered capture to a laptop for client approval on a commercial job, plan on swapping batteries roughly every ninety minutes. I carry three and it's never quite enough on a full-day shoot with a design team reviewing shots in real time.
The fully articulating rear screen, the one that flips out to the side rather than just tilting up and down, turns out to matter more for interiors than I expected. Low tripod shots for kitchen islands or coffee table vignettes are common in this genre, and being able to flip the screen out to eye level while the tripod legs are splayed near the floor saves a lot of crouching. It's a small thing until you're doing it forty times in a day.
Weather sealing rarely gets tested indoors, obviously, but it matters more than you'd think on exterior architectural work when a shoot gets rained out mid-morning and you decide to push through anyway because the client flight is the next day. The X-T5 has held up through two rain-delayed exterior sessions for me without issue, paired with the weather-sealed 16-55.
Color and the Trip From Card to Client
Fujifilm's film simulations get a lot of attention for street and portrait work, and they're mostly irrelevant to serious architectural delivery. Clients buying interior photography want accurate, neutral color, not a warm Classic Chrome look baked into their listing photos. I shoot everything flat and correct white balance manually per room, since mixed lighting (daylight through windows plus tungsten or LED fixtures) is the norm rather than the exception in interiors, and no in-camera simulation solves that problem for you.
Where I've actually saved time is training imagic's apply_my_style preset on a folder of my own finished interior edits, the ones where I'd already dialed in my usual verticals correction, shadow lift, and color neutrality by hand. Once that preset learned my typical adjustments, running a fresh batch of RAWs from a shoot through it gets me about 80 percent of the way to a finished look before I ever touch individual sliders, which matters when a same-week turnaround on forty final images is expected. It's not magic and I still hand-finish the hero shots, but the baseline pass used to take an evening and now takes closer to twenty minutes.
One more thing worth mentioning for anyone shooting pre-launch developments or unreleased interior design work under NDA: everything in imagic runs locally on the machine, nothing gets uploaded anywhere to process. For a job where the client explicitly doesn't want renders or finished interiors touching a cloud service before their own announcement, that local-first processing isn't a nice-to-have, it's the reason the software gets used on that job at all.
If you're weighing your overall culling and editing workflow beyond just camera choice, it's worth reading through our workflow speed tips, since a lot of the time savings on a job like this come from the pipeline around the camera, not the camera itself. And if you're still deciding between culling tools generally, this breakdown of how AI photo culling actually works covers the sharpness and clustering logic in more depth than I have room for here.
Frequently Asked Questions
Do I need a tilt-shift lens to shoot interiors on the X-T5?
Not for interiors specifically. Software vertical correction in Lightroom or Capture One handles converging lines well enough for almost all indoor work, and you'll lose very little resolution cropping to fix it, especially with a 40MP file giving you room to spare. Tilt-shift matters more for tall exterior architecture shot from street level, where the X mount currently has no native option.
Is the 160MP pixel shift mode actually worth using for real estate or interior listings?
For standard listing photography, no, it's overkill and impractical since almost every room has something moving (HVAC-driven curtains, trees through windows, foot traffic). Save it for genuinely static hero shots destined for large prints or marketing materials where the extra texture detail is visible at scale.
How does the X-T5's APS-C sensor compare to full frame for cramped rooms?
The crop factor works against you on lens choice, since you need genuinely wider glass to match a full-frame field of view, which usually means more distortion to correct afterward. It works in your favor on depth of field, letting you hold more of a room in focus at a given aperture without diffraction becoming a problem as quickly.
What's the single best lens to start with for architectural work on the X-T5?
The XF10-24mm f/4 covers the widest range of realistic room sizes without the bulk, filter-thread limitations, and price premium of the 8-16mm f/2.8. Add the wider zoom later once you've hit rooms the 10-24 genuinely can't handle, which happens less often than you'd expect.