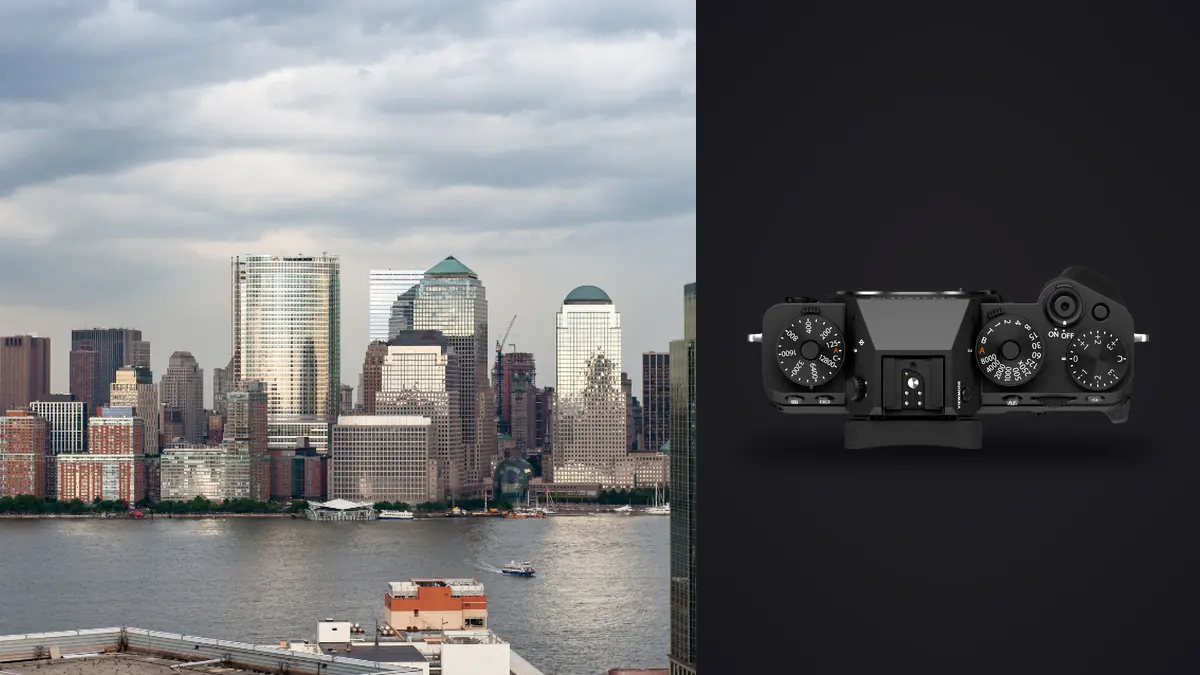
Architectural files are judged as a system. Vertical lines, repeated rooms, window detail, material color, fixture state, and naming must remain consistent across the delivery. The Fujifilm X-T5 records detailed RAF files, but resolution does not fix a tilted tripod, a changed light switch, a missing bracket, or a mislabeled room.
This RAW Workflow ties every RAF sequence to a room and viewpoint, preserves lens and bracket information, separates HDR and panorama inputs from ordinary duplicates, and builds a consistent geometry and color baseline before export. It is designed for architecture and interior work that may involve both documentary accuracy and polished presentation.
Map the property into room and viewpoint codes
Create a shot list with exterior elevations, approaches, shared spaces, rooms, details, and required orientations. Give every camera position a code such as kitchen-wide-A or facade-north-B. The code should identify viewpoint, not make an aesthetic claim. A late reshoot can then be matched to the original position.
Record client priorities and any restrictions on moving objects, opening doors, changing lights, or showing neighboring property. Architecture images can contain artwork, security systems, addresses, documents, and reflections that require approval. Note those concerns before they spread through every bracket.
Synchronize the camera clock and photograph a neutral room slate when moving between zones. Avoid including private names or plans in a slate that might reach public proofs. A separate protected manifest can connect the code to descriptive property information.
Capture RAF sets with lens and support context
Use a stable RAF option and record lens, focal length, filter, tripod height, camera orientation, and any shift movement provided by a specialist lens or adapter. Electronic metadata may not include every manual movement. That missing information matters when a correction appears asymmetric.
Level the camera before relying on software geometry. A level body keeps verticals parallel and preserves more image area. When the composition requires a deliberate tilt, mark it in the notes so the later processor does not force a creative angle into a conventional correction.
Capture a color reference under each stable lighting condition. Window light, warm practical lamps, mixed LEDs, and reflected wall color can vary between rooms. Keep white balance fixed within a set so the differences remain observable rather than being hidden by frame-by-frame automation.
Separate single exposures, brackets, and panoramas
Use group markers and codes for ordinary frames, exposure brackets, focus variations, and panorama panels. An exposure bracket intentionally repeats composition with different exposure values. A panorama intentionally changes direction while preserving overlap. Neither should be collapsed to one representative during duplicate review.
For brackets, keep aperture, focus, framing, and white balance stable while shutter exposure changes. If a person, curtain, tree, or screen moves materially, record it for later masking or choose another set. Do not assume that an HDR merge will correct inconsistent geometry or motion automatically.
For panoramas, preserve panel order and enough overlap for alignment. Keep a consistent rotation point where practical and avoid changing focus between panels. Label row and panel explicitly so alphabetic sorting does not scramble the sweep.
Verify card copies before reorganizing by room
Copy every card into a card-specific originals directory. Check expected file count, total size, and representative RAF files, then create a second verified copy on separate storage. Preserve those source directories before renaming or moving working copies into room folders.
A working filename can include property code, room, viewpoint, group type, and sequence. Maintain a mapping to the camera name. If a room was photographed before and after staging changes, keep the versions separate and record which state the client approved.
Create directories for originals, accepted singles, bracket inputs, panorama inputs, working renders, retouch masters, proofs, and finals. Generated merges should never sit among their source RAF files because a later cleanup may remove one or count both as delivery.
Cull technical faults without discarding source sets
Review room coverage and fixture state at contact-sheet size. Confirm that doors, blinds, cushions, screens, lamps, and movable styling remain consistent within a set. Then inspect focus, vibration, window clipping, reflections, and edge intrusions. A sharp frame of the wrong room state is not a usable substitute.
imagic supports RAF and can analyze sharpness, exposure, composition, and near-duplicate relationships locally. Its statuses do not delete originals. Use those signals to find likely faults and compare repeated singles, while preserving all valid bracket and panorama members for their specialist merge stages.
When a verdict looks inconsistent with visible detail, check score freshness. Reselecting a different count re-ranks stored scores and cannot update an older analysis. Reanalyze stale photographs when the freshness report indicates it is needed.
Correct geometry in a consistent order
Apply the appropriate lens profile and inspect distortion before perspective correction. Then establish level, verticals, and any necessary horizontal correction. Crop only after those operations because correction changes the usable frame area. Save the transform non-destructively so the uncropped RAF remains available.
Do not force every old building into mathematically perfect geometry. Settled walls, intentional tapers, and non-orthogonal design may be real. Compare with site observations and architectural drawings where authorized. Correction should remove camera-induced convergence, not rewrite construction.
Use common vertical references across a room series and align camera height where the brief expects consistency. Small differences become visible in a web gallery even when each image works alone. Record any deliberate low or high viewpoint as part of the sequence design.
Balance windows and interiors without inventing a merge
Develop a neutral single-exposure baseline first. Protect window highlights, maintain believable interior shadows, and keep material color stable. If the dynamic range exceeds the single file, prepare bracket members consistently for an external HDR merge rather than pushing one RAF until noise and color break down.
imagic does not provide HDR or panorama merging. It can support RAF review, non-destructive adjustments, and export, while suitable specialist software combines aligned inputs. Keep the source list and merge settings beside the generated master.
Inspect moving foliage, curtains, people, screens, and reflections after a merge. Ghosting can hide at thumbnail size. Compare the master with each bracket and repair only with documented source content, not an invented replacement that changes the property.
Control mixed light and material color
Start from the color reference for each room, then decide whether mixed sources should be harmonized or retained. A warm lamp in a cool daylight room may be part of the design intent. Neutralizing every surface can make the space lifeless and misrepresent fixture color.
Check white walls, wood, stone, metal, textiles, and paint across adjacent views. Reflected color can be physically present without representing the material's nominal color. Balance accuracy with the observed light, and use local correction carefully so repeated surfaces remain coherent.
Apply noise reduction and sharpening after geometry and exposure are stable. Fine fabric, grout, brick, and foliage can become brittle under strong local contrast. Judge at final output size and inspect edges created by perspective correction for interpolation artifacts.
Retouch property details with an approval record
List every requested removal or cleanup by filename: temporary cable, sensor spot, wall mark, reflection, or staging defect. Distinguish temporary clutter from permanent building features. Removing a structural crack, neighboring building, safety device, or fixed utility may misrepresent the property and should require explicit direction.
imagic is not a layered retouching application and has no generative fill. Export a high-quality master to an appropriate tool, retain the untouched RAF and pre-retouch version, and link the final to its instruction. Do not overwrite a documentary version with a marketing edit.
Review the retouch across bracket and panorama seams. A change applied to only one source can reappear after a later rebuild. When a merged master is the retouch source, preserve both the merge recipe and retouch version.
Export by channel and archive the property state
Create output recipes for web listings, editorial layouts, print, or archive as required. Set dimensions, color profile, quality, and sharpening deliberately. Inspect final verticals, crops, window transitions, color consistency, metadata, and room order in the actual exported files.
The Camera Hardware section provides related capture context, and the desktop page describes local processing. Export to a confirmed destination and compare the delivered filenames against the property shot list.
Archive RAF originals, room maps, lens and support notes, bracket and panorama groups, adjustment records, merge projects, retouch instructions, approvals, and final files. The archive should preserve what the property looked like and how each commercial derivative was made.
Remove sensor spots without confusing them with building detail
Small apertures and plain walls can reveal dust that was unobtrusive on location. Compare the same image position across several frames. A spot fixed to sensor coordinates will repeat while architectural detail moves with composition. Mark confirmed dust separately from wall marks, birds, and distant fixtures.
Apply a reversible dust correction to the developed master or use a suitable retouching tool. Inspect skies, ceilings, and bright windows at consistent magnification, then check the final size. Do not clone across textured materials in a way that creates repeating brick, wood, or fabric patterns.
Record persistent spots for camera maintenance and propagate corrections carefully across matching frames. A synchronized spot repair can land on real detail after a crop, rotation, or panorama projection, so verify each final rather than assuming coordinates remain identical.
Match files made on separate visits
A property may be photographed during construction, after staging, and again after weather changes. Keep visits as separate source groups even when viewpoint codes match. Record date, room state, exterior conditions, light settings, and any permanent change.
Use the original viewpoint note, tripod height, focal length, and reference lines to approximate a return composition. Overlay comparisons can reveal drift, but forcing a perfect match may require a crop that removes useful context. The client should choose between strict before-and-after alignment and the strongest independent frame.
Color-match stable materials, not transient daylight. Paint and flooring can provide references, while window color and exterior foliage legitimately change. Label replacement images clearly so an old facade is not delivered beside a renovated interior by accident.
Run the final room-order check after replacements are inserted. A correctly matched file can still sit in the wrong position or carry an outdated room code.
Frequently asked questions
Should exposure brackets be reduced to one Fujifilm X-T5 frame?
No. A planned bracket uses several exposures to preserve different tonal ranges, so valid members should stay together. Group them without collapsing the set.
Can imagic merge an architectural HDR or panorama?
No. imagic can help review, adjust, and export supported RAF files, but a specialist application is required for HDR and panorama combination.
Should every wall be corrected to perfect vertical geometry?
Correct camera-induced convergence where appropriate, but do not erase real building character or intentional design. Compare the file with observed structure and the project brief.