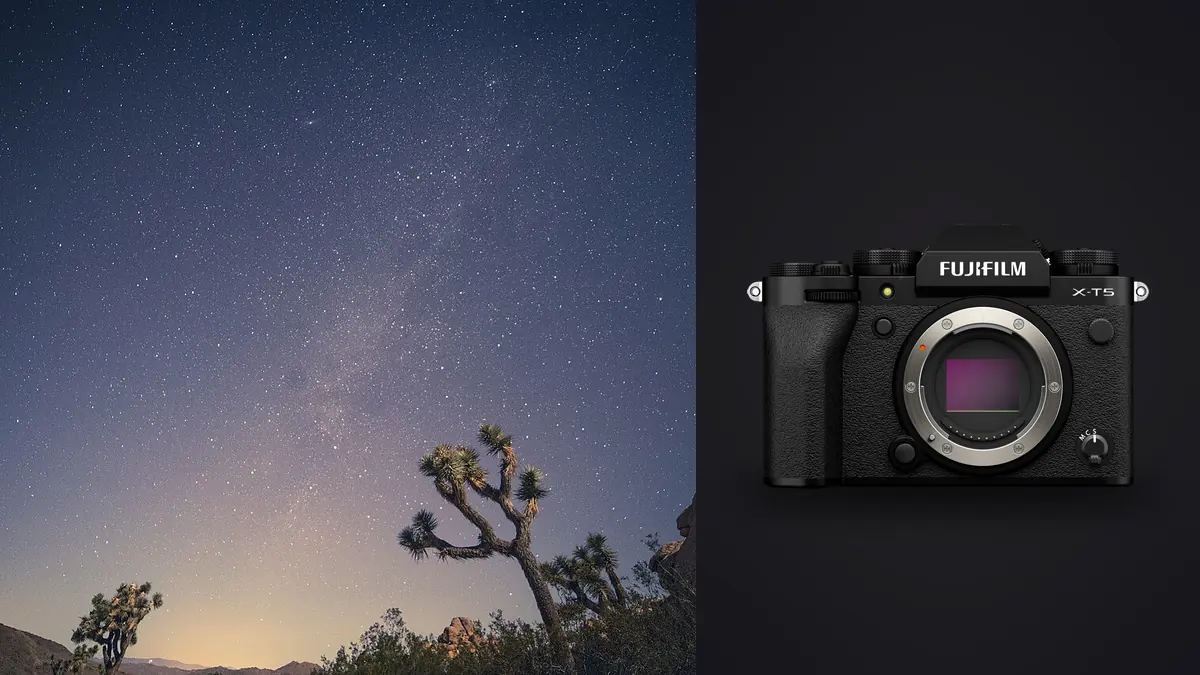
The Fujifilm X-T5 can accept lenses for a broad Milky Way arch, a tighter constellation, a tracked sky region, or a compressed moon alignment. That flexibility is useful only when the location provides the necessary horizon, foreground distance, support footprint, and safe access. The sky subject and camera position should choose the lens.
This Lens and Location Guide connects X-mount focal-length roles to mountains, coastlines, open country, and light-polluted edges. It plans moon, weather, dew, tripod or tracker use, manual focus, and RAF review without offering one exposure formula. Star motion, sky brightness, aperture rendering, and final output differ too much for a universal number.
Name the sky subject before packing lenses
Specify whether the image needs a full Milky Way arch, galactic core, constellation, meteor-shower radiant, star trail around a celestial pole, tracked wide field, moonrise, or landscape under stars. Each has a direction, time, scale, and relationship to foreground.
Use a reputable ephemeris or planning tool to estimate astronomical darkness, moon position, sky-object direction, and rise or set time. Treat the overlay as a hypothesis. Terrain, trees, buildings, haze, and local light can change the practical frame.
Plan a fallback subject facing another direction. Thin cloud may end a faint-star sequence and create useful moonlit atmosphere. A robust location offers more than one photograph without requiring unsafe movement in darkness.
Use ultra-wide lenses for broad sky and close foreground
An ultra-wide X-mount lens can include a large sky region and a nearby foreground from a constrained position. It also makes distant mountains small, stretches edge relationships, and reveals corner star rendering. Use width because the composition needs it, not because astrophotography is assumed to require the widest lens.
Check the actual lens for open-aperture coma, sagittal stretching, color fringes, flare, decentering, and uneven darkness. Place a bright star near center, mid-frame, and corner, then compare both magnified files and the intended output size.
A close rock, tree, or building may need a separate focus plane or foreground exposure. Leave space for alignment and avoid placing an important object in a corner whose rendering is weak. A slightly longer lens and panorama may be better when the location permits careful rotation.
Use moderate wide and normal primes for stronger sky subjects
A moderate wide can give the Milky Way core or constellation more presence while retaining landscape. A normal prime can isolate a defined sky region and compress foreground layers. Both reduce the untracked exposure time that keeps stars acceptably point-like compared with a wider view.
Faster aperture can gather more light, but open-aperture rendering and focus tolerance matter. Test one or two stops rather than assuming the largest opening is best. A lens that improves slightly stopped down may still be the stronger choice if the stack can provide enough total signal.
These focal lengths suit panoramas when a broad final view is required. Plan overlap, rows, horizon leveling, and rotation around a sensible point. Moving stars and foreground parallax make a night panorama less forgiving than a daytime sweep.
Use telephotos for tracked detail and alignments
A telephoto can frame a moon behind a ridge, isolate star fields, or record smaller tracked targets. It magnifies tripod vibration, polar-alignment error, atmospheric shimmer, focus drift, and timing error. The location must provide a stable base and a clear distant sightline.
For moon or sun alignments, calculate the camera-to-foreground distance and confirm the exact position in daylight. Never step into a road, railway, private field, cliff edge, or unsafe water boundary to match an overlay. Change the composition when the lawful position differs.
A telephoto on a tracker needs compatible payload, balance, plate clearance, and power. Test the complete system before travel. The longest available lens is not automatically the most useful target scale.
Scout mountains for horizon and weather exposure
Visit the viewpoint in daylight, record trail condition, cliffs, loose ground, route markers, wind exposure, and the direction of the intended sky subject. Download offline maps and tell a responsible person the plan and expected return.
Mountain silhouettes can give strong scale while blocking more sky than a planning app suggests. Check the true horizon from tripod height. A moderate telephoto can enlarge a distant ridge; an ultra-wide can turn it into a thin band.
Temperature can fall quickly, changing batteries, condensation risk, and focus. Carry appropriate clothing and a tested power plan. No photograph justifies remaining beyond weather or personal limits.
Scout coasts for tide, spray, and moving foreground
Use authoritative tide and access information and inspect escape routes in daylight. Waves can reach beyond their recent line, rocks become slippery, and darkness hides water movement. Keep tripod and photographer above a safe boundary.
Salt spray and mist soften contrast and create flare around lights. Use a hood, cloths, and a sensible cover, then clean equipment appropriately afterward. Check the front element throughout a sequence without shining disruptive light around other observers.
Water, foam, boats, and vegetation move during a sky stack. Plan whether the foreground will be one exposure, a separate blend, or an intentionally soft element. Preserve plausible timing and disclose compositing where context requires it.
Scout open country and urban edges for light
Open fields may offer a low horizon while introducing private land, livestock, irrigation, uneven ground, and vehicle access. Obtain permission and remain on approved routes. Do not drive off track or trample crops to reach a modeled point.
Near cities, domes of light, signs, roads, and industrial fixtures affect direction and color. A telephoto may compress illuminated haze; a wide lens may include local sources that flare. Scout after dark from a safe public position before the final session.
Artificial foreground light can overpower the sky and disturb residents or wildlife. Do not light-paint buildings, land, or animals without permission. Moonlight or a separate twilight foreground may be a more responsible solution.
Use moon direction as part of the lens plan
Moonless conditions can reveal fainter stars while leaving foreground dark. Moonlight can describe terrain and reduce tonal separation between land and sky, but it also lowers sky contrast. Decide which subject needs priority.
Side moonlight reveals texture, backlight can outline a ridge, and frontal moonlight can flatten form. A wide lens may include the moon and its flare; a longer lens can place it relative to distant foreground. Test direct bright sources with the chosen optics.
If foreground and sky are captured at different times, keep viewpoint and lighting plausible. Do not move the moon or stars into a false documentary relationship. Retain notes about capture and composite method.
Choose support from the capture method
An untracked nightscape needs a rigid tripod, secure head, and stable ground. Extend thicker leg sections first, avoid a raised center column, and remove swinging straps. Use a delay or remote method and check that stabilization is configured according to Fujifilm and lens guidance.
A tracker adds polar alignment, balance, batteries, cables, and sky-to-ground movement. Plan a separate foreground frame when both land and tracked stars must be sharp. Confirm the X-T5 and lens clear the mount through the full intended angle.
A panorama head or rail may help repeat overlap and rotation, but every accessory adds a failure point. Carry only what solves the named sky and location problem, and rehearse setup in darkness close to home.
Plan filters and front-element clearance by lens
Some ultra-wide lenses have bulbous fronts or built-in hoods that complicate ordinary filters and dew straps. Others accept screw-in filters but may vignette with stacked rings. Confirm the exact holder, adapter, hood, and heater arrangement through the planned field of view before traveling.
Light-pollution filters change color and transmission and do not remove every artificial source. Test them under the actual type of sky glow and process representative RAF files. A filter should solve a defined spectral or creative problem, not become a substitute for scouting a better direction.
Keep every optical surface clean and avoid unnecessary filter stacking around bright stars or the moon, where reflections can multiply. Record which filter was used for each sequence so frames intended for one stack remain consistent.
Check whether a filter holder, heater cable, or oversized hood collides with the tracker or enters a vertical panorama. Rotate the camera through the complete planned motion in daylight. A component that works in one horizontal frame may block another orientation or pull focus during a long sequence.
Control focus, dew, and sequence consistency
Magnify a bright star and adjust manual focus for the smallest high-contrast point. Check away from the center. An infinity mark is not proof of best focus, and temperature can shift a previously confirmed setting.
Use a tested dew heater when conditions require it, route the cable without pulling the lens, and inspect the front element periodically. A hood helps but does not prevent every dew event. Allow cold equipment to acclimatize in a closed bag after returning indoors.
For frames intended to stack, keep manual exposure, white balance, focus, and composition consistent. Make a short test group and inspect stars, corners, foreground, and moisture before starting a long sequence.
Use a sky-to-lens matrix
| Subject | Lens role | Location requirement |
|---|---|---|
| Milky Way arch | Ultra-wide or panorama-ready wide | Broad clear horizon and controlled foreground |
| Galactic core landscape | Moderate wide | Foreground aligned with core direction |
| Constellation or sky region | Normal or short telephoto | Stable support and open sightline |
| Moon alignment | Telephoto | Precisely scouted safe camera position |
| Tracked wide field | Lens matched to tracker payload | Polar visibility and separate foreground plan |
Replace these roles with tested lenses after processing representative files. Keep one simpler single-frame fallback for every complex tracked or panoramic plan.
Review RAF stacks without losing capture context
After verified copies, imagic can scan Fujifilm RAF files and analyze them locally. It scores technical qualities and groups similar frames, while culling changes status and keeps originals intact. It does not align stars, merge stacks, or stitch panoramas.
Review every source group for aircraft, satellites, cloud, dew, moved support, focus drift, and foreground changes. If a stored score seems old, check freshness and reanalyze stale photos; reselecting only ranks existing values.
The desktop overview explains local and non-destructive review, while the camera hardware guides cover related kit planning. Preserve RAF originals and use dedicated software for alignment and compositing.
Frequently Asked Questions
What X-T5 lens is best for the Milky Way?
Choose from the desired sky scale and foreground. Ultra-wide lenses fit more sky, moderate wides emphasize the core, and normal lenses may require a panorama or tracker.
Does a faster lens always produce better stars?
No. Open-aperture corner rendering, focus tolerance, flare, field of view, and the ability to stack clean frames all matter. Test actual RAW files.
Can imagic merge an X-T5 star stack?
No. It can help review supported RAF files locally, but star alignment, stacking, panorama stitching, and compositing require dedicated software.